Fix Issue with Connecting Managed Google Play to Intune (We couldn’t connect to that service)
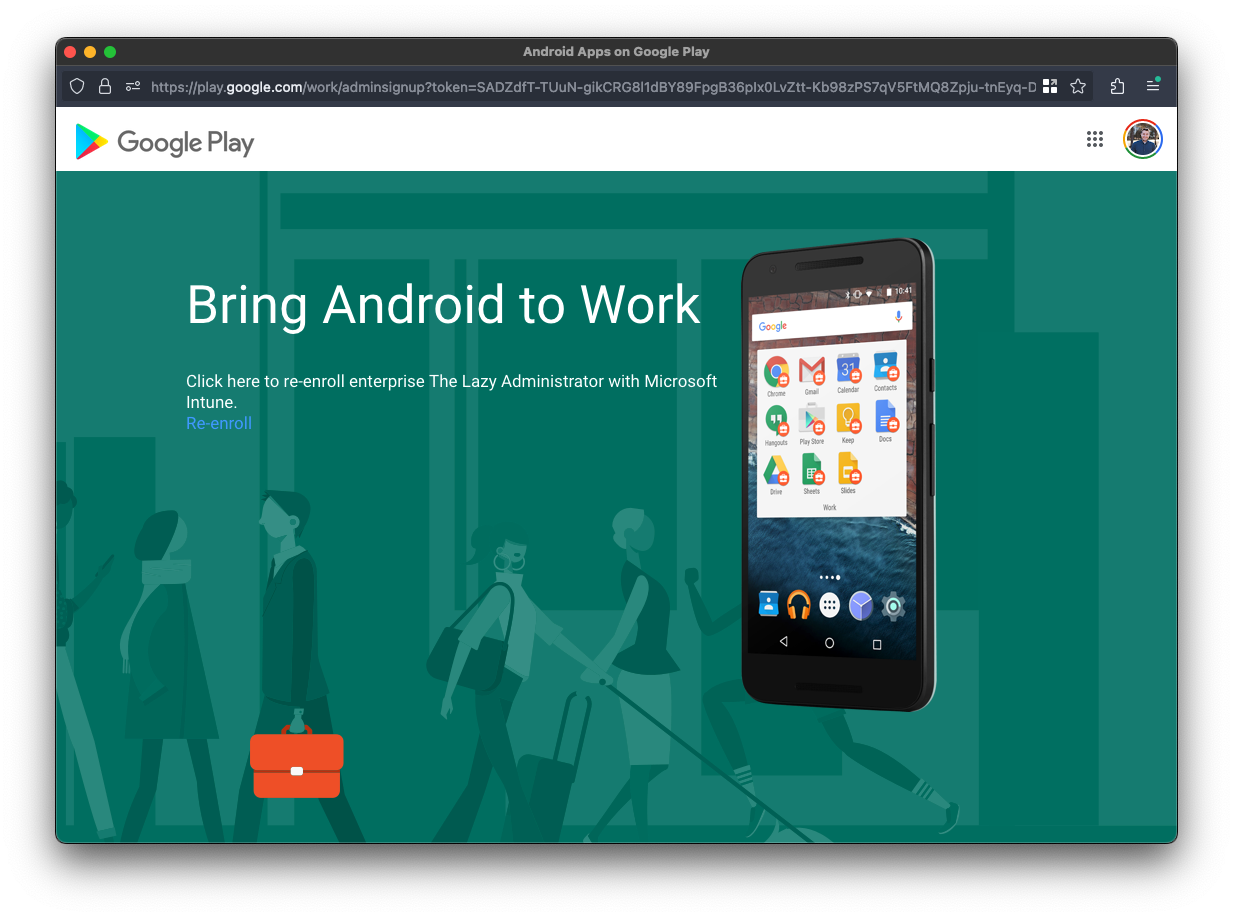
Recently, I was connecting Google Play to Intune and ran across an issue that I did not see documented anywhere. I spent a great deal of time pulling my hair out trying to figure out where the disconnect was. I was at the intune portal (intune.microsoft.com) and went to Devices > Android > Android enrollment and clicked Managed Google Play to connect Google Play to Intune.

The Google Play window would pop up and I would sign into my account. In the top right corner you can see my account is signed in. I would click the Re-Enroll button (of if its your first time you would click Enroll or Sign-In)
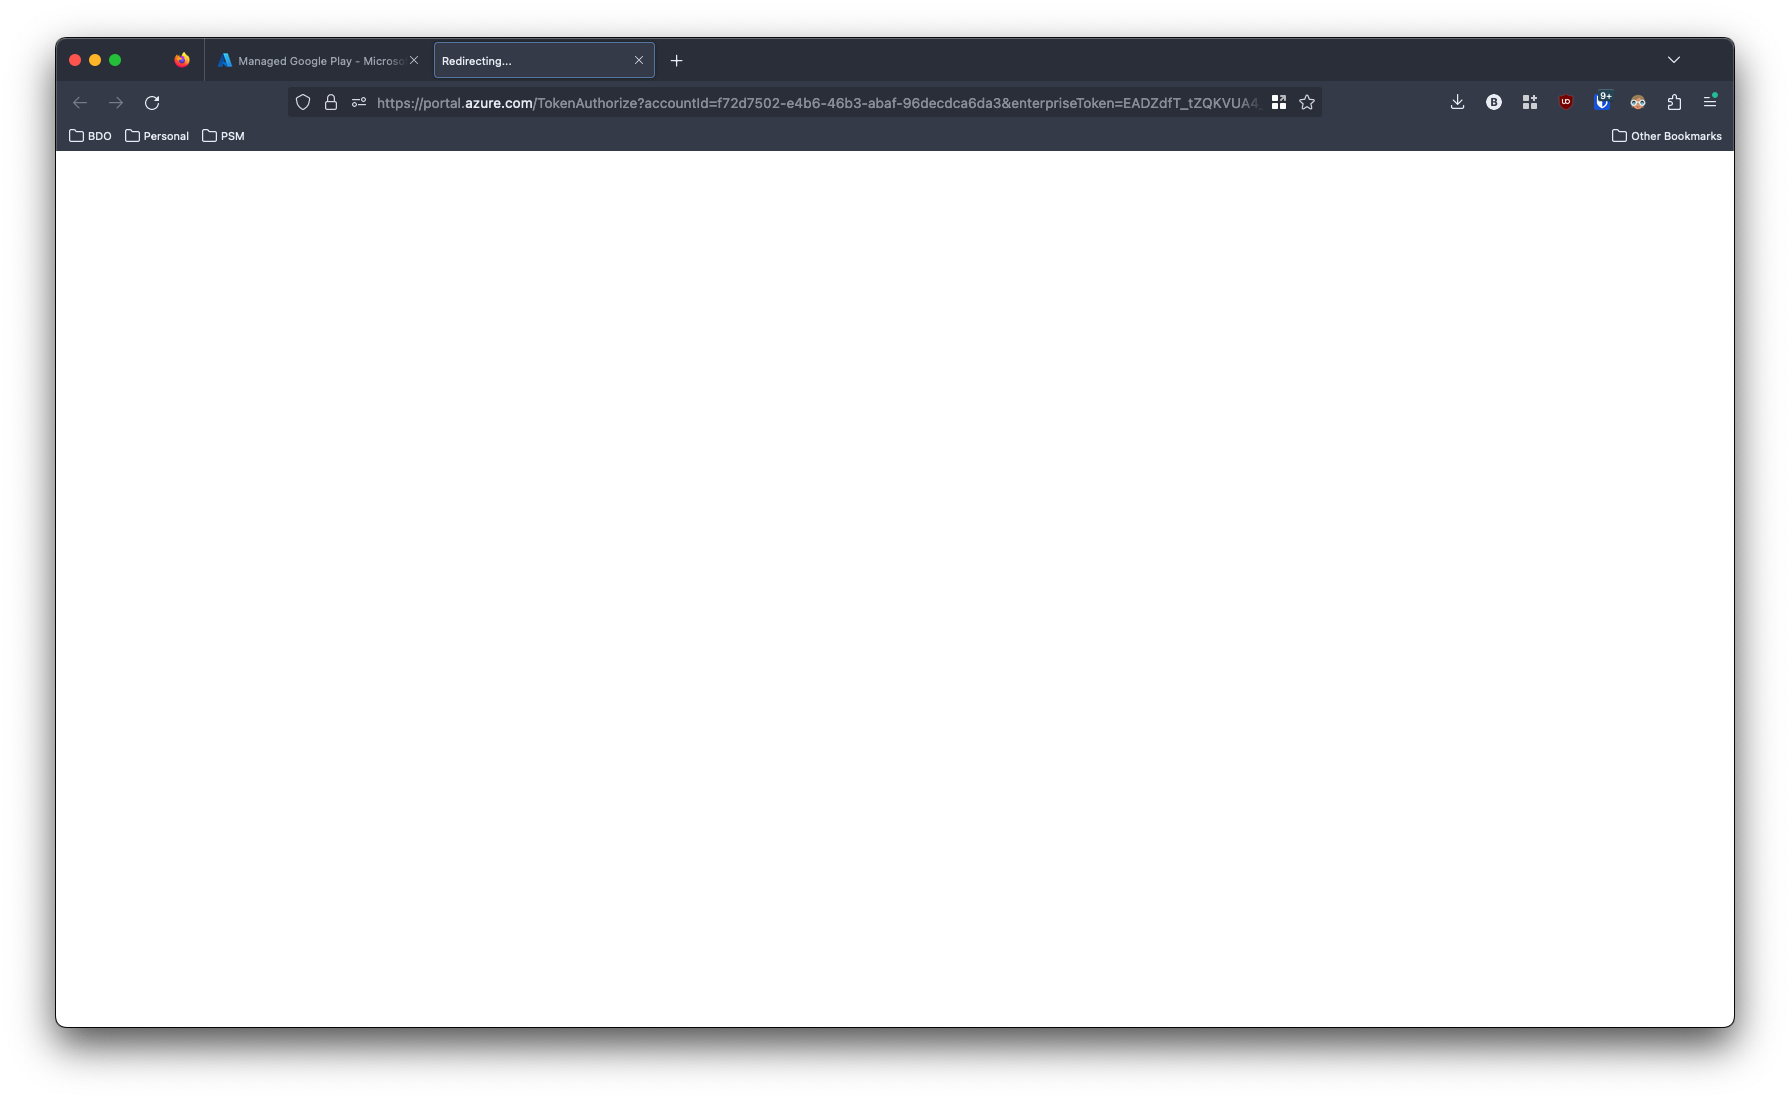
I would get a redirection window that would hang for 15-20 seconds.
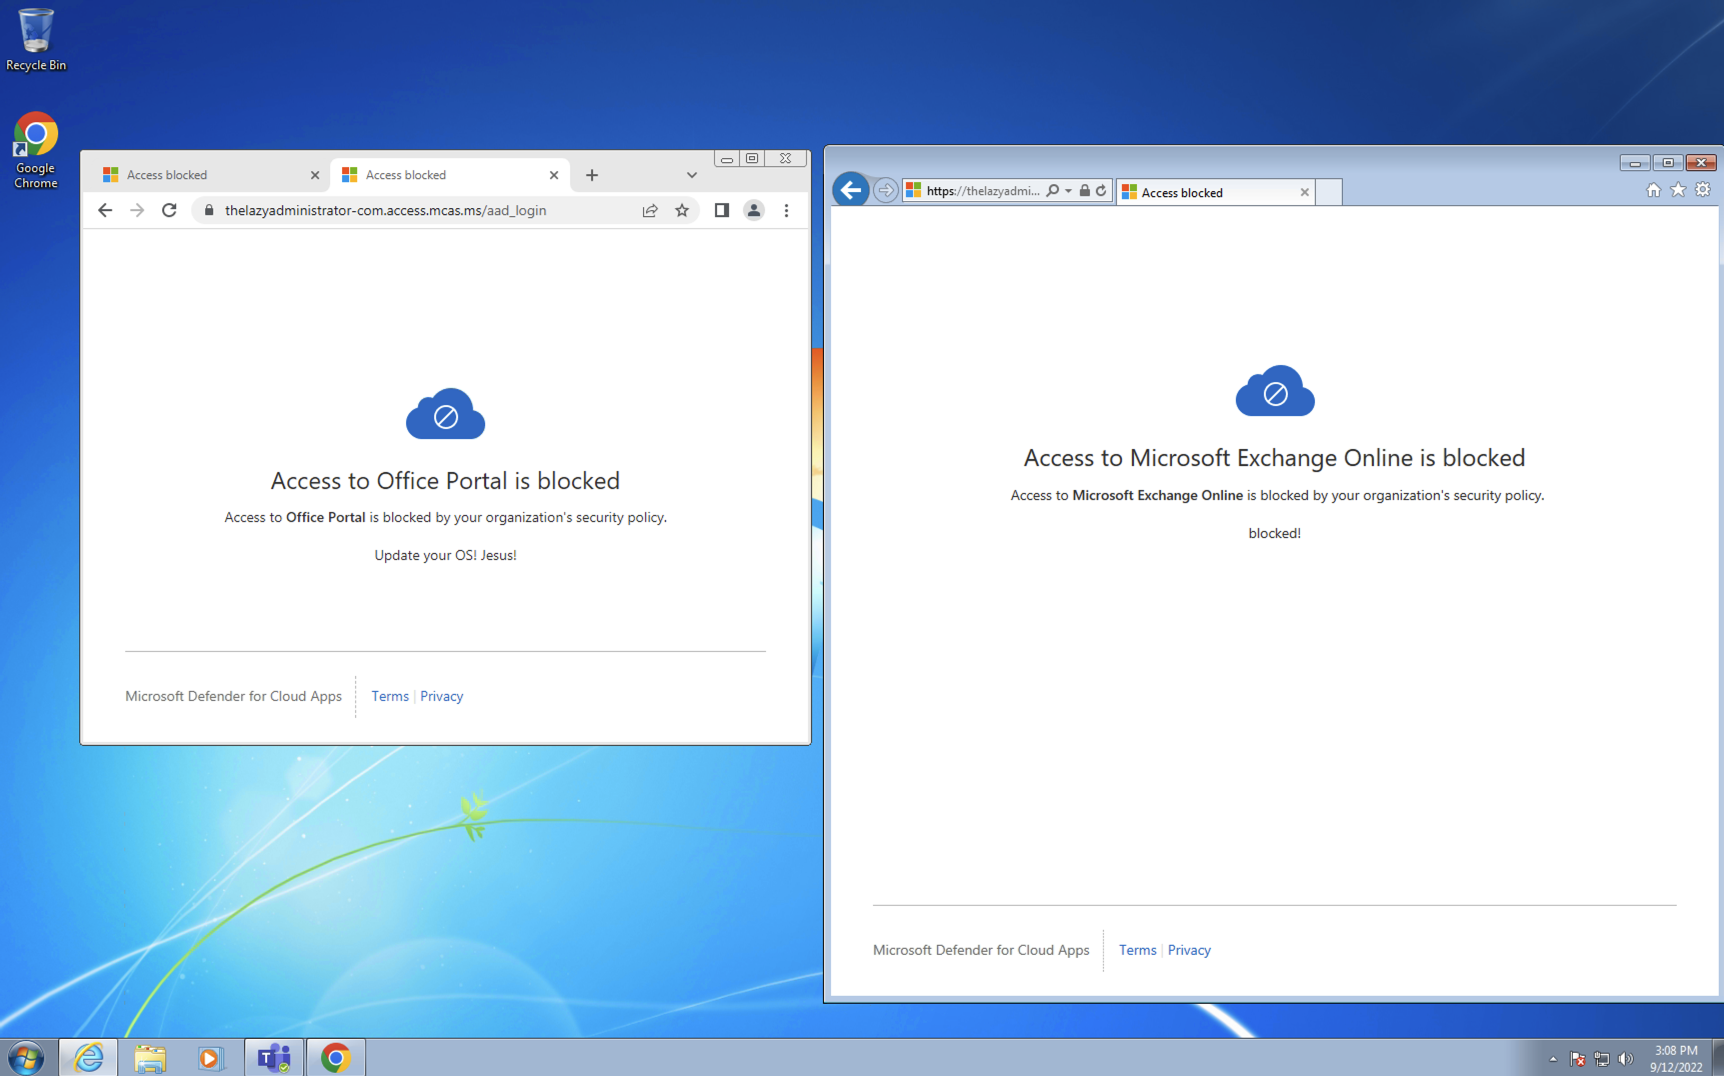
Until it ultimately failed with the following error:
Try that again using a different browser
We couldn’t connect to that service, likely because of settings put in