Connect to Exchange Online PowerShell with an Azure Managed Identity
Table of Contents
Recently the Exchange Online Module v2 came out with support for connecting to Exchange Online via a managed identity. The module has several parameters:
- ManagedIdentity
- ManagedIdentityAccountId
- Organization
When using the ManagedIdentity parameter you must also call the Organization parameter which is the initial, or ‘.onmicrosoft’ domain.
What You Will Need
- PowerShell
- Az PowerShell Module (install-module az)
- The Microsoft Graph SDK (install-module Microsoft.Graph
Create the Managed Identity, Permissions, and Runbook
Connect to Azure
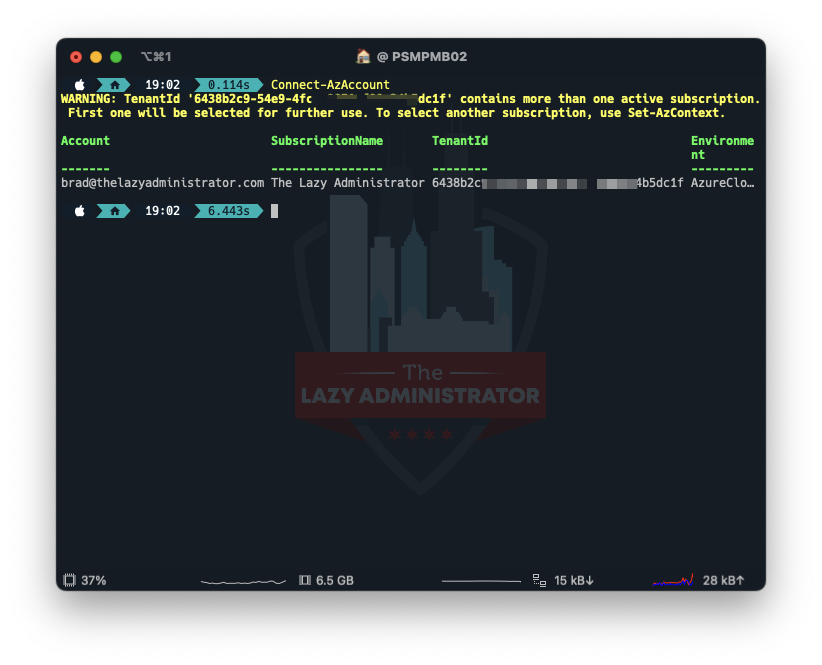
First thing we must do is connect to Azure using the Az module. Open a PowerShell window and run
Connect-AzAccount
Create a Resource Group
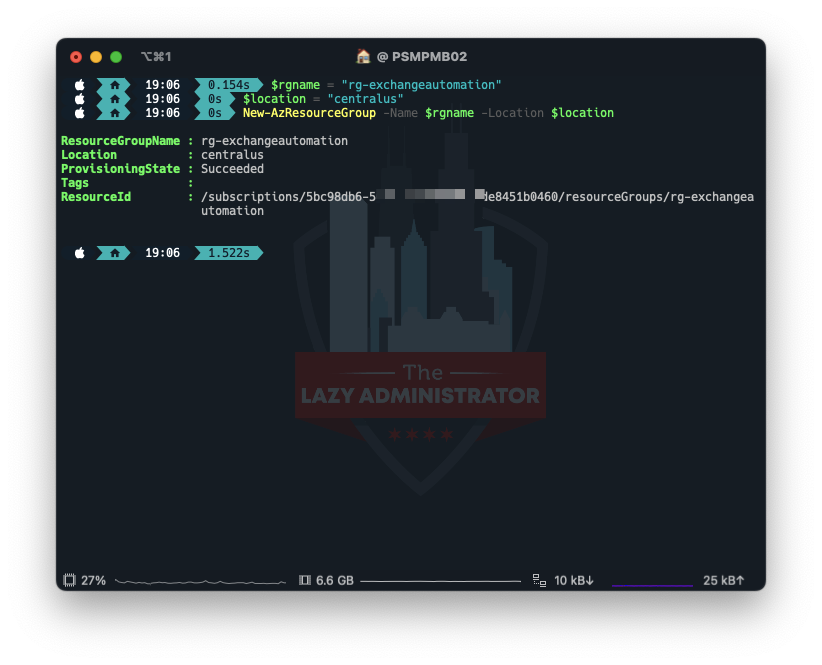
After we are connected we need to create a Resource Group to house everything. In my example I will create a new Resource Group in the Central US region.
$rgname = "rg-exchangeautomation"
$location = "centralus"
New-AzResourceGroup -Name $rgname -Location $location
Create the Automation Account
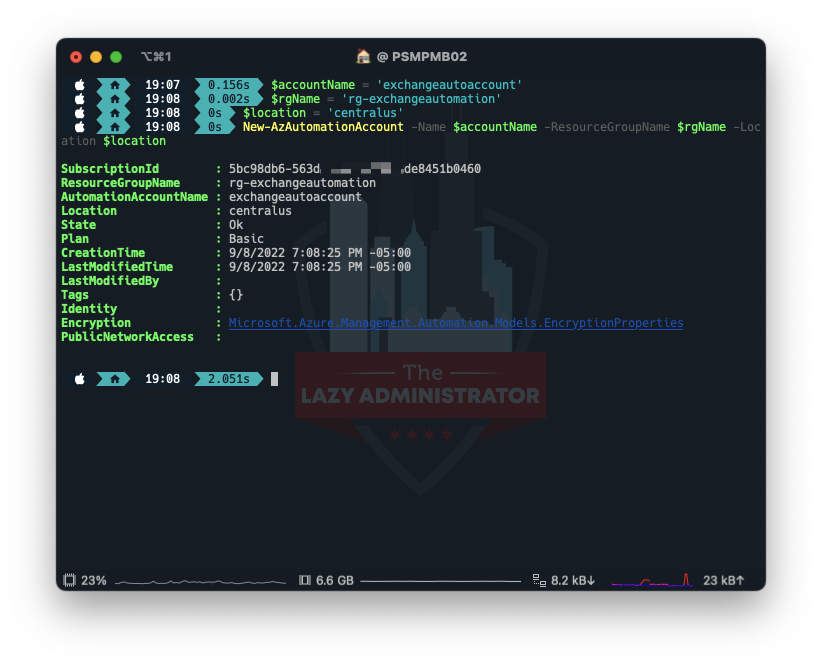
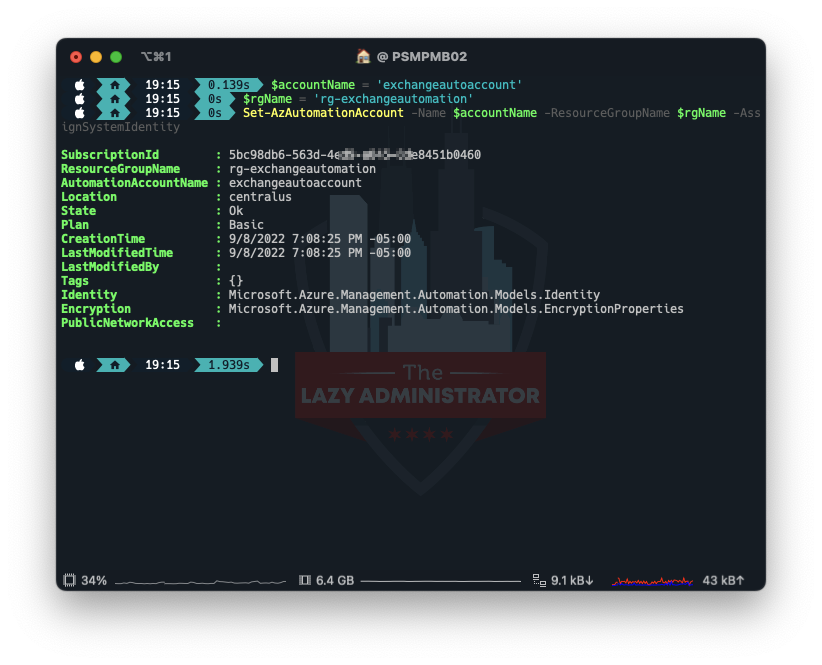
Next, we need to create the Automation Account that runs the runbooks. In my example I will place the Account in the Resource Group I created above, and call the account ‘exchangeautoaccount’
$accountName = 'exchangeautoaccount'
$rgName = 'rg-exchangeautomation'
$location = 'centralus'
New-AzAutomationAccount -Name $accountName -ResourceGroupName $rgName -Location $location
Install the Module
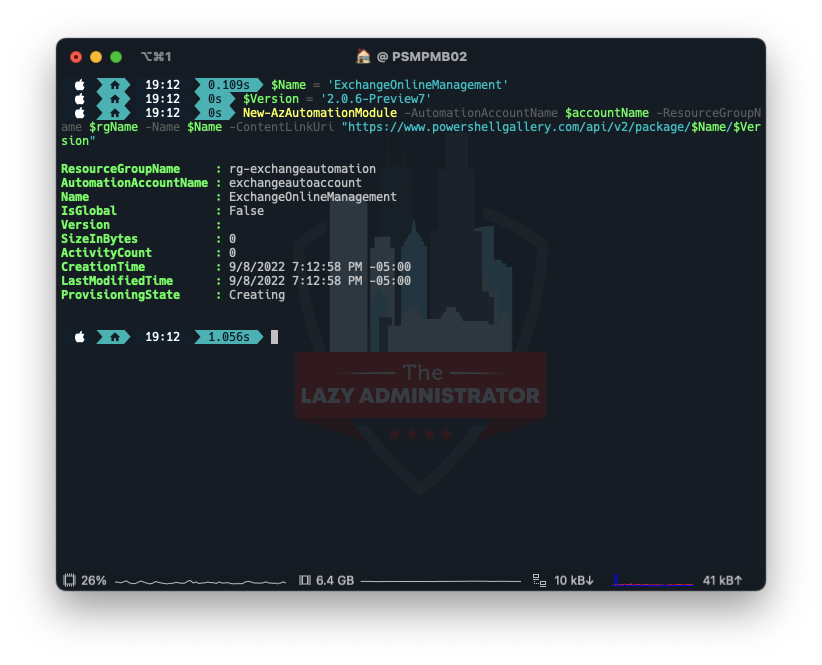
Next, we need to install the module into the automation account. I tried doing it manually and it didn’t seem to work properly. Note: You will need the preview version of the module which the latest preview version today is 2.0.6 preview7. You can always check here for the latest.
$accountName = 'exchangeautoaccount'
$rgName = 'rg-exchangeautomation'
$Name = 'ExchangeOnlineManagement'
$Version = '2.0.6-Preview7'
New-AzAutomationModule -AutomationAccountName $accountName -ResourceGroupName $rgName -Name $Name -ContentLinkUri "https://www.powershellgallery.com/api/v2/package/$Name/$Version"
Very Important! Verify that the correct version got installed. Go to your automation account > modules and verify ExchangeOnlineManagement is the correct version! If you are not on the correct version you may see an error similar to:
The role assigned to application ad423d0-dc5-4a6-a66a-20213fc7 isn't supported in this scenario. Please check online documentation for assigning correct Directory Roles to Azure AD Application for EXO App-Only Authentication.
Create System Identity
Next, we need to create/enable a system identity for our automation account to use. Using the name of our automation account from earlier, we can use PowerShell to enable it.
$accountName = 'exchangeautoaccount'
$rgName = 'rg-exchangeautomation'
Set-AzAutomationAccount -Name $accountName -ResourceGroupName $rgName -AssignSystemIdentity
Get Service Principal Information
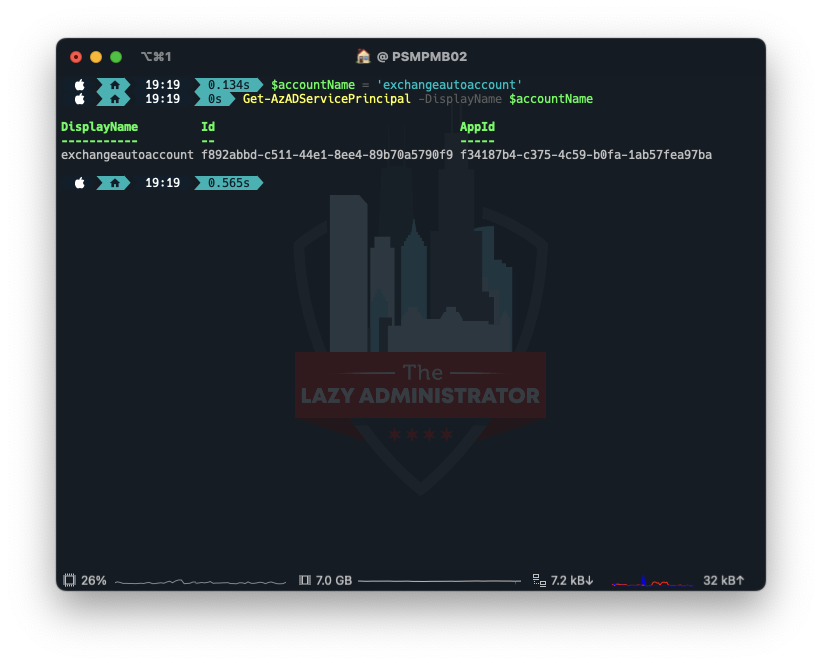
Next, we need to get the Service Principal Information for our managed identity. Take note of the ID value (not the AppID). We will use it later.
$accountName = 'exchangeautoaccount'
Get-AzADServicePrincipal -DisplayName $accountName
Connect to Graph
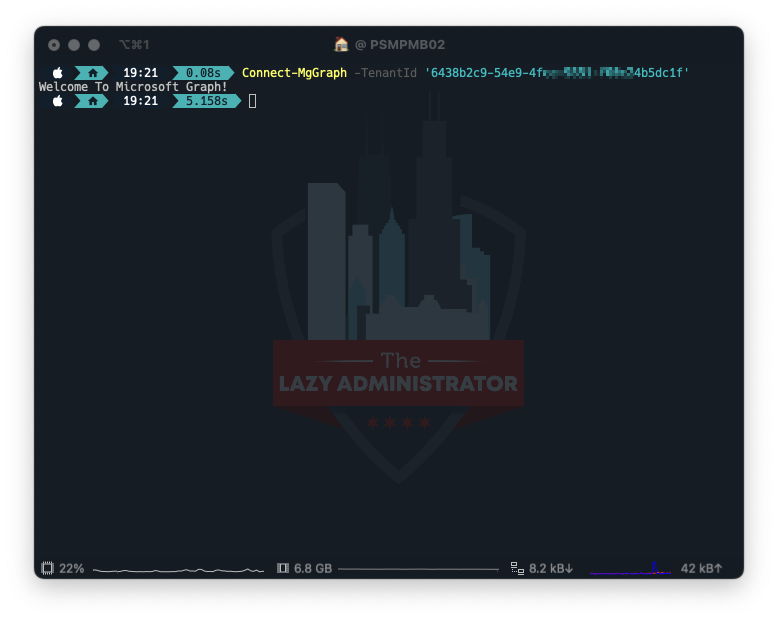
Next, we need to connect to Graph using the SDK. Make sure to specify the tenant using the TenantID parameter.
Connect-MgGraph -TenantId '6438bc9-49-4c9851-fc45dc1f'
Assign Permissions to our Managed Identity
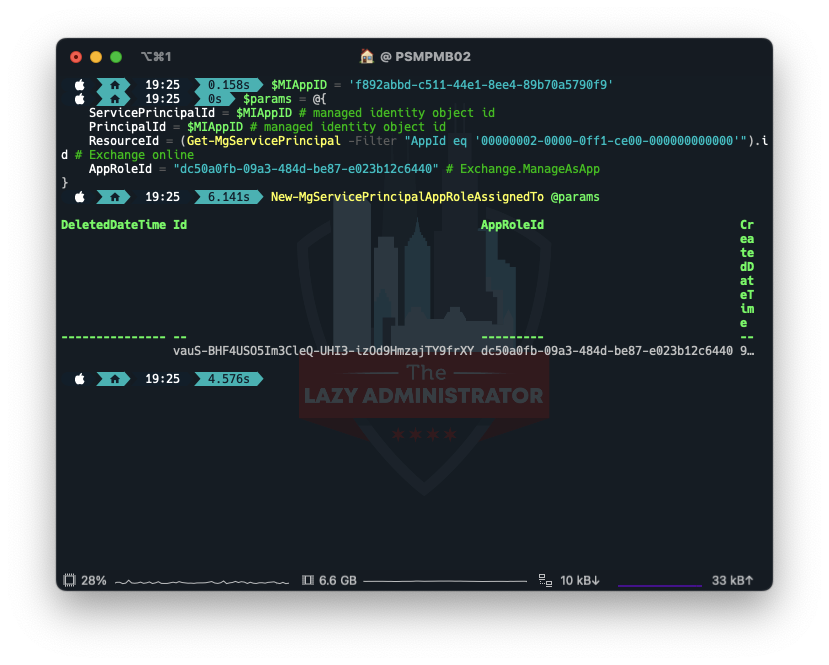
Using the ID we got earlier, we now will assign the proper permissions to our Managed Identity.
$MIAppID = 'f892abbd-c511-44e1-8ee4-89b70a5790f9'
$params = @{
    ServicePrincipalId = $MIAppID # managed identity object id
    PrincipalId = $MIAppID # managed identity object id
    ResourceId = (Get-MgServicePrincipal -Filter "AppId eq '00000002-0000-0ff1-ce00-000000000000'").id # Exchange online
    AppRoleId = "dc50a0fb-09a3-484d-be87-e023b12c6440" # Exchange.ManageAsApp
}
New-MgServicePrincipalAppRoleAssignedTo @params
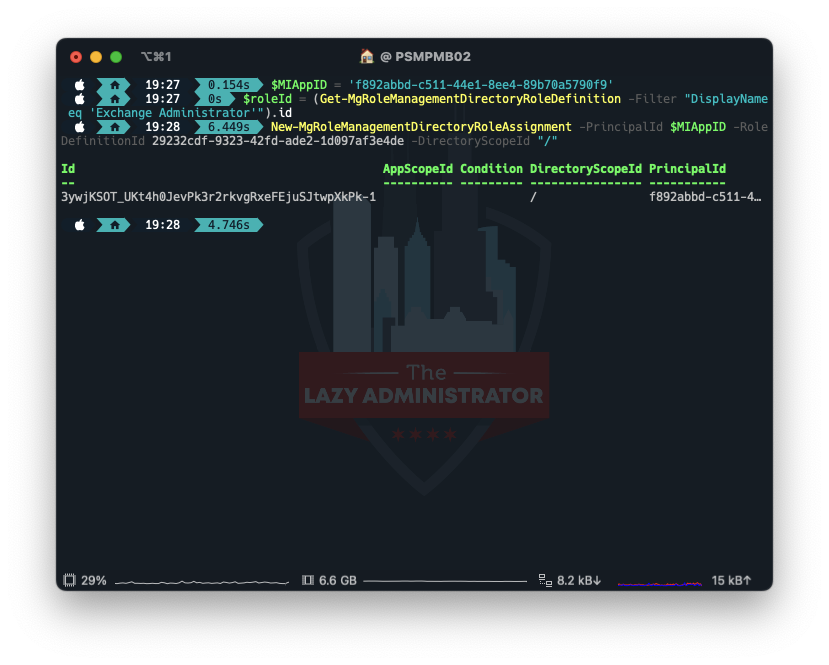
Assign the Exchange Administrator Role
Lastly, we need to assign the role Exchange Administrator to the managed identity.
$MIAppID = 'f892abbd-c511-44e1-8ee4-89b70a5790f9'
$roleId = (Get-MgRoleManagementDirectoryRoleDefinition -Filter "DisplayName eq 'Exchange Administrator'").id
New-MgRoleManagementDirectoryRoleAssignment -PrincipalId $MIAppID -RoleDefinitionId 29232cdf-9323-42fd-ade2-1d097af3e4de -DirectoryScopeId "/"
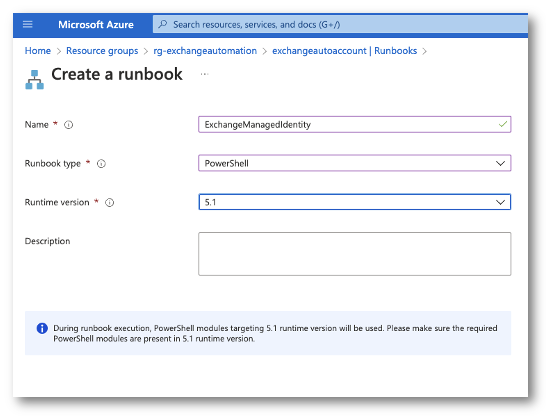
Creating the Runbook
Now in the Azure Portal I will go to my Resource Group and select my Automation Account. From there I will create a PowerShell runbook. IMPORTANT! When selecting a runtime version, select 5.1. I tried PSCore and it could never import the ExchangeOnlineManagement module. This may be fix is future versions.
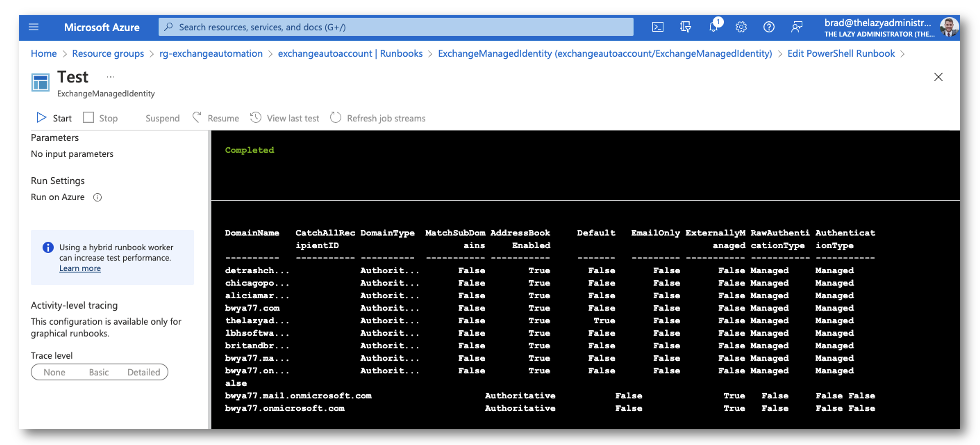
Using Get-AcceptedDomain as a test, we can now see if we are able to use the managed identity that is tied to the automation account to connect to exchange online via PowerShell. My Runbook has the following code
$organization = "bwya77.onmicrosoft.com"
Connect-ExchangeOnline -ManagedIdentity -Organization $organization
Get-AcceptedDomain | Format-Table -AutoSize
Sources
HUGE shout out to onprem.wtf where I was able to read their article to understand how everything works. I spent quite a bit of time trying to find how to use the preview module’s parameters. How to connect to Exchange Online powershell with a managed identity | onprem.wtf

My name is Bradley Wyatt; I am a 6x Dual-Microsoft Most Valuable Professional (MVP) in Microsoft Azure and Microsoft 365. I have given talks at many different conferences, user groups, and companies throughout the United States, ranging from PowerShell to DevOps Security best practices, and I am the 2022 North American Outstanding Contribution to the Microsoft Community winner.
5 thoughts on “Connect to Exchange Online PowerShell with an Azure Managed Identity”
So cool, thank you very much!
On the other hand, how did you get this pretty terminal?
Thanks.
I am using iterm (mac) for my terminal but the using OhMyPosh for the theme
This is my PS Profile: Set-PoshPrompt jblab_2021
I was wondering you’re creating runbook in PowerShell 5.1 runtime because ExchangeOnlineManagement module does not work in 7.1 or 7.2 runtime.
I’m having trouble getting Connect-AzAccount to work in 5.1. I would use 7.1 or 7.2 but I need to use Exchange Online in my script so I need to stick with 5.1.
I’m trying to avoid using Connect-AzureAD because it is scheduled for deprecation.
My objective is to pull users from an Azure AD group and just make changes to their mailbox base on conditions
Sorry about this, please delete this post. I forgot to add the correct module runtime version, 5.1, for the Az.Account module. Stupid me!
Thanks for the write-up, come notes I have made:
Under “ASSIGN THE EXCHANGE ADMINISTRATOR ROLE”
You fetch the roleid for Exchange Administrator, place it into a variable, and then you don’t use the variable.
Under “CONNECT TO GRAPH”
There is an assumption that you have the scopes needed. I had to add
-Scopes “RoleManagement.ReadWrite.Directory”
in order to make the necessary change