Getting Started with Bicep, an ARM DSL for Azure
Table of Contents
Note: This is one part of a several part blog series that goes through Azure Bicep
What is Azure Bicep
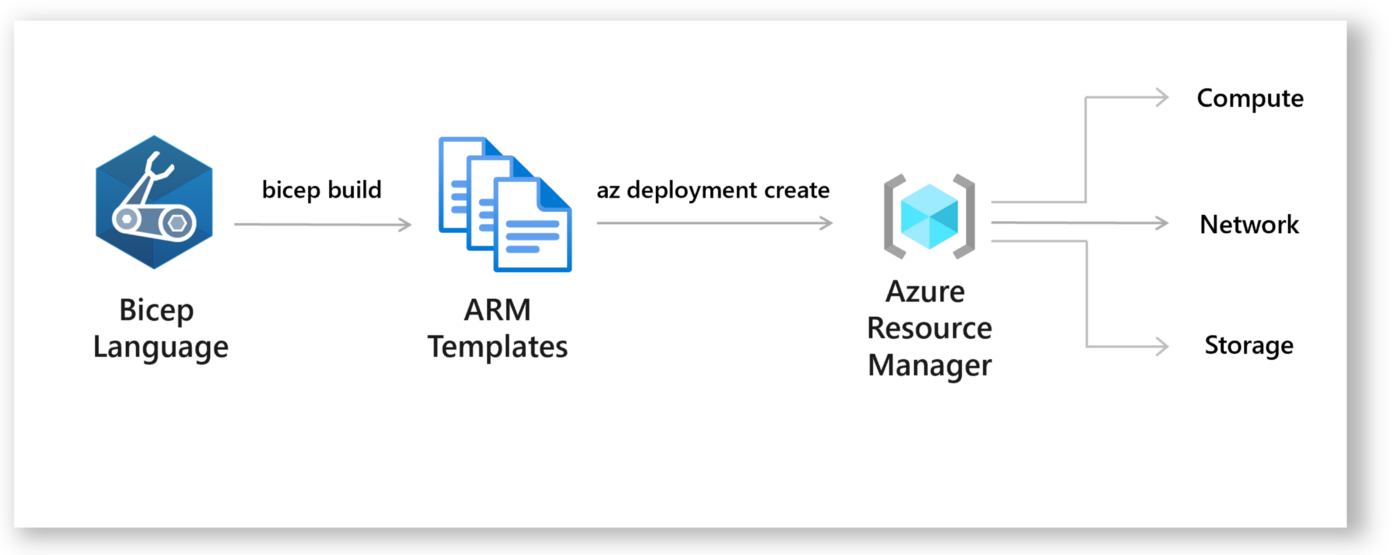
Bicep is a Domain Specific Language or DSL, for deploying Azure resources in a declarative manner. It ‘aims to drastically simplify the authoring experience with a cleaner syntax and better support for modularity and code re-use. Bicep is a transparent abstraction over ARM and ARM templates, which means anything that can be done in an ARM Template can be done in Bicep.’1
Bicep moves away from the JSON syntax used by ARM Templates to something similar to HCL in Terraform. The end result is a syntax that is easier to both read and write. Bicep code is converted into ARM Template code (JSON), and then the resulting ARM Template code (JSON) is used to deploy your Azure resources.
One of the key benefits to Bicep to another DSL like Terraform is with Bicep there is no state file that you need to manage and keep. Your Azure environment is your state file, and Bicep will compare your Azure resources with your Bicep template. Also, there is day 0 support for new resource types and API versions, meaning any Azure resource — whether in private or public preview or GA — can be provisioned using Bicep.
Getting Started with Bicep
There are two items you need to get started. Install the Bicep CLI, which allows you to transpile your Bicep code to ARM templates as well as decompile, and the second item is to install the VSCode extension. The VSCode extension is optional but highly recommended.
Installing Bicep
MacOS
Homebrew is the easiest way to manage your CLI install. It provides convenient ways to install, update, and uninstall. If you don’t have homebrew available on your system, install homebrew before continuing.
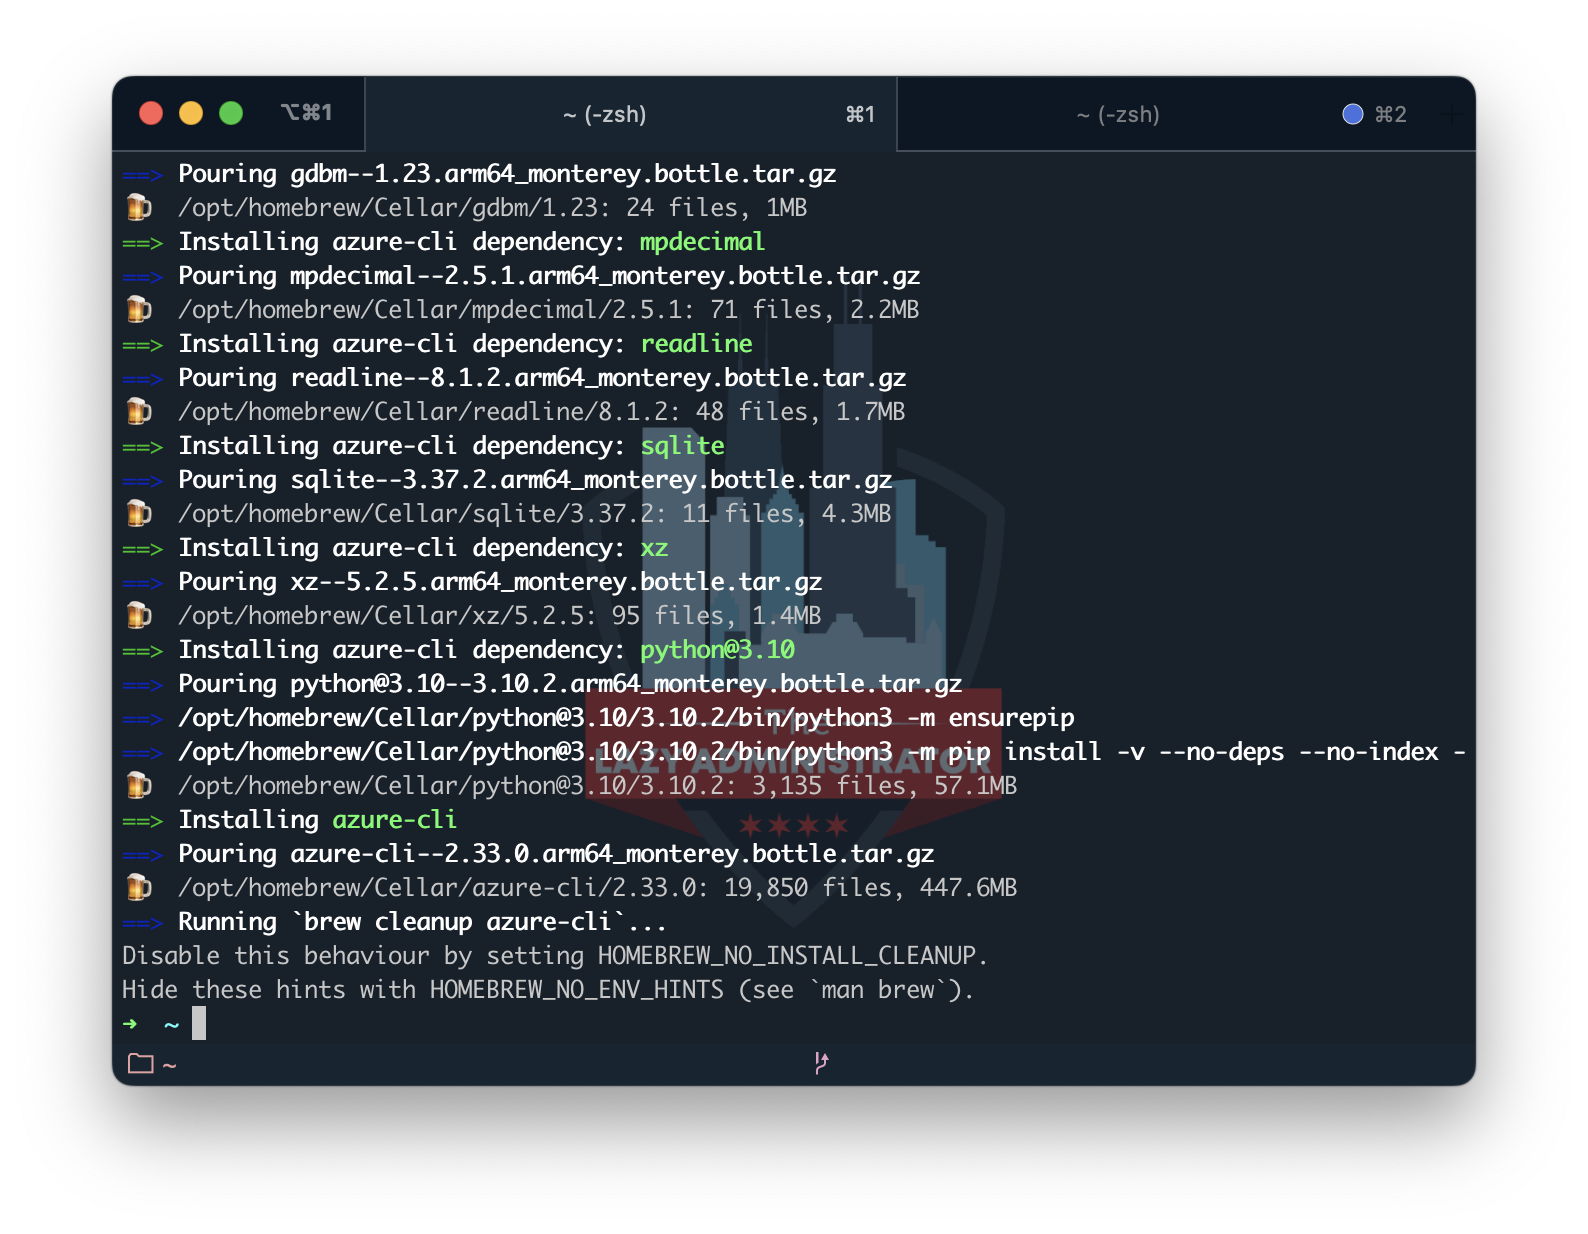
You can install the Azure CLI on macOS by updating your brew repository information, and then running the install command:
brew update && brew install azure-cli
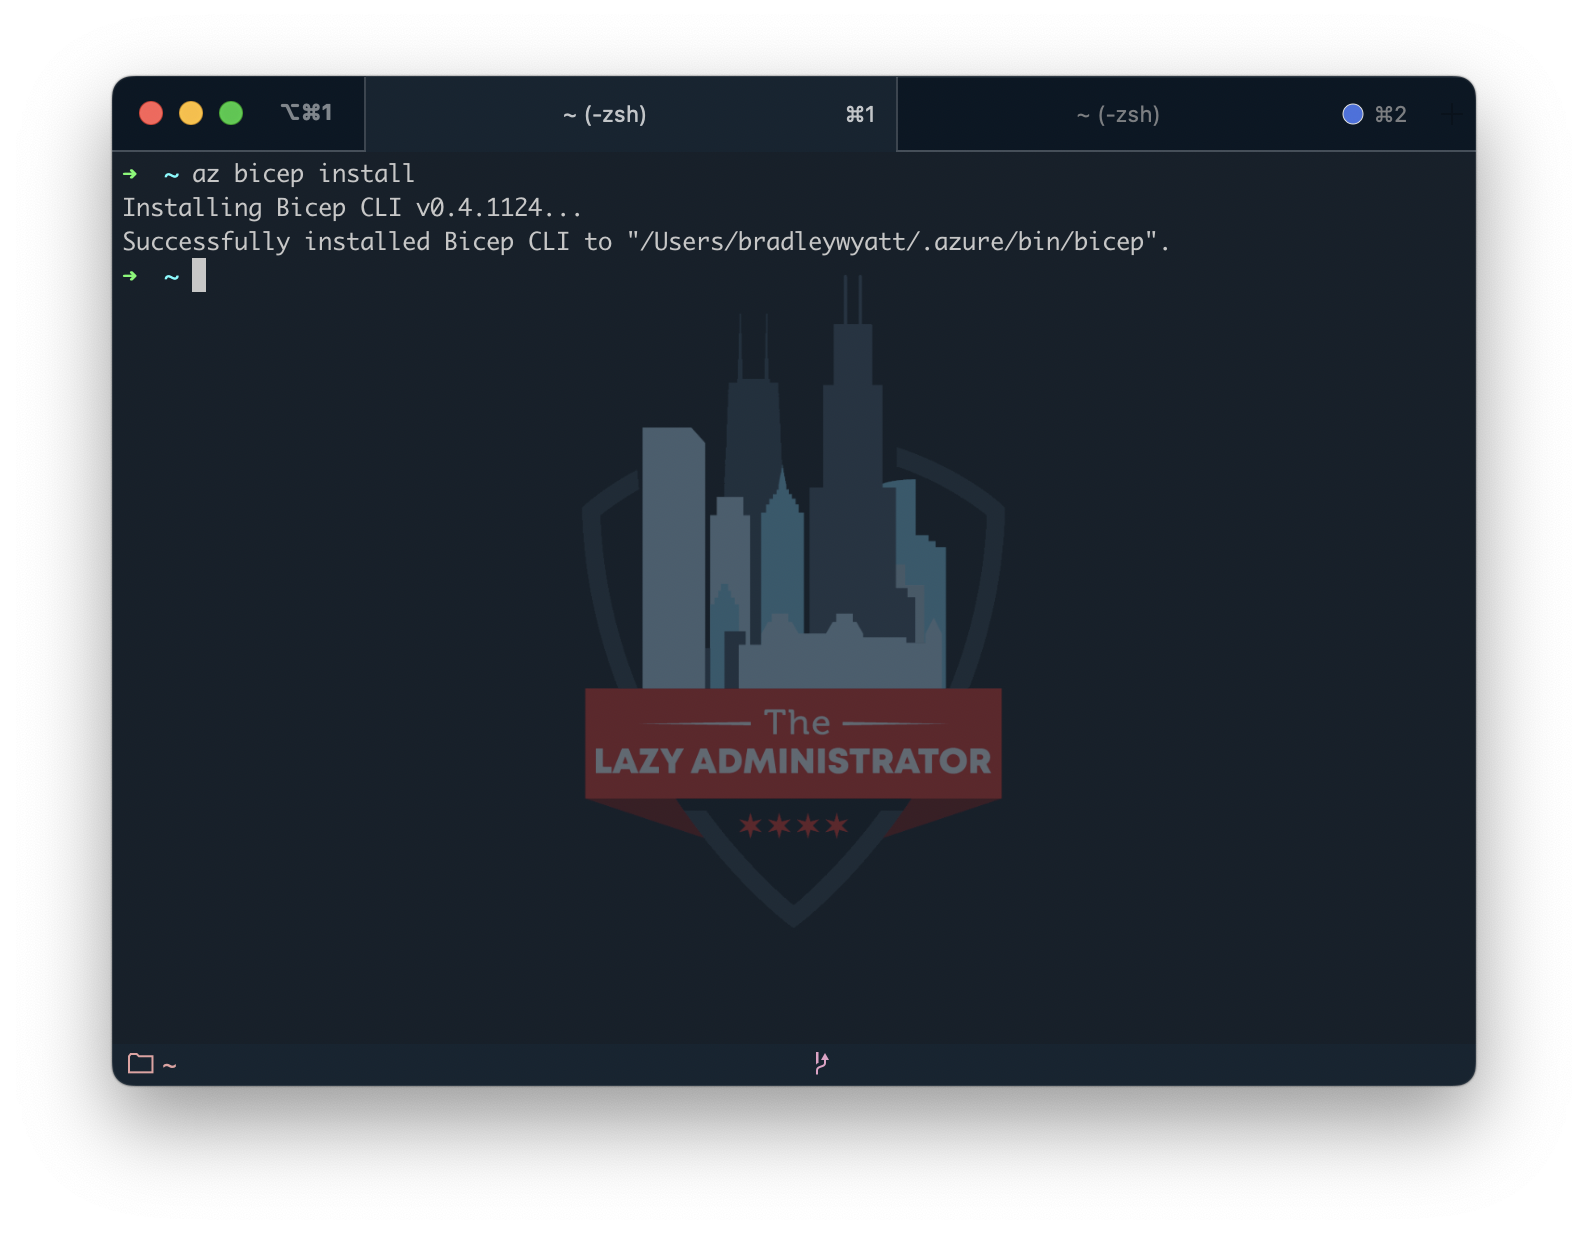
With the Azure CLI installed, you can now install the Bicep binaries
Important: Azure CLI installs a self-contained instance of the Bicep CLI. This instance doesn’t conflict with any versions you may have manually installed. Azure CLI doesn’t add Bicep CLI to your PATH.
az bicep install
You can also install it onto your system not containerized within Az CLI and added to your PATH by running the following
# Add the tap for bicep
brew tap azure/bicep

# Install the tool
brew install bicep

Windows
With Windows, you can install the Azure CLI using the MSI installer provided here: Install the Azure CLI for Windows | Microsoft Docs
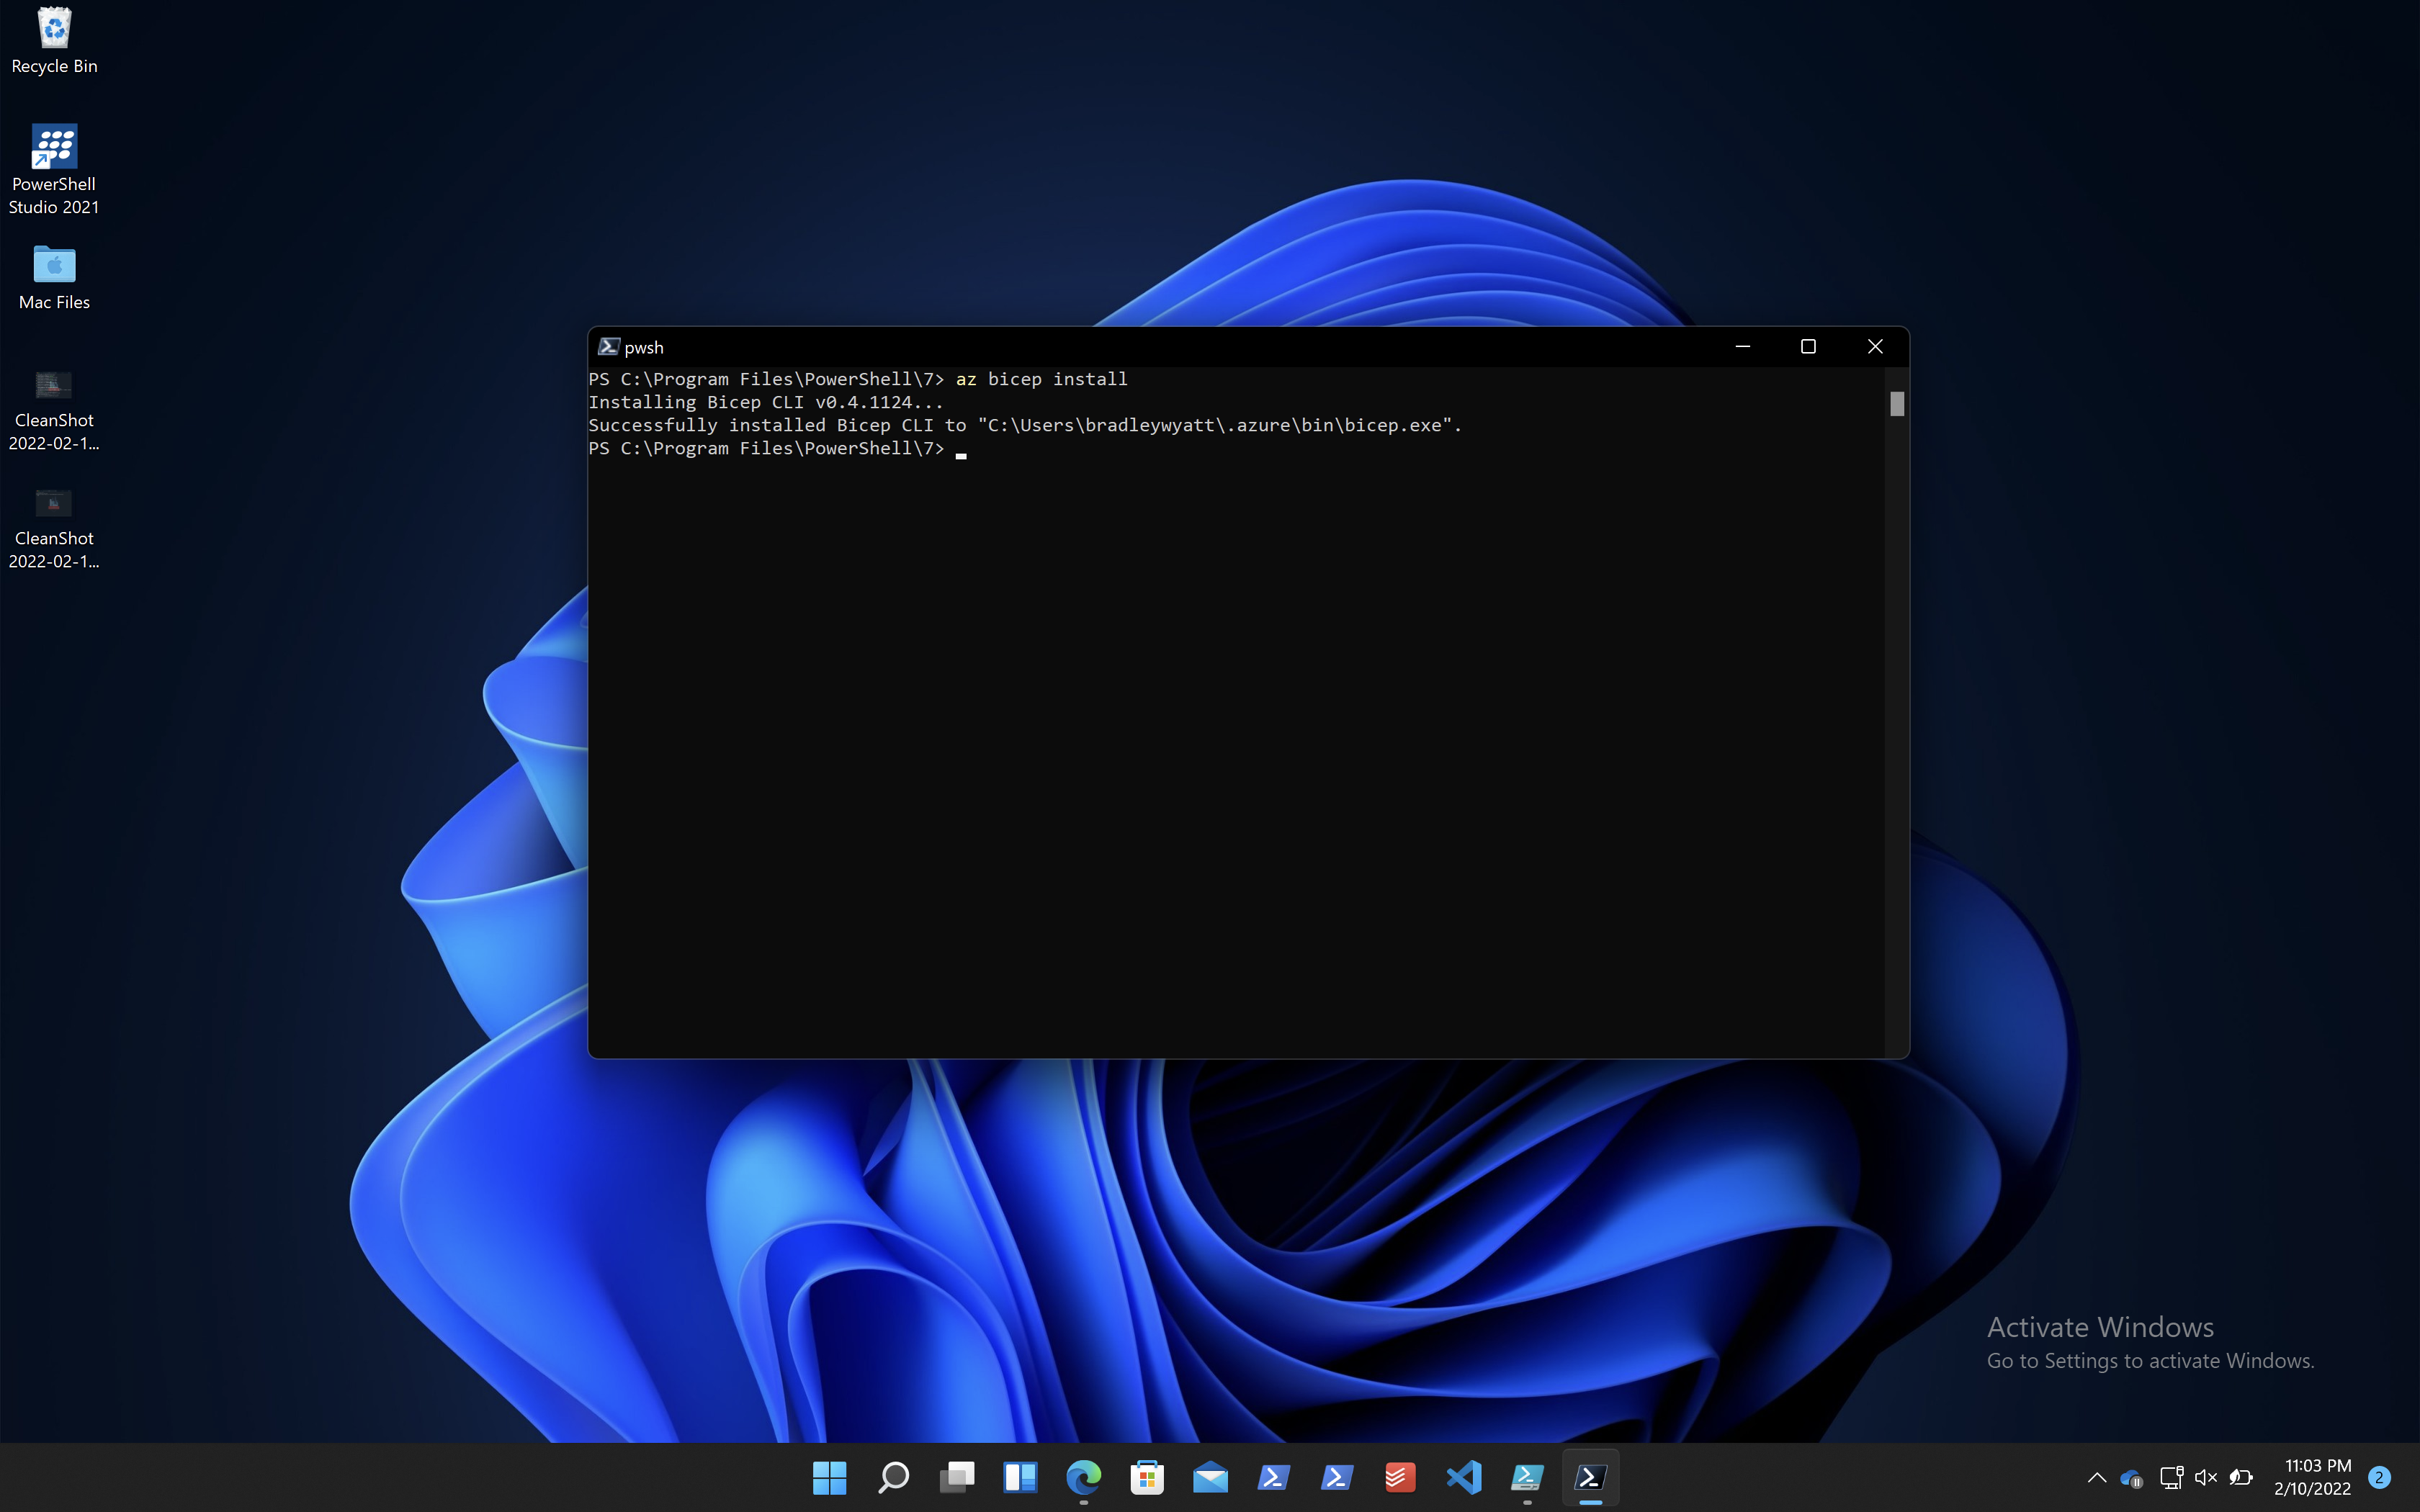
Once you follow the installer prompts, launch PowerShell and run the following code to install the Bicep binaries
Important: Azure CLI installs a self-contained instance of the Bicep CLI. This instance doesn’t conflict with any versions you may have manually installed. Azure CLI doesn’t add Bicep CLI to your PATH.
az bicep install
You can also install it onto your system not containerized within Az CLI and added to your PATH by running the following
# Create the install folder
$installPath = "$env:USERPROFILE\.bicep"
$installDir = New-Item -ItemType Directory -Path $installPath -Force
$installDir.Attributes += 'Hidden'
# Fetch the latest Bicep CLI binary
(New-Object Net.WebClient).DownloadFile("https://github.com/Azure/bicep/releases/latest/download/bicep-win-x64.exe", "$installPath\bicep.exe")
# Add bicep to your PATH
$currentPath = (Get-Item -path "HKCU:\Environment" ).GetValue('Path', '', 'DoNotExpandEnvironmentNames')
if (-not $currentPath.Contains("%USERPROFILE%\.bicep")) { setx PATH ($currentPath + ";%USERPROFILE%\.bicep") }
if (-not $env:path.Contains($installPath)) { $env:path += ";$installPath" }
# Verify you can now access the 'bicep' command.
bicep --help
# Done!
Linux
To install Bicep on Linux run the following code
# Fetch the latest Bicep CLI binary
curl -Lo bicep https://github.com/Azure/bicep/releases/latest/download/bicep-linux-x64
# Mark it as executable
chmod +x ./bicep
# Add bicep to your PATH (requires admin)
sudo mv ./bicep /usr/local/bin/bicep
# Verify you can now access the 'bicep' command
bicep --help
# Done!
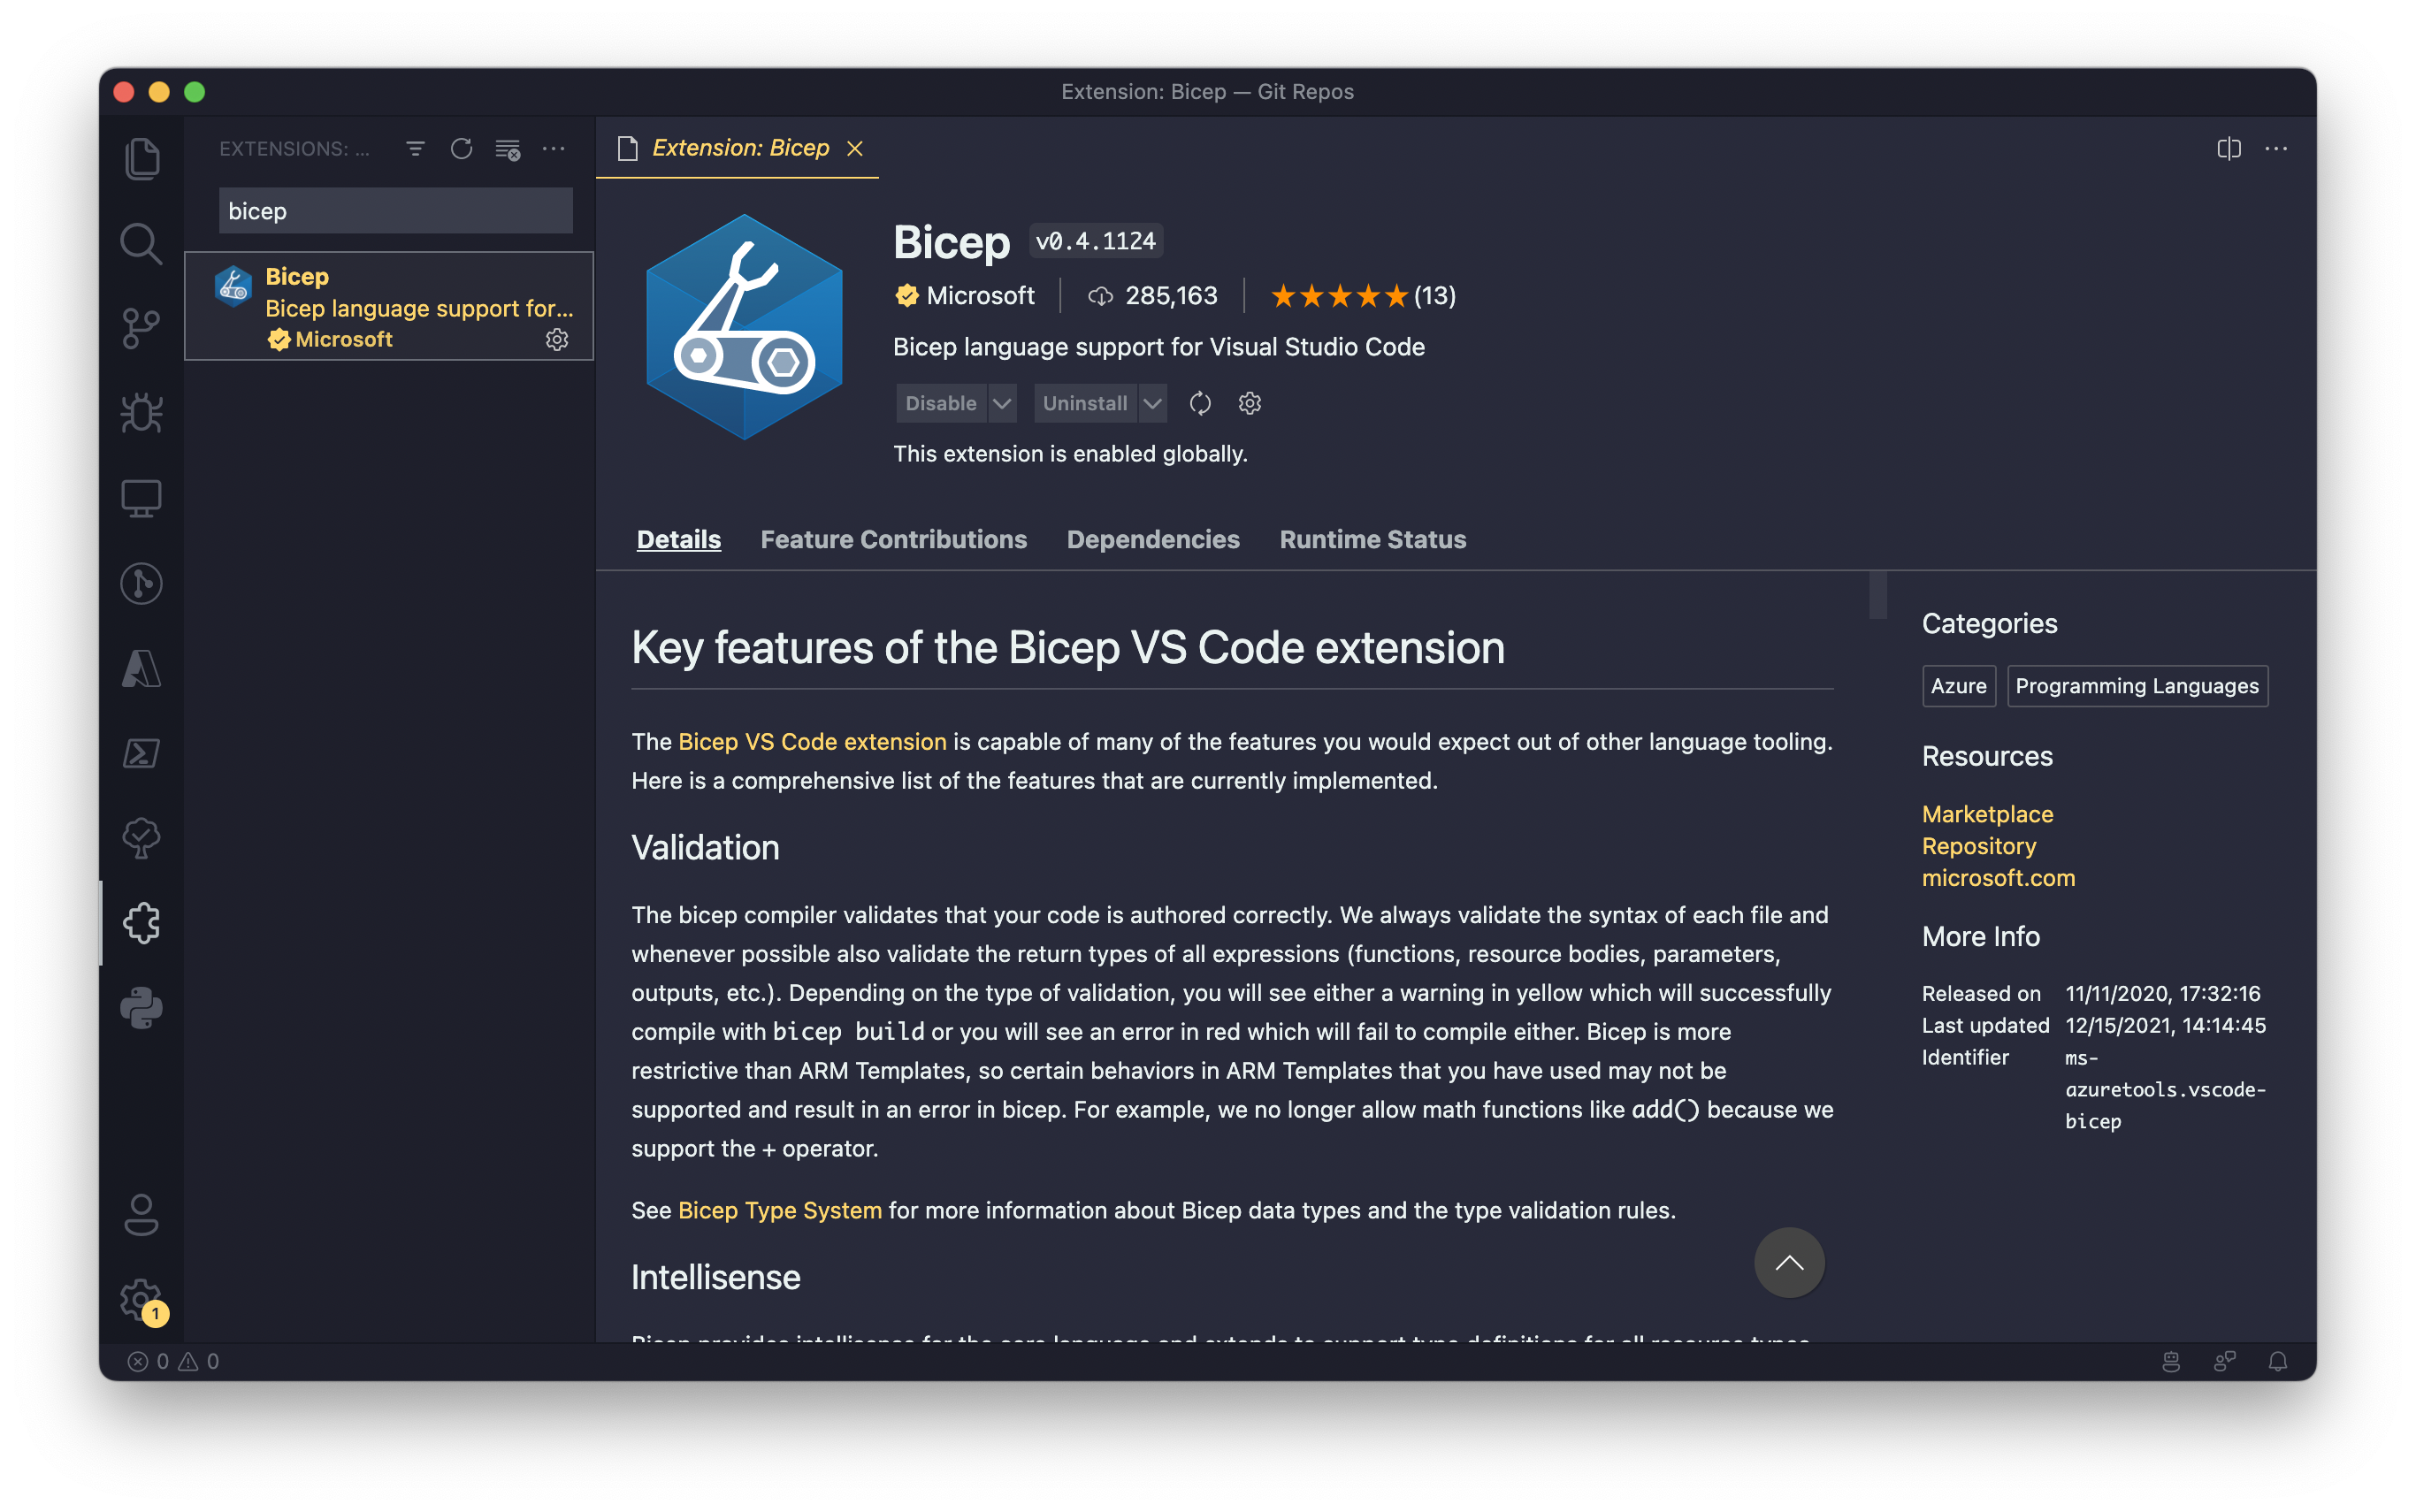
Install VSCode Extension
To install the VSCode extension, launch VSCode and go to Extension on the left pane and search for ‘Bicep.’
Upgrading Bicep
If you have Bicep containerized within Az, you can easily upgrade it by running the following command
az bicep upgrade
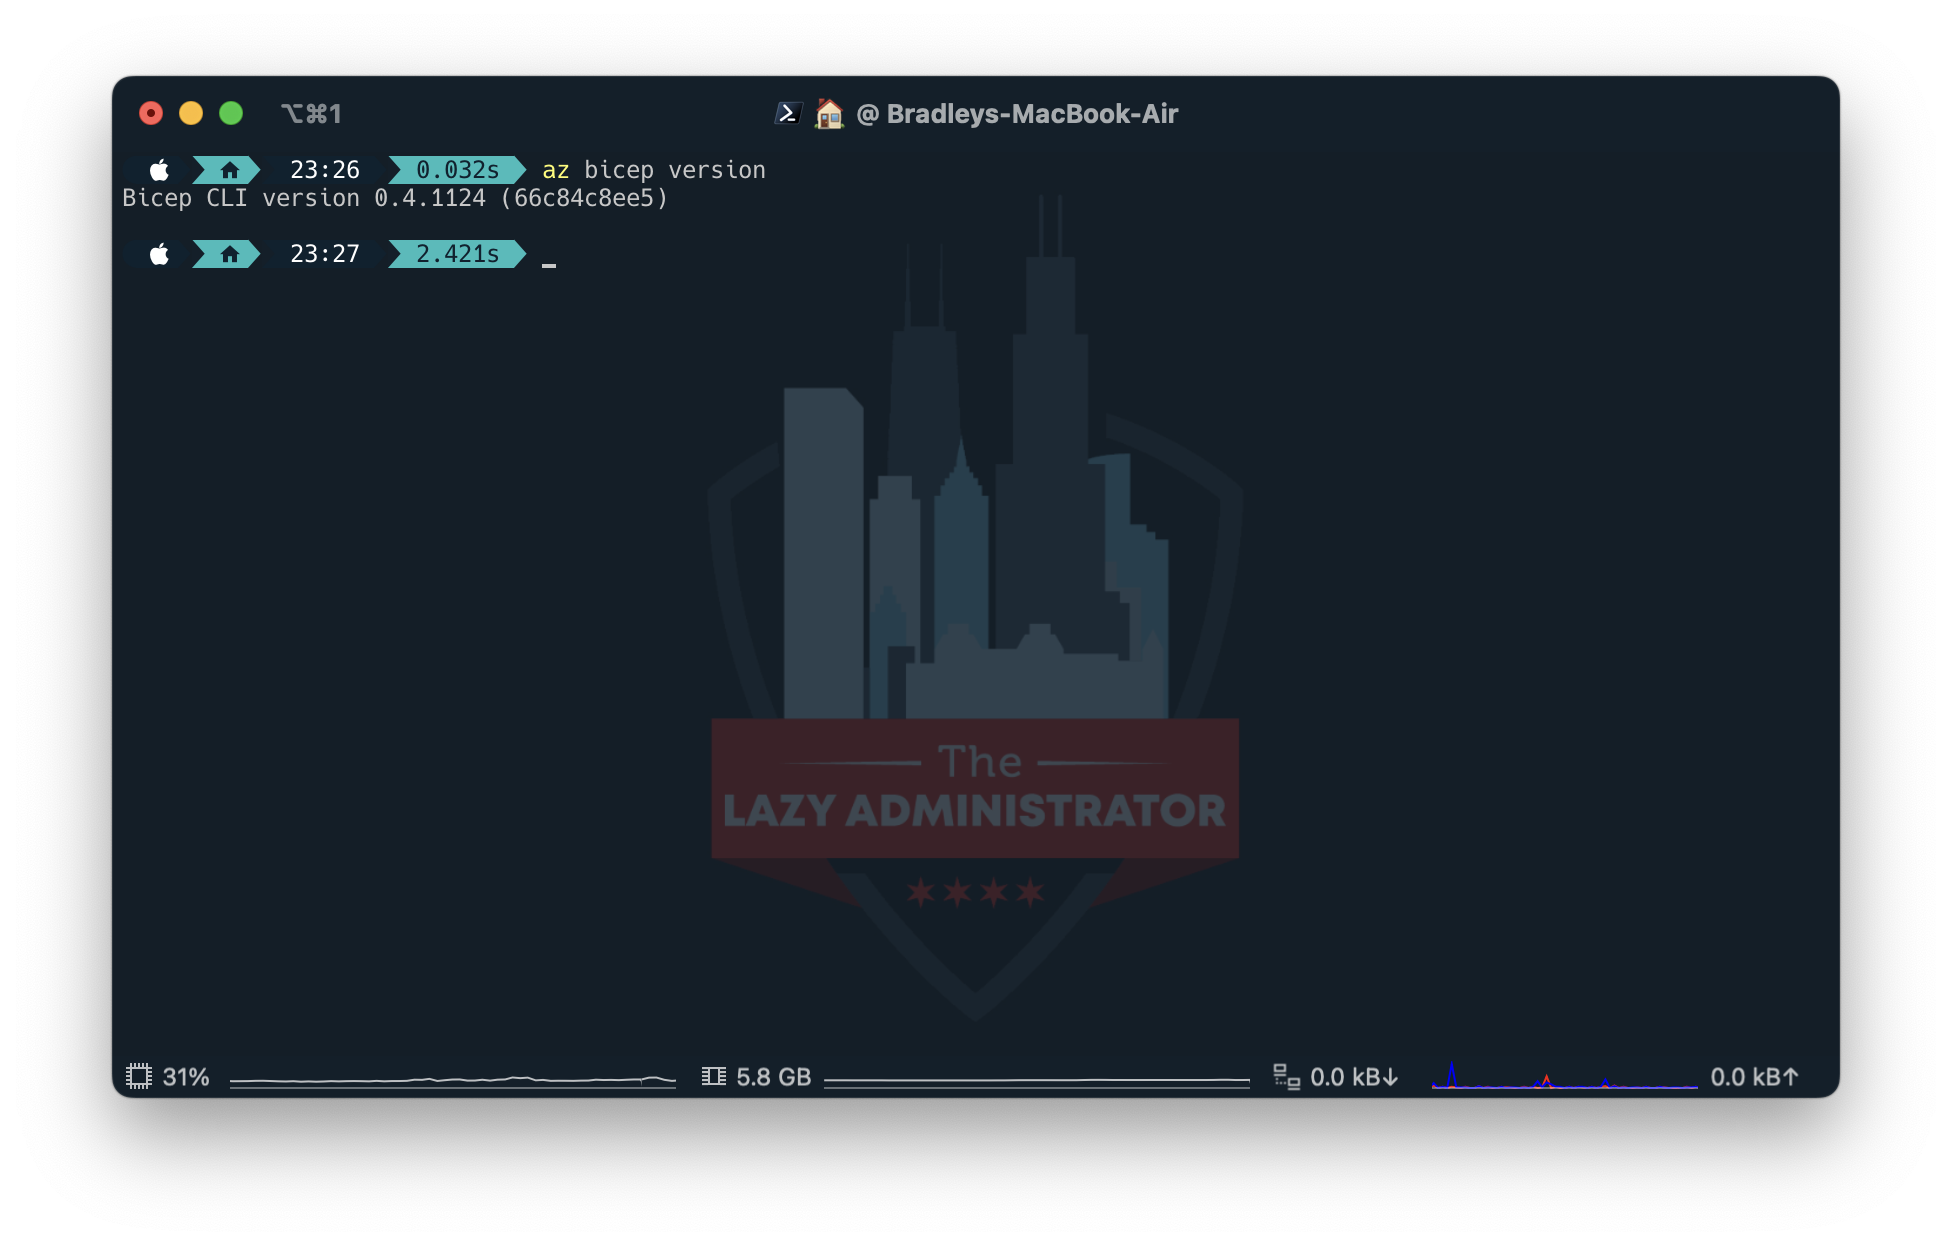
List Bicep Version
To list the Bicep version installed in Az, run the following command
az bicep version
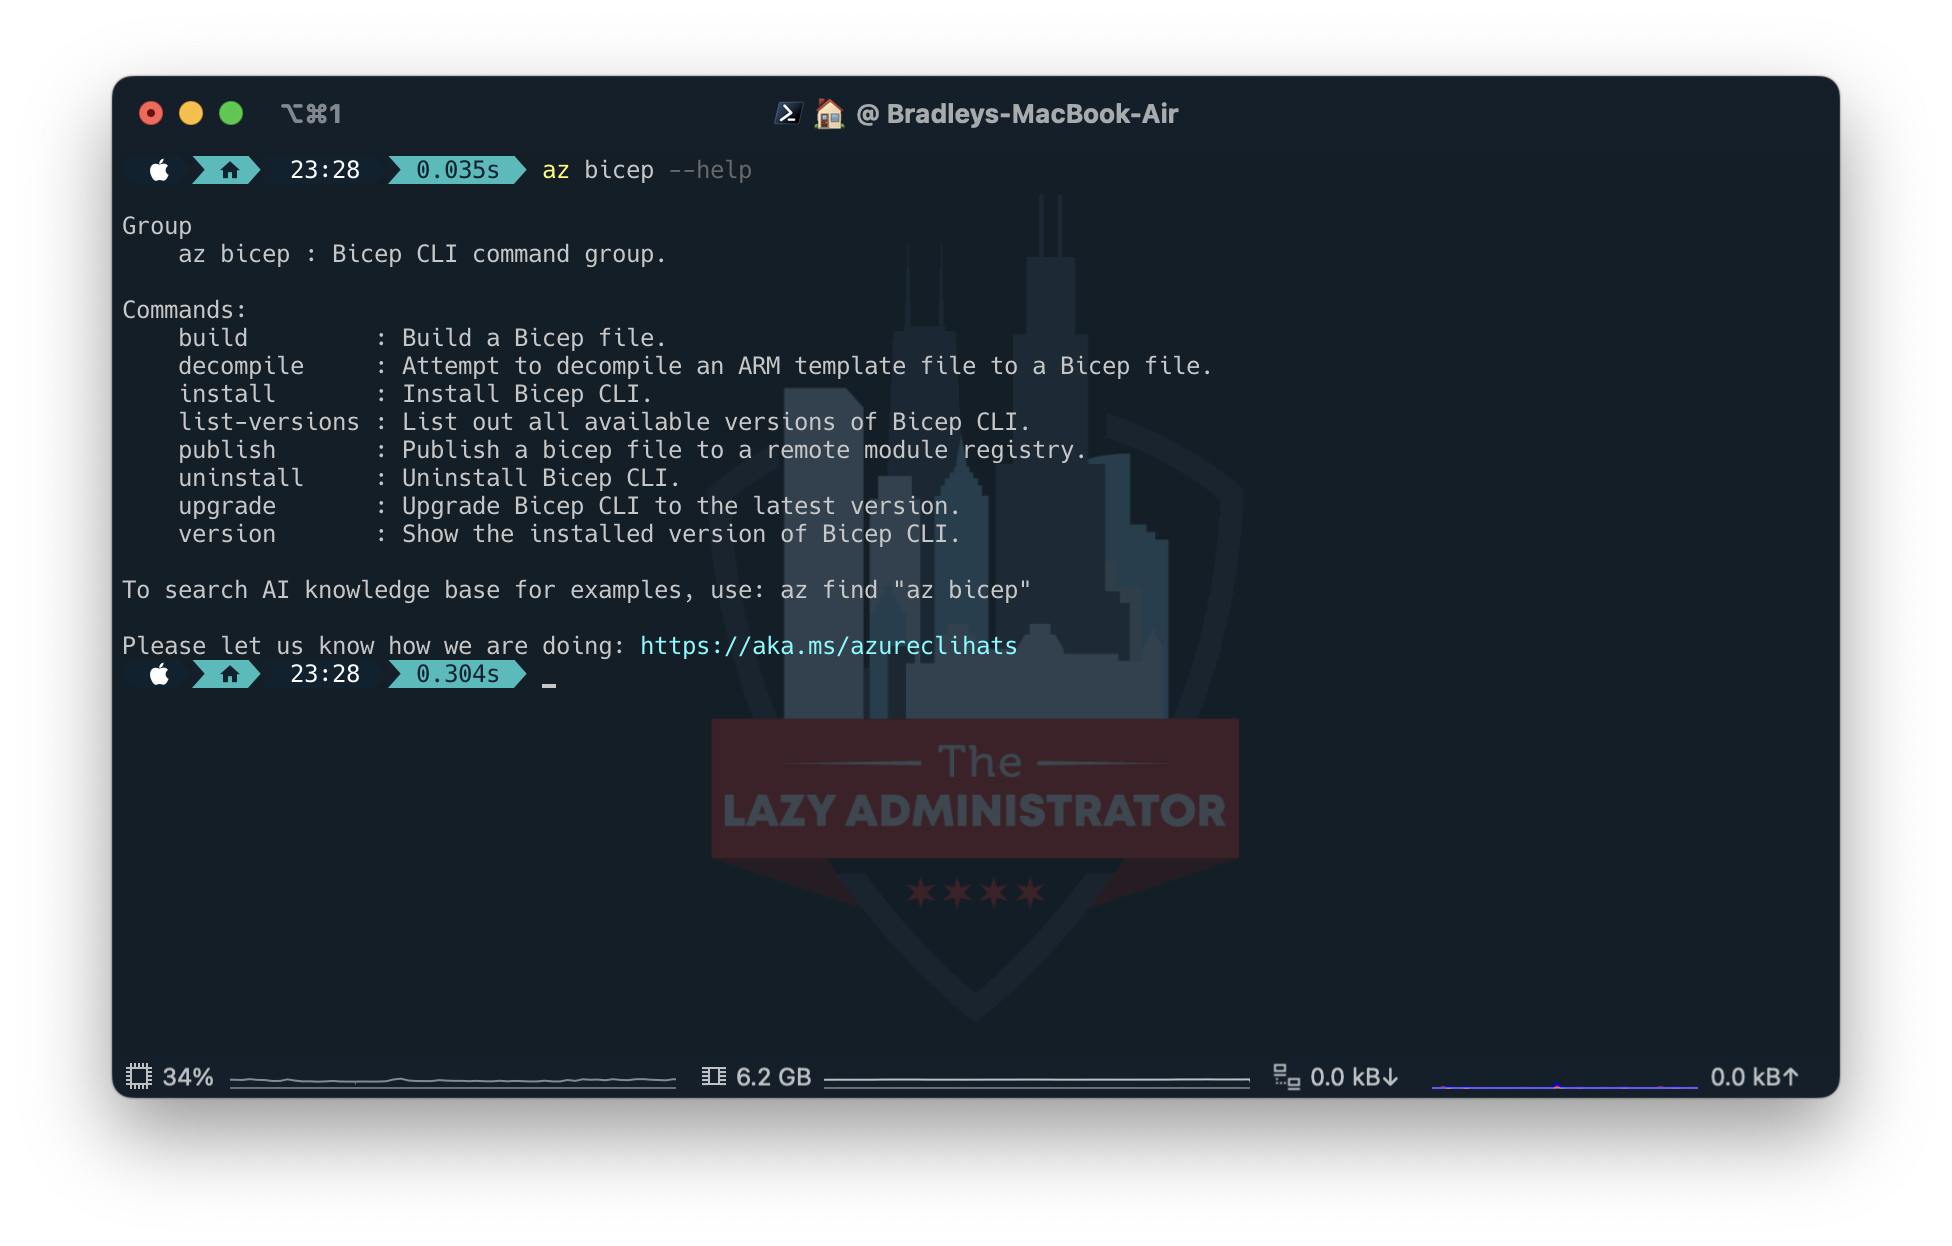
Launching Bicep
Now that you have Bicep installed you need to know how to launch it. If you installed it into the Az CLI run the following command to verify that it is installed
az bicep --help
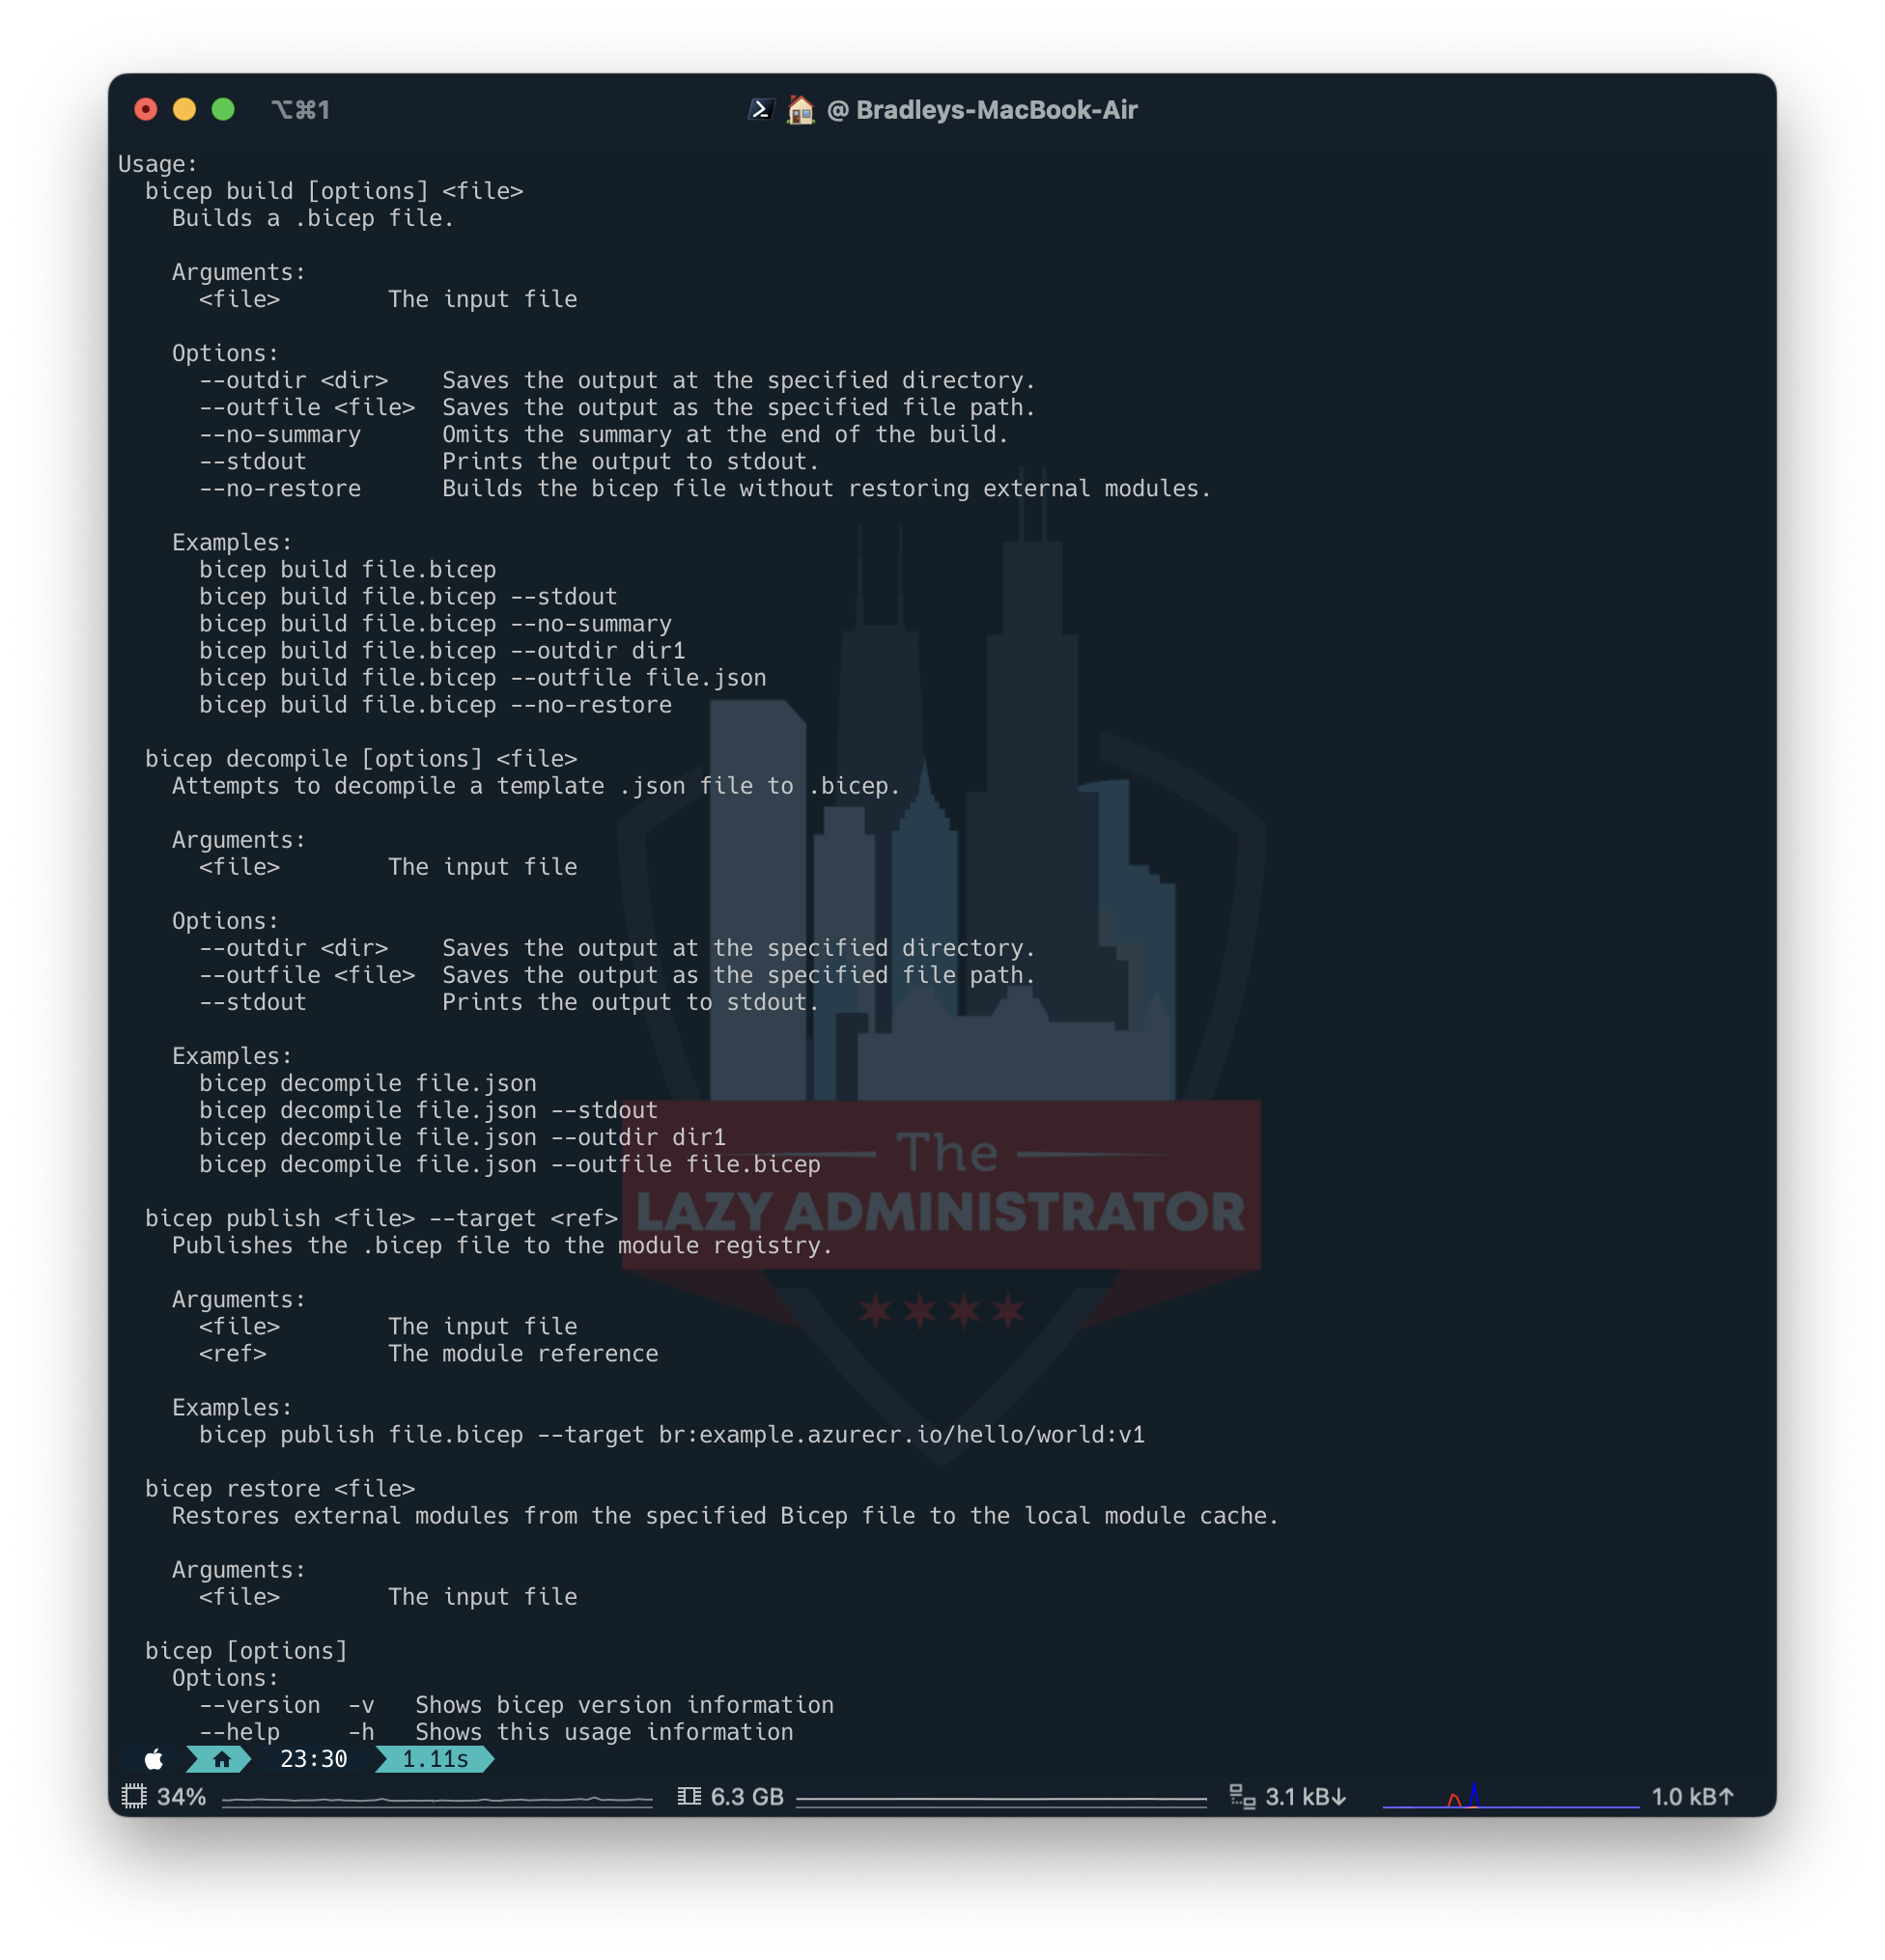
If Bicep is installed locally and added to your PATH you can just run the following command
bicep --help
Next: Building Your First Bicep Template
Sources

My name is Bradley Wyatt; I am a 6x Dual-Microsoft Most Valuable Professional (MVP) in Microsoft Azure and Microsoft 365. I have given talks at many different conferences, user groups, and companies throughout the United States, ranging from PowerShell to DevOps Security best practices, and I am the 2022 North American Outstanding Contribution to the Microsoft Community winner.
One thought on “Getting Started with Bicep, an ARM DSL for Azure”
Great Notes. Thank you so much.