Deploy Intune Applications with PowerShell and Azure Blob Storage
Table of Contents
Intune is a great way to deploy applications to your managed devices, couple that with Auto Pilot and its a quick and easy way to deploy new end-user machines as well. With Intune you can deploy applications like MSI, Win32, Microsoft Store, etc. The application files are cached on your local machine via Intune, and then installed. But with applications that require multiple files, or even install directories, or large install files this may not be the best method. With multiple files you could put all your files and directories in one folder, create a PowerShell script to move the files and call the installer, and wrap it all up in a intunewin format (and then in the Intune install command, call powershell.exe to run your custom PowerShell script). OR you can stick it up in Azure Blob Storage, and create a PowerShell configuration script to download and install it. The benefit of this method is that I find it MUCH easier to maintain and update if you need to, and in a hybrid Intune environment (traditional Active Directory and Azure Active Directory) you can set up network caching for those large installers. Then only the first machine will download the install binaries, cache it on a local server, and all the other computers will see that the cached file is present and just copy it from the local source instead of all of them downloading this large installer from Intune. This would be large benefit if you were doing a large PC roll via Auto Pilot, or a large amount of your computers would all need this large program in a short amount of time.
Preparing your Install Files
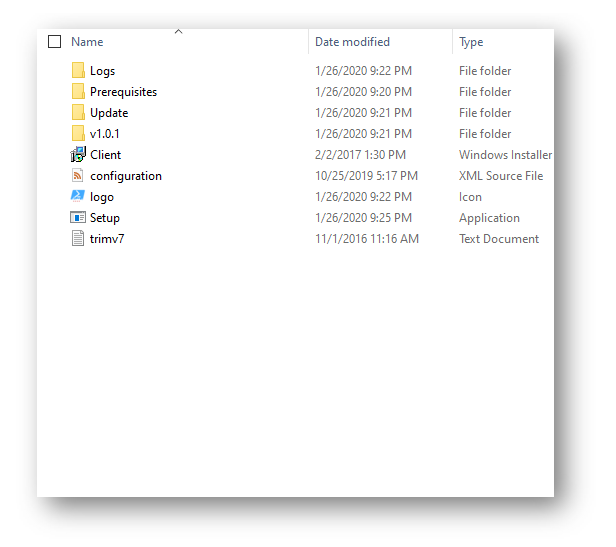
First we will need to prepare our install file or files, for Azure Blob Storage. Pictured below is the directory of my installation files. Notice that it contains multiple files and directories. Unfortunately, I can’t just take the exe or msi and add it to Intune because the installer calls other files in the other directories during the installation process.
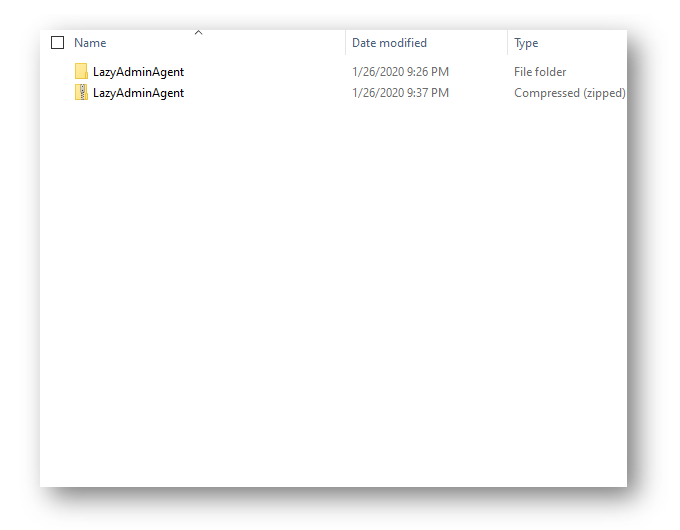
So, I placed all my installation files in a folder called LazyAdminAgent (the name of the program I am installing), and zipped it up.
Create your Azure Blob Storage Account
If you already have an Azure Blob storage account you will be using you can skip this step, otherwise I will show you how to create the blob storage account.
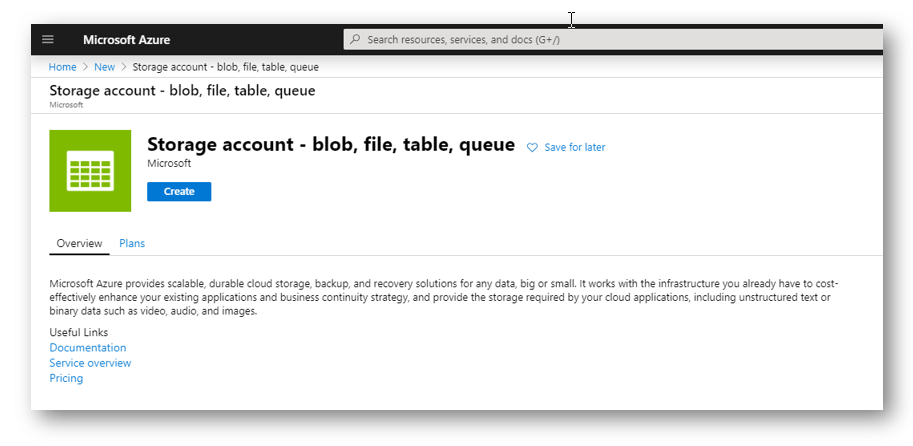
In the Azure Portal I went to Create a Resource > and type storage account
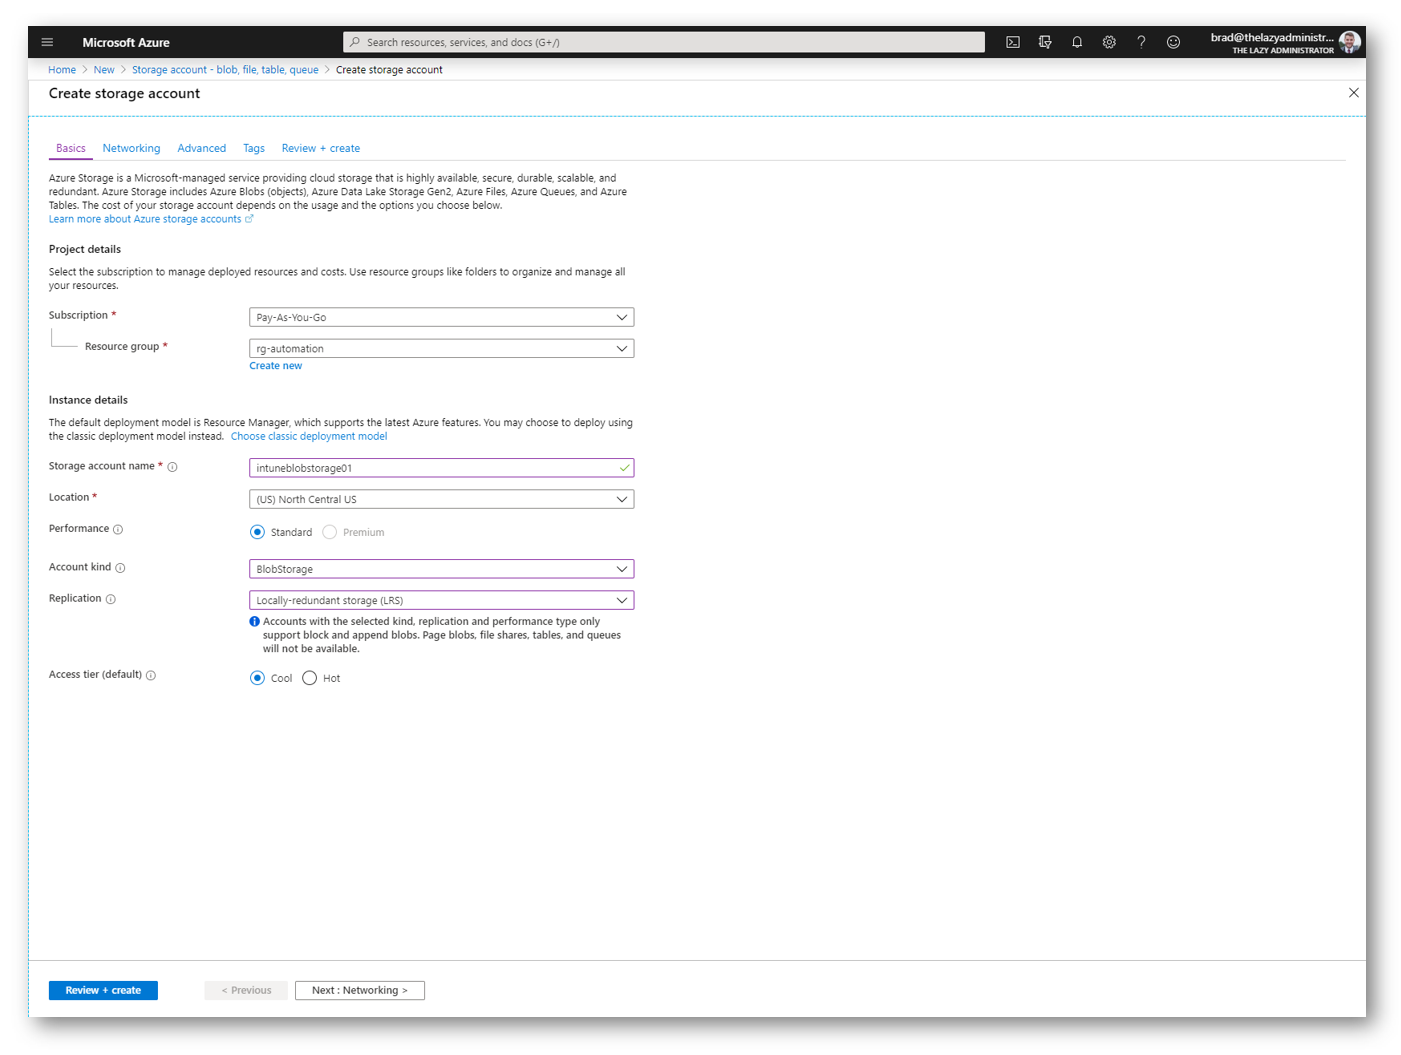
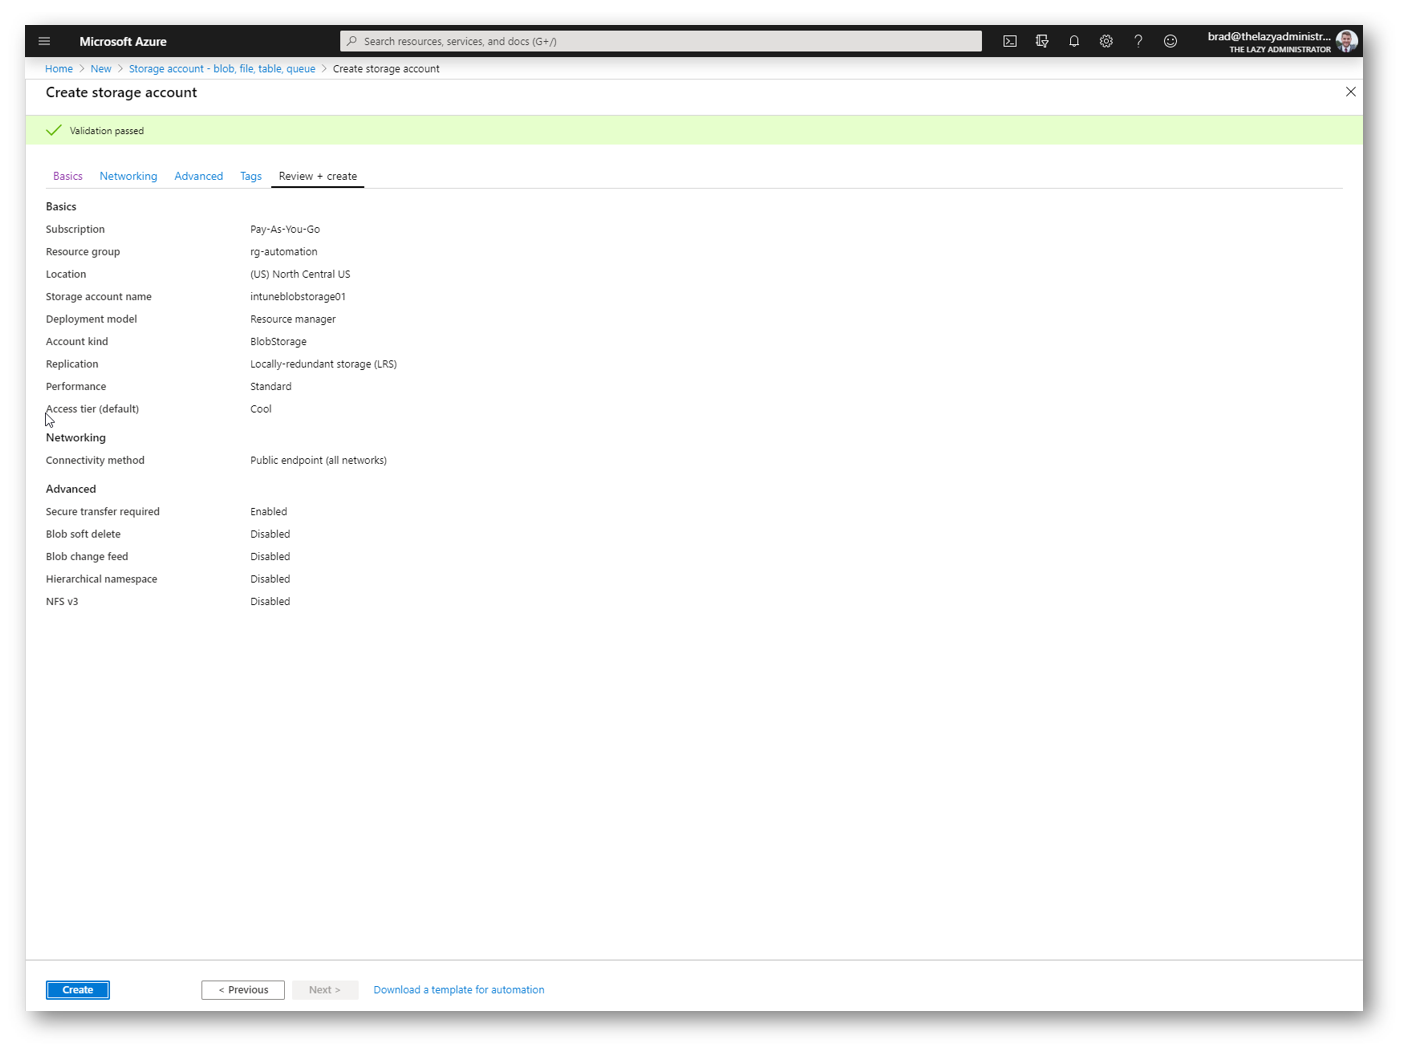
In the Create a Storage account blade select a valid subscription, resource group for your storage account, name, location and performance. For account kind select BlobStorage and for access tier I selected Cool as my data will not be access frequently
In the Review + Create blade, once validation has passed I can create my new storage account by pressing the Create button
Add your Files to Azure Blob Storage
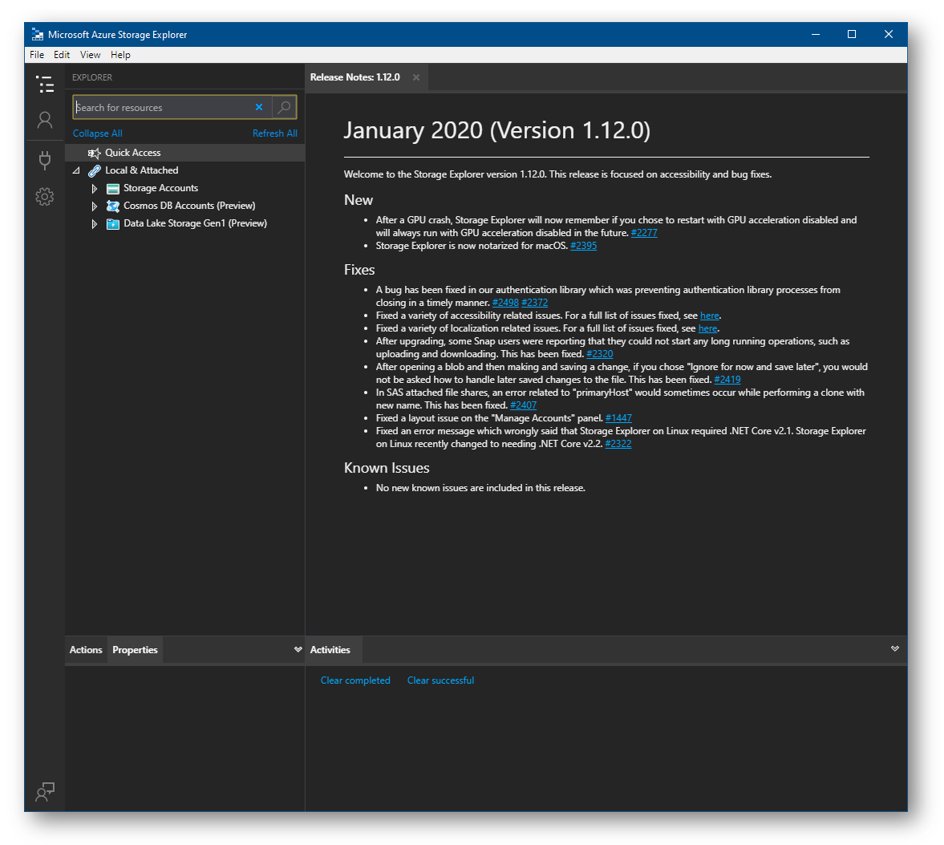
Next, we need to add our installation files into Azure Blob. The easiest way to do this is to use the Azure Storage Explorer by Microsoft.
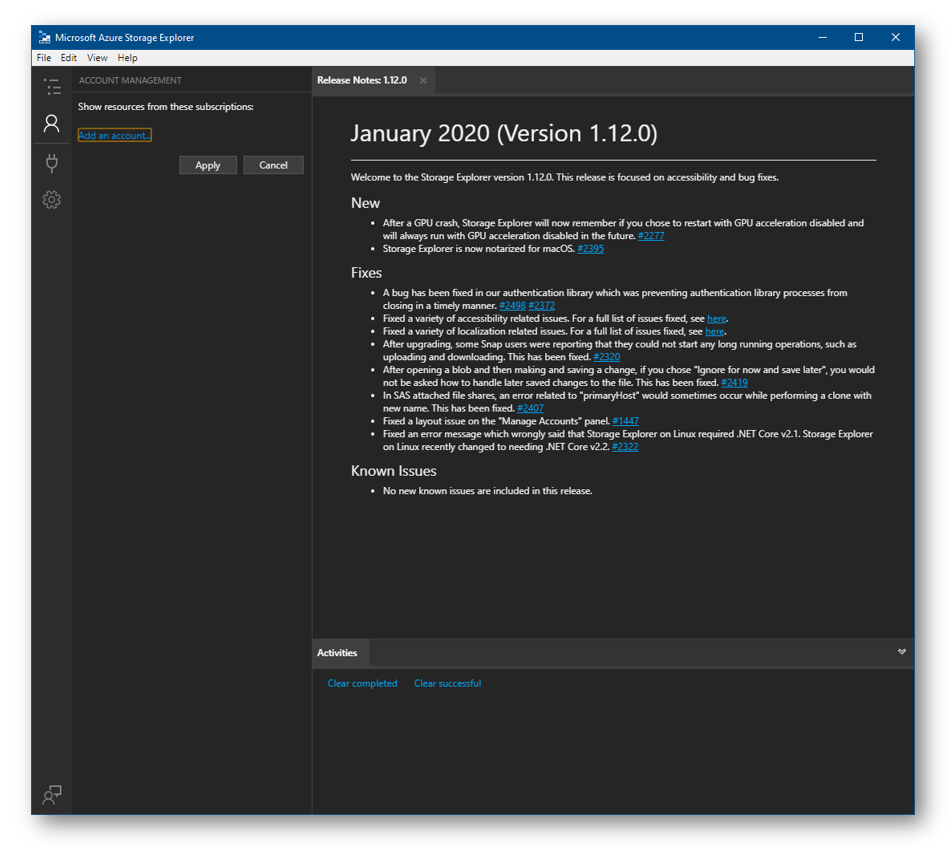
In the left panel click Accounts which is the person icon and then Add an account…
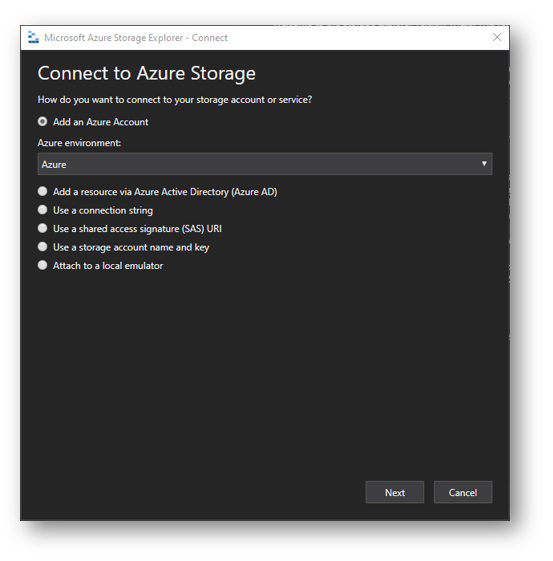
Select Add an Azure Account and in the drop down select your appropriate region
Log into your Azure tenant with the appropriate account.
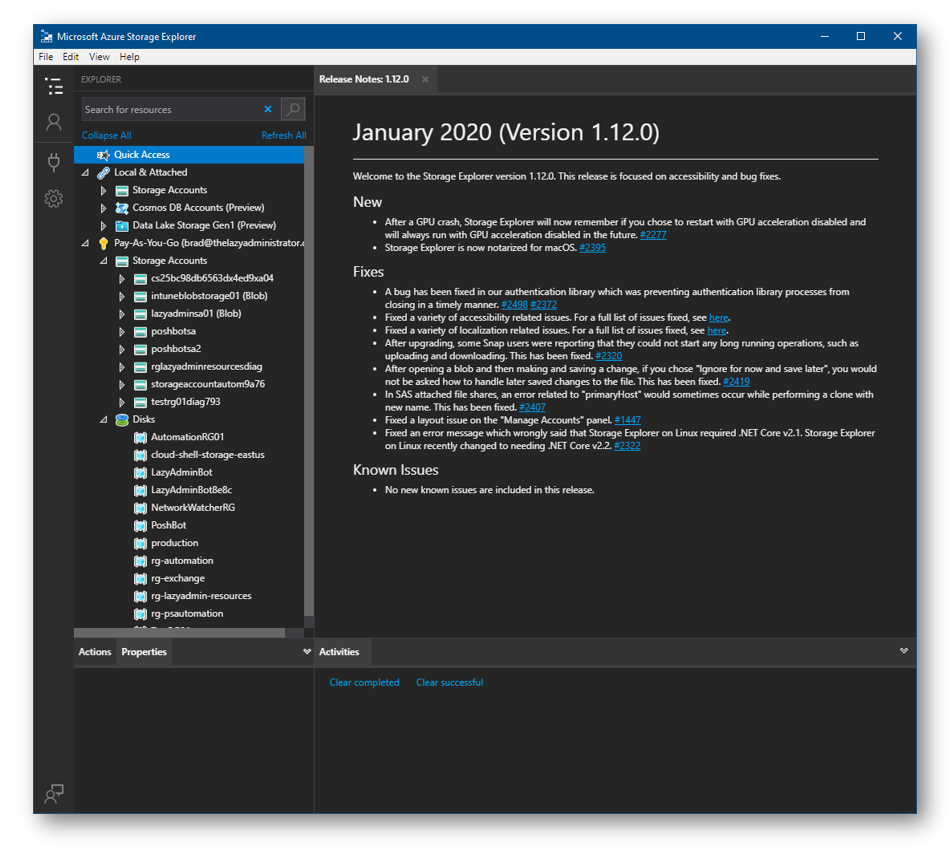
Once I have finished the authentication process I will be able to see all of my storage accounts, including the one I created earlier
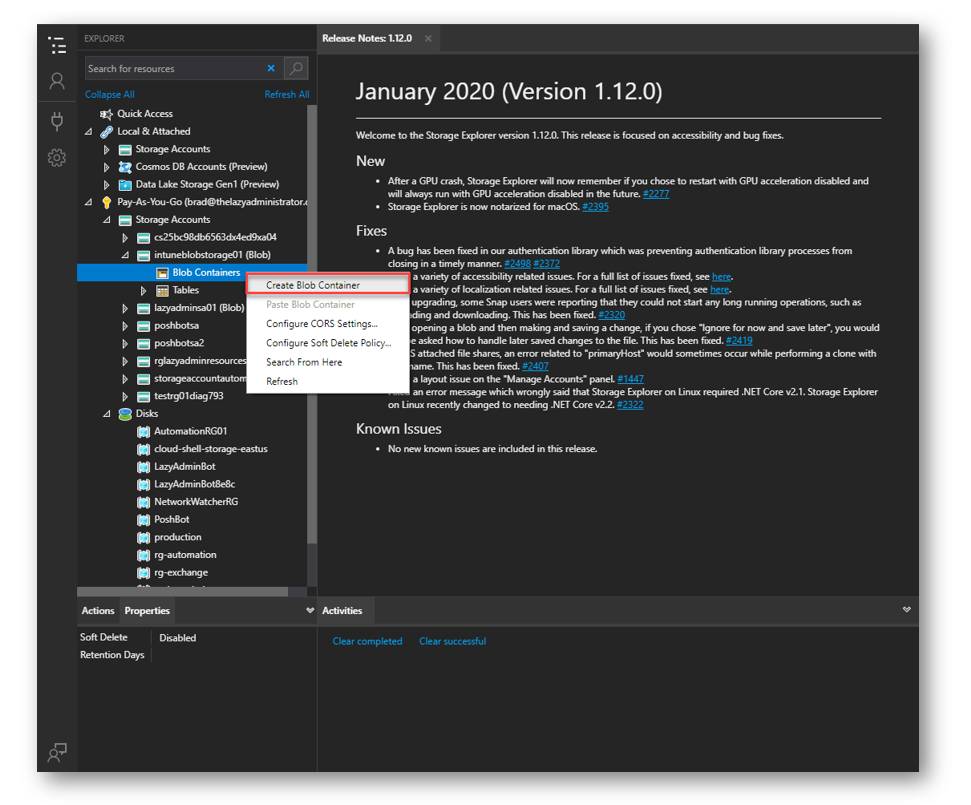
Expand your storage account and right click on Blob Containers and select Create a Blob Container
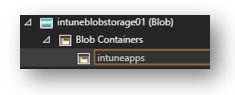
In my example I created a new blob container called intuneapps
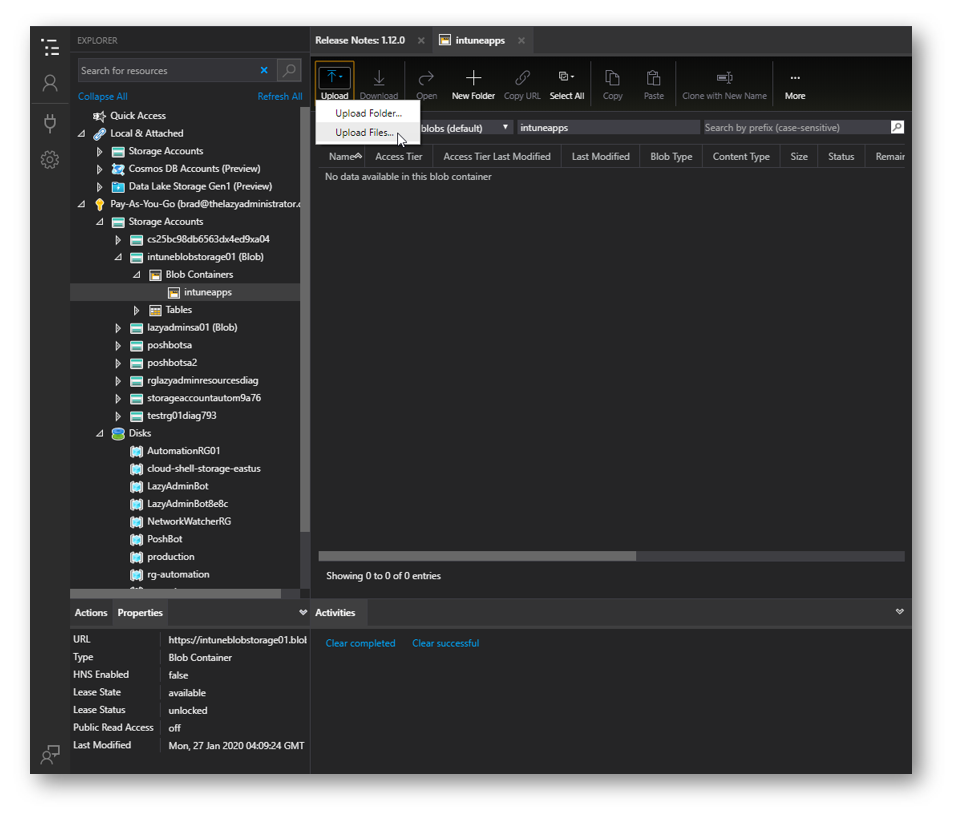
To upload my zipped install directory I can click Upload and then select Upload Files
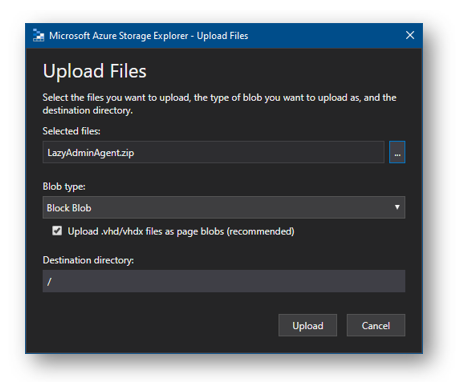
In the Upload Files wizard I can browse to my zip and then select Upload
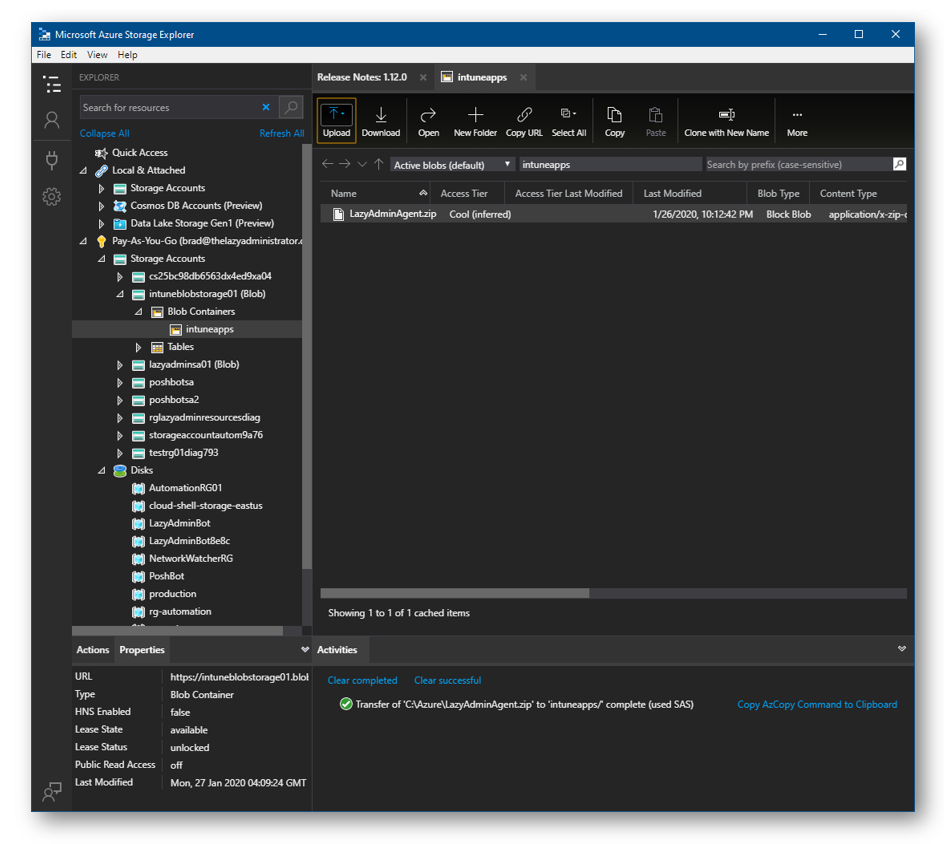
 Finally, in the Storage Explorer I can see my zip has successfully been uploaded.
Create PowerShell Configuration Script
Finally, we need to create our Intune PowerShell configuration script that will be downloading our install files from Azure, caching them locally, extracting them, and then running the installer. Below is the script we will start off with and I will walk you through each parameter and what it is doing.
param (
	[System.String]$ZipSourceFiles      = "",
    [system.string]$IntuneProgramDir    = "$env:APPDATA\Intune",
    [System.String]$FullEXEDir          = "$IntuneProgramDir\LazyAdminAgent\setup.exe",
    [System.String]$ZipLocation         = "$IntuneProgramDir\LazyAdmin.zip",
    [System.String]$TempNetworkZip      = "\\LazyAdmin-DC01\Intune$\LazyAdmin.zip"
)
#Check to see if the binaries are cached locally
If ((Test-Path $TempNetworkZip) -eq $False)
{
    #Start download of the source files from Azure Blob to the network cache location
    Start-BitsTransfer -Source $ZipSourceFiles -Destination $TempNetworkZip

    #Check to see if the local cache directory is present
    If ((Test-Path -Path $IntuneProgramDir) -eq $False)
    {
        #Create the local cache directory
        New-Item -ItemType Directory $IntuneProgramDir -Force -Confirm:$False
    }

    #Copy the binaries from the network cache to the local computer cache
    Copy-Item $TempNetworkZip -Destination $IntuneProgramDir  -Force

    #Extract the install binaries
    Expand-Archive -Path $ZipLocation -DestinationPath $IntuneProgramDir -Force

    #Install the program
    Start-Process "$FullEXEDir" -ArgumentList " /S /v/qn"
}
Else {
    #Check to see if the local cache directory is present
    If ((Test-Path -Path $IntuneProgramDir) -eq $False)
    {
        #Create the local cache directory
        New-Item -ItemType Directory $IntuneProgramDir -Force -Confirm:$False
    }

    #Copy the installer binaries from the network cache location to the local computer cache
    Copy-Item $TempNetworkZip -Destination $IntuneProgramDir  -Force

    #Extract the install binaries
    Expand-Archive -Path $ZipLocation -DestinationPath $IntuneProgramDir -Force

    #Install the program
    Start-Process "$FullEXEDir" -ArgumentList " /S /v/qn"
}
ZipSourceFiles
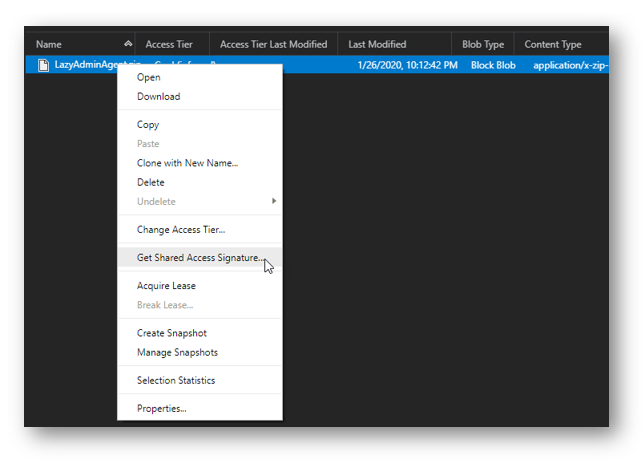
The ZipSourceFiles parameter is the Access Signature to the files in Azure Blob Storage. Right click the installer zip and select Get Shared Access Signature
Select a expiration time, once this time is reached your shared access signature will be invalid and you will need to edit your configuration script with the new signature. For permissions we only need Read
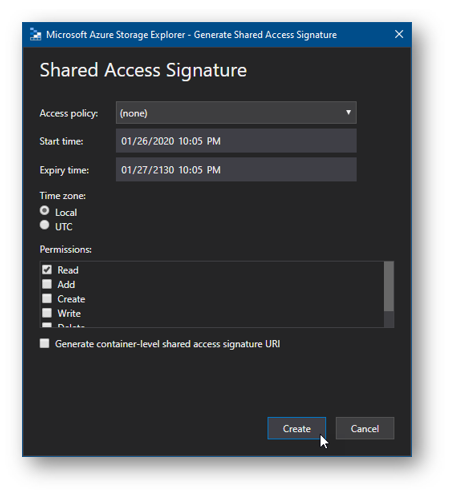
Next, copy the URI of your shared access signature and DO NOT share it as anyone with this URI can access that file
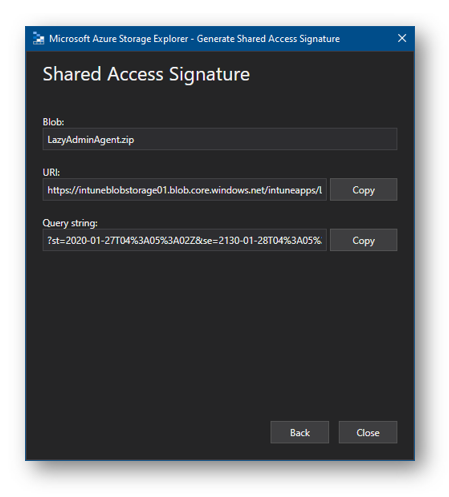
Edit the ZipSourceFiles parameter to contain the URI you got above

IntuneProgramDir
The IntuneProgramDir parameter is the location that the PowerShell script will download the installation files to. I would suggest keeping it in the users AppData folder as we can ensure they have permissions to it.
FullEXEDir
The FullEXEDir parameter contains the full path to the installation file. Once the zip has been extracted, this will be the full path to the exe or msi file.
ZipLocation
ZipLocation is the destination of the download files. In my example it will be placed in the IntuneProgramDir or the AppData folder.
TempNetworkZip
TempNetworkZip is the network (on prem) UNC path to the cached install files, the script is set up so the first computer will download the files, see the cache network location is empty and place the folders in it for all the other computers to use. This will make it so every other computer will download the files from my LAN instead of all of them pulling from Intune. I put this in here as my computers are all in a Hybrid configuration so they will be connected to traditional Active Directory Domain Services and thus able to talk to my on-premise servers.
If you will be using this feature, you will need to make a UNC path that everyone can access to download the files. If you do not want to use this feature you can edit the script to not use this at all and it will always download the files from Azure Blob Storage.
Install Command Switches
Make sure to configure your install command switches to your liking. My program accepts /S /v/qn to install the program silently.
#Install the program
    Start-Process "$FullEXEDir" -ArgumentList " /S /v/qn"
Deploy the Configuration Script
Now that we have created our PowerShell configuration script, its time to import it into Intune to let it run on our client machines. To recap we now have our PowerShell script that will do the following:
- Download the install files from Azure Blob Storage using the Shared Access Signature
- Cache the files locally on a on-premise server for other machines to use
- Create a cache directory on the end user machine and extract the install files to
- Install the program
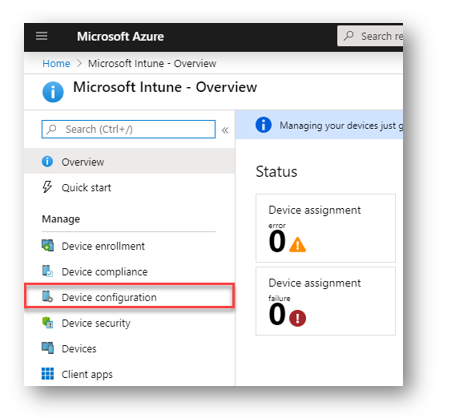
In the Intune blade in Azure got to Device Configuration
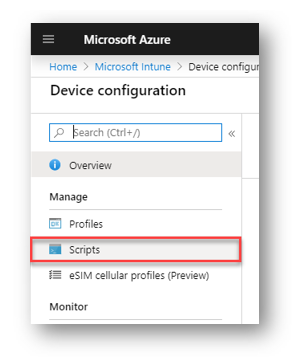
 In the Device Configuration blade select Scripts
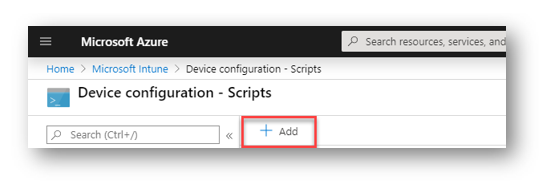
Press Add to add a new script
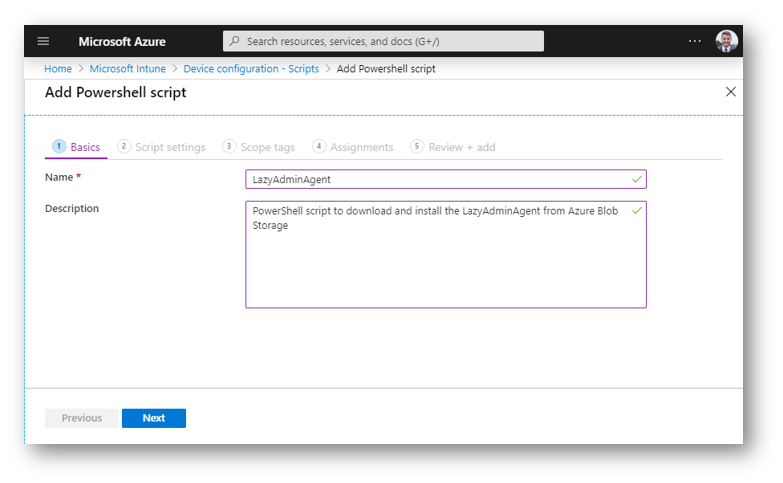
Give your new Script a name and description and then press Next
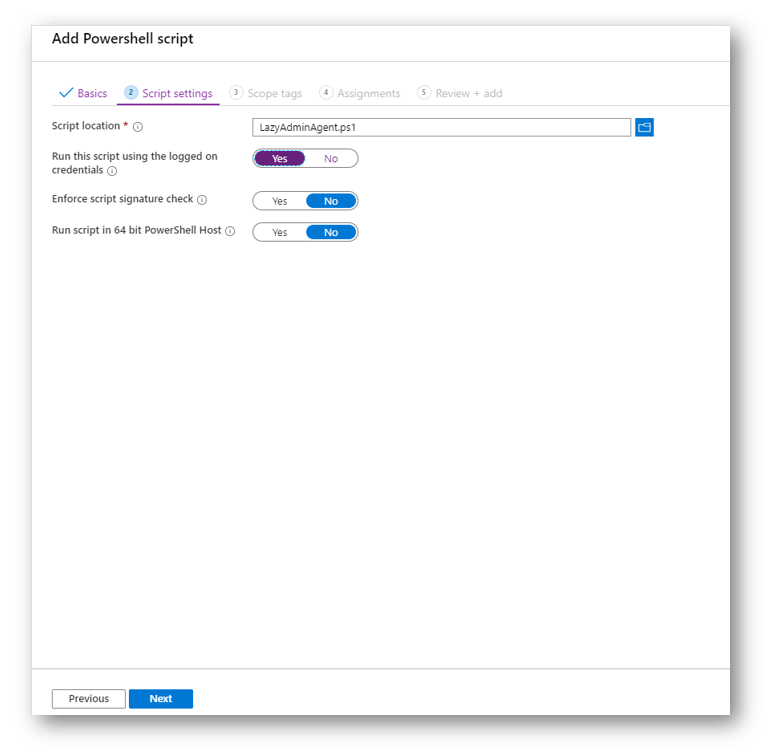
Navigate to your PowerShell script you created earlier and select YES for “Run this script using the logged on credentials.” If you do not select Yes it will run as SYSTEM and be unable to install properly because we need to place the install files in the users AppData folder that we specified in the script.
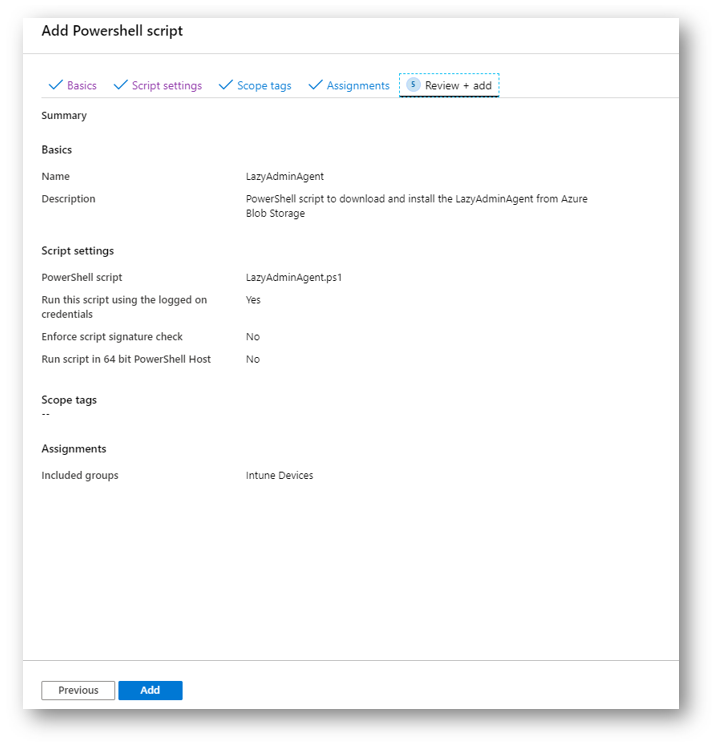
Lastly, in the review configuration blade I can review my new configuration script before importing it into Intune. Once it is imported it will begin installing on end user machines next time they check in. You can have it run earlier by restarting the Microsoft Intune Management Extension service.

My name is Bradley Wyatt; I am a 6x Dual-Microsoft Most Valuable Professional (MVP) in Microsoft Azure and Microsoft 365. I have given talks at many different conferences, user groups, and companies throughout the United States, ranging from PowerShell to DevOps Security best practices, and I am the 2022 North American Outstanding Contribution to the Microsoft Community winner.
16 thoughts on “Deploy Intune Applications with PowerShell and Azure Blob Storage”
Hi Brad,
i get a problem here:
#Start download of the source files from Azure Blob to the network cache location
Start-BitsTransfer -Source $ZipSourceFiles -Destination $TempNetworkZip
===
+ CategoryInfo : NotSpecified: (:) [Start-BitsTransfer], FileNotFoundException
+ FullyQualifiedErrorId : System.IO.FileNotFoundException,Microsoft.BackgroundIntelligentTransfer.Management.NewBitsTransferCommand
if i try the shared access uri through a browser it works perfectly.
🙁
any suggestions?
is this in Intune when you run it? does $TempNetworkZip exist and do you have permissions to it? Make sure to run the script as the users context. Can make 1 folder shared as $TempNetworkZip and give everyone read/write
Awesome article!
This reminds me of something I put together similar for a large app install rollout but with the help of AWS S3 as the storage repo for the install files.
Granted this was “pre-intune” and the process was essentially manual.
In S3 I would upload into one directory within the bucket:
1 .bat file
1 .ps1 script
and all the installation files.
The batch file calls the ps1 script with an invoke-webrequest to then open as admin and install the app with all the needed switches and log the entire process with a transcript. I then created a bit.ly link pointed at the .bat file for easy double click to run execution.
I’m sure there would be better ways to do this but it was the best I could think of at the time.
Hi!
I would like to remove the local part, as im new to powershell i have no idea where to actually start.
Could you point me in the right direction?
Thanks!
Luuk
you can just keep everything in the ELSE block and remove the Copy-Item portion
Hi Brad,
Do i have to create the folders in the install directory manually? The logs, prerequisites etc.?
Nope, the PowerShell script will do it
Really love the idea of this, specifically from the fact Intune limits Win32 Apps to 8GB.
Just wondering – have you tested the idea of wrapping the PowerShell script into an “.intunewin” file so that it could be deployed as an application, instead of a script? Michael Niehaus appears to do the same thing here (https://oofhours.com/2019/10/29/installing-windows-updates-during-a-windows-autopilot-deployment/) for deploying Windows Updates. I guess I would see that Win32 App deployment as a better option for user and admin visibility.
Yes I have done that and got the idea from the same blog 🙂
Hi Brad,
I love this idea!
If using this deployed as an application as Matt G describes, how are you handling installations with users that do not have admin rights?
ill need to test it but I believe with pwsh you can have it run as system to have the system context install it
I ended up figuring out a way to do this by running the script as System and using
(New-Object System.Net.WebClient).DownloadFile($ZipSourceFiles, $ZipLocation)
instead of
Start-BitsTransfer -Source $ZipSourceFiles -Destination $ZipLocation
As well I modified the $IntuneProgramDir to a fixed location outside of the User folder.
I could never get Start-BitsTransfer to work as System.
Nice idea.
I am thinking of building upon this to solve the long standing issue of not being able to install applications in a certain order with InTune, this could potentially help with the problem.
Have you tried multiple installations in a row with this concept?
I have done it in sequential order but only installing 1 app per time – in the end its installing multiple apps but no never multiple in a single script
Hi Brad,
1st off. Thank you for writing this up! Very informative, and helpful.
2nd off. Why Azure Blob and not File Storage? My thinking was File + On-Prem. caching server to reduce some egress costs.
Thank you in advance,
have you tried the automatic intune app deployment by simeon cloud? just want some feedback before trying it out. https://www.simeoncloud.com/blog/multi-tenant-microsoft-intune-packaging-tool-automatically-package-and-deploy-applications-across-microsoft-365-tenants