Office 365 Email Address Policies with Azure Automation
Table of Contents
Email address policies (EAP) define the rules that create email addresses for recipients. By setting up policies you can guarantee your users will have certain email address that follow the rules you have set in place. Unfortunately, in Office 365 Exchange Online there are no email address policies you can set for your users. In a larger organization where multiple people may be creating and editing users in Exchange Online, it’s possible that not all your users are following the address scheme you or your company has implemented. In this article I will leverage PowerShell and Azure RunBooks to make sure all of my users adhere to my companies EAP.
Setting up the Azure Automation Resources
In the next section I will go over what Azure resources we will be creating and what each one is responsible for. You can skip ahead to the configuration script below which will create your Azure resources for you.
Runbook
The runbook will contain all of our PowerShell code that will be used to connect to Exchange Online, parse all of the users, and modify their proxyaddresses to adhere to our EAP. Think of the runbook as a PowerShell script. Azure Automation allows us to edit, publish and even test our runbook.
Automation Account
The automation account runs our runbook, stores our credentials and also contains which PowerShell modules are available to use in the runbook.
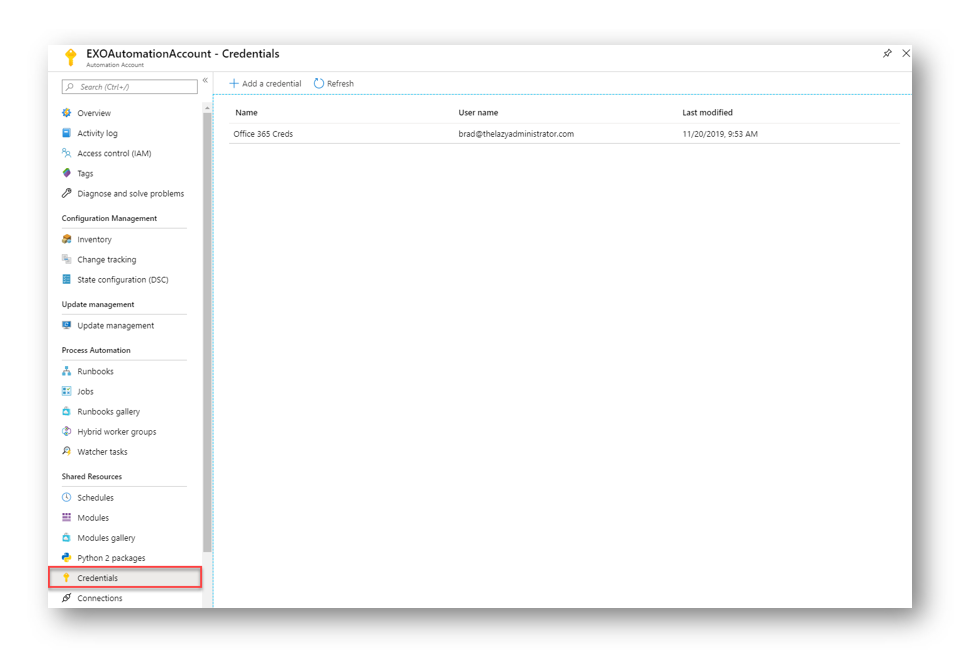
Automation Credential
The automation credential will contain the credentials our runbook will use to connect to Exchange Online. Automation Credentials are stored securely in Azure Automation
Resource Group
The resource group will contain all of our assets in one collection. You can use an existing resource group or have PowerShell create a new one for you. If the resource group is not found, PowerShell will automatically provision a new one.
Create all your Automation Resources with PowerShell
The following PowerShell script will create everything mentioned above. For the AutomationCredUser and AutomationCredPassword I recommend you creating a separate service account and NOT use an active user account. If the account has MFA enabled (which it should!) then enter an app password.
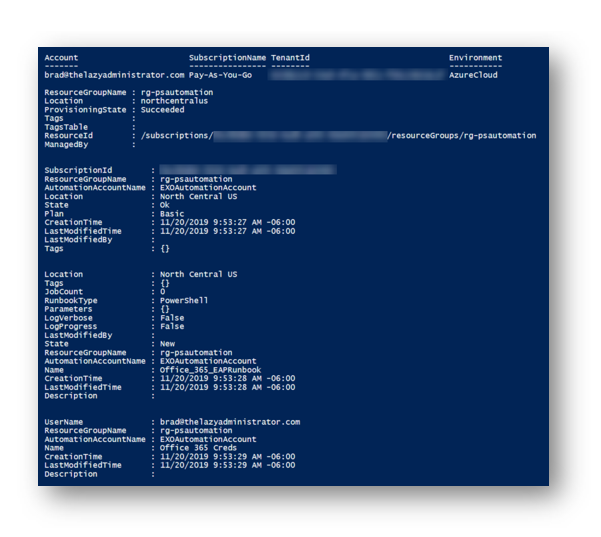
In my example my automation account is going to be named: EXOAutomationAccount. The Runbook will be named “Office_365_EAPRunbook“, the resource group that contains all my assets will be called rg-psautomation, the locations for my assets will be North Central US. My automation user is [email protected] with a password of epzxkgjerkvgvjnw (not a real app password) and finally, the automation account cred name will be Office 365 Creds.
Note: If you have modern auth enabled in your tenant, you cannot use a app password
$AzureSplat = @{
    AutomationAccountName    = "EXOAutomationAccount";
    RunBookName              = "Office_365_EAPRunbook";
    ResourceGroup            = "rg-psautomation";
    Location                 = "North Central US";
    AutomationCredUser       = "[email protected]";
    AutomationCredPassword   = ConvertTo-SecureString "epzxkgjerkvgvjnw" -AsPlainText -Force;
    AutomationAccountCedName = "Office 365 Creds"
}

Connect-AzAccount

$RG = Get-AzResourceGroup -Name $AzureSplat.ResourceGroup -ErrorVariable notPresent -ErrorAction SilentlyContinue

if ($Null -eq $RG)
{
    #Create the Resource Group
    New-AzResourceGroup -Name $AzureSplat.ResourceGroup -Location $AzureSplat.Location
}


#Make the automation account
New-AzAutomationAccount -ResourceGroupName $AzureSplat.ResourceGroup -Location $AzureSplat.Location -Name $AzureSplat.AutomationAccountName -Plan "Free"

#Create new automation runbook
New-AzAutomationRunbook -AutomationAccountName $AzureSplat.AutomationAccountName -Name $AzureSplat.RunBookName -ResourceGroupName $AzureSplat.ResourceGroup -Type PowerShell

#Create and store automation account credentials
[System.Management.Automation.PSCredential]$cred = New-Object -TypeName System.Management.Automation.PSCredential -ArgumentList $AzureSplat.AutomationCredUser, $AzureSplat.AutomationCredPassword
New-AzAutomationCredential -AutomationAccountName $AzureSplat.AutomationAccountName -Name $AzureSplat.AutomationAccountCedName -Value $cred -ResourceGroupName $AzureSplat.ResourceGroup
When I run this script the first thing it wants to do is to connect to Azure. Log in with an account with the proper permissions when prompted.
PowerShell will then start creating everything for you
And in my Resource Group blade I can see all my items
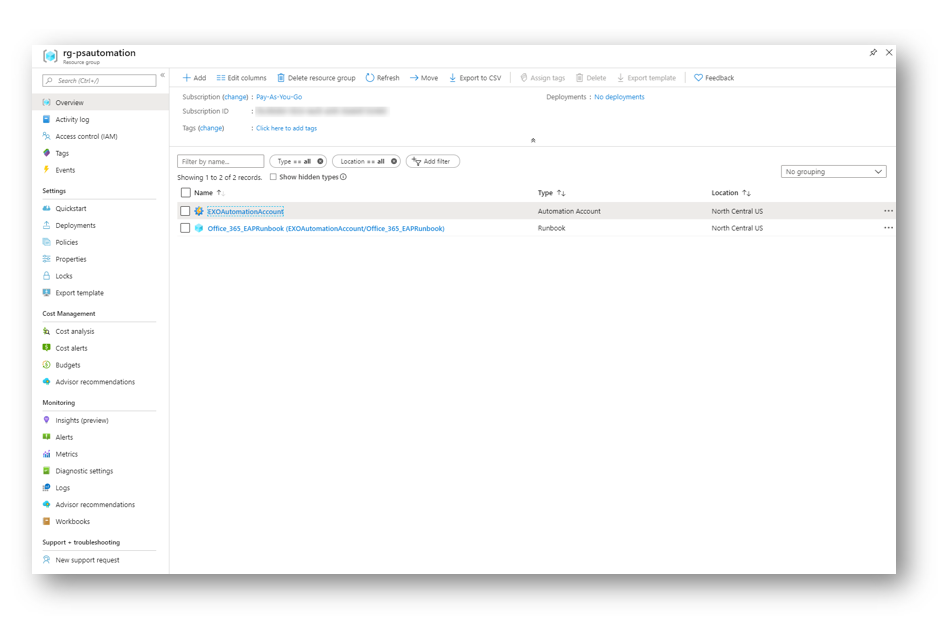
NOTE: The credentials are located within the automation account
Add Exchange Online Module to Automation Account
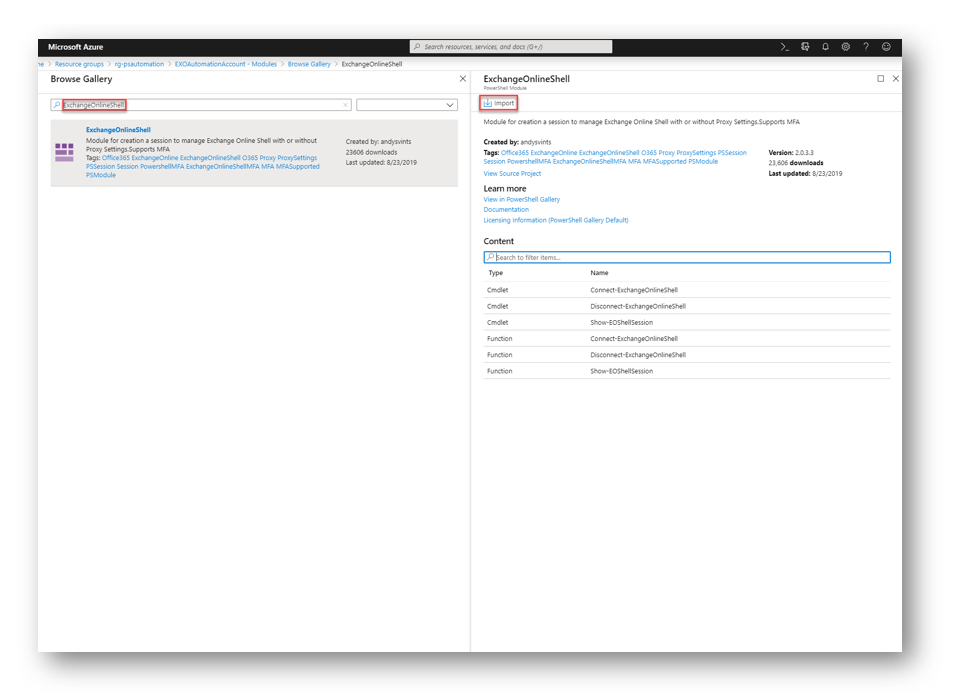
Next, we must allow our automation account access to the Exchange Online module so it can connect to Exchange Online. This module exposes the following cmdlets and functions:
|
Cmdlet
|
Connect-ExchangeOnlineShell
|
|
Cmdlet
|
Disconnect-ExchangeOnlineShell
|
|
Cmdlet
|
Show-EOShellSession
|
|
Function
|
Connect-ExchangeOnlineShell
|
|
Function
|
Disconnect-ExchangeOnlineShell
|
|
Function
|
Show-EOShellSession
|
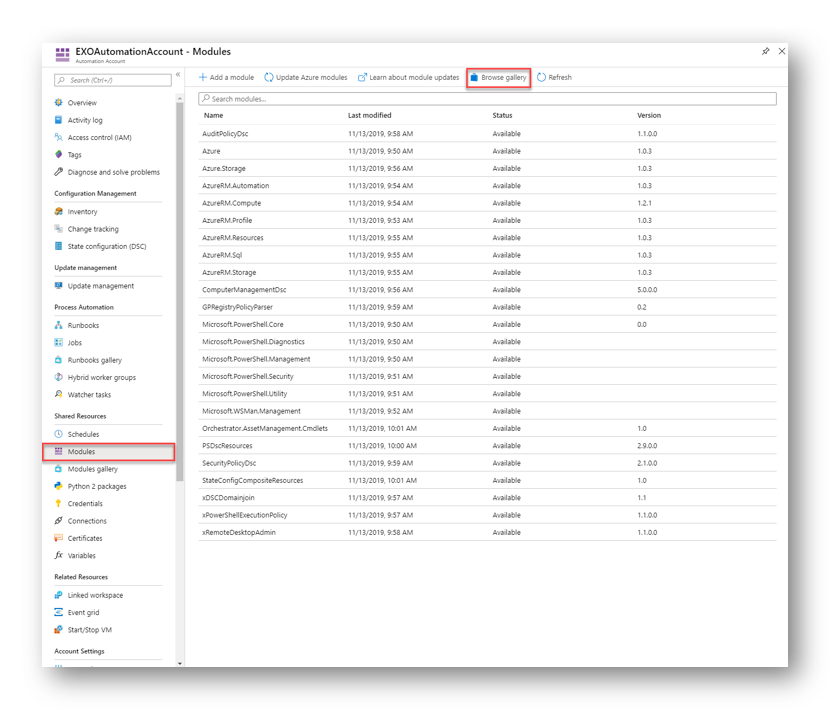
In the Azure portal under our Automation Account, select Modules which will display all modules that our Automation Account has and select Browse Gallery
Search for ExchangeOnlineShell and then press Import
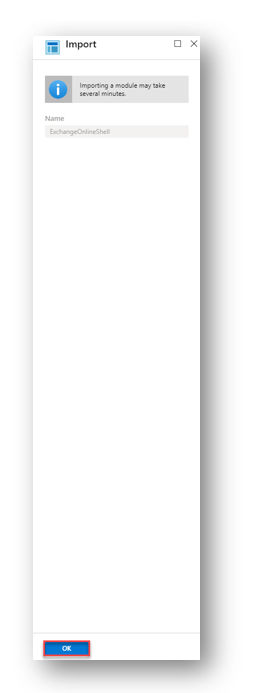
In the Import blade select OK to begin the module import
Azure RunBook Setup
Create the RunBook
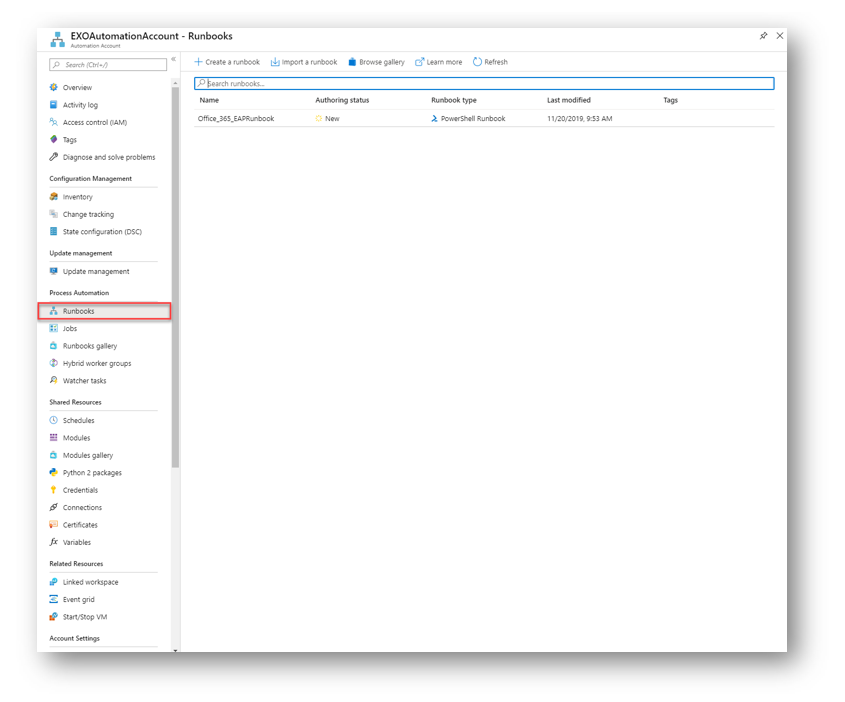
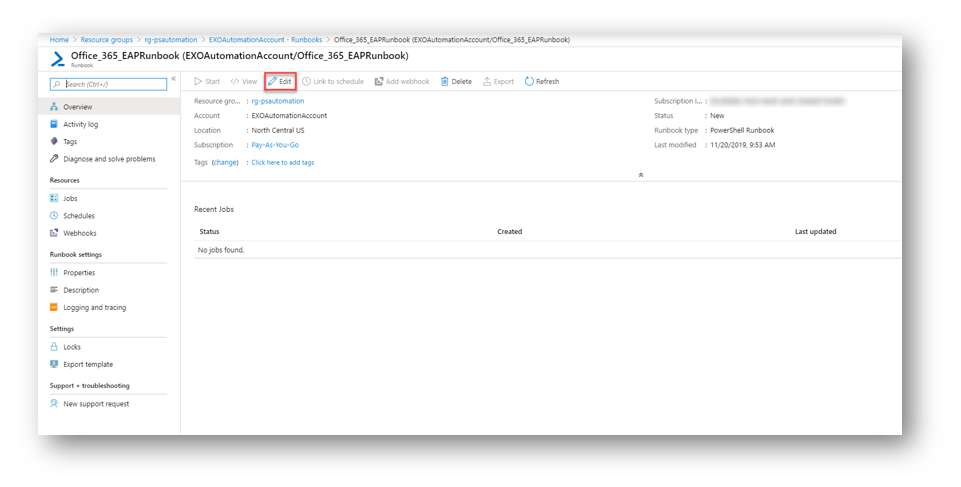
Next, we must create our runbook that our automation account will be running. In the Azure portal under our Automation Account, select RunBooks. Here we will see our RunBook we created earlier. Click on the runbook to edit it.
Click the pencil Edit button to edit the RunBook
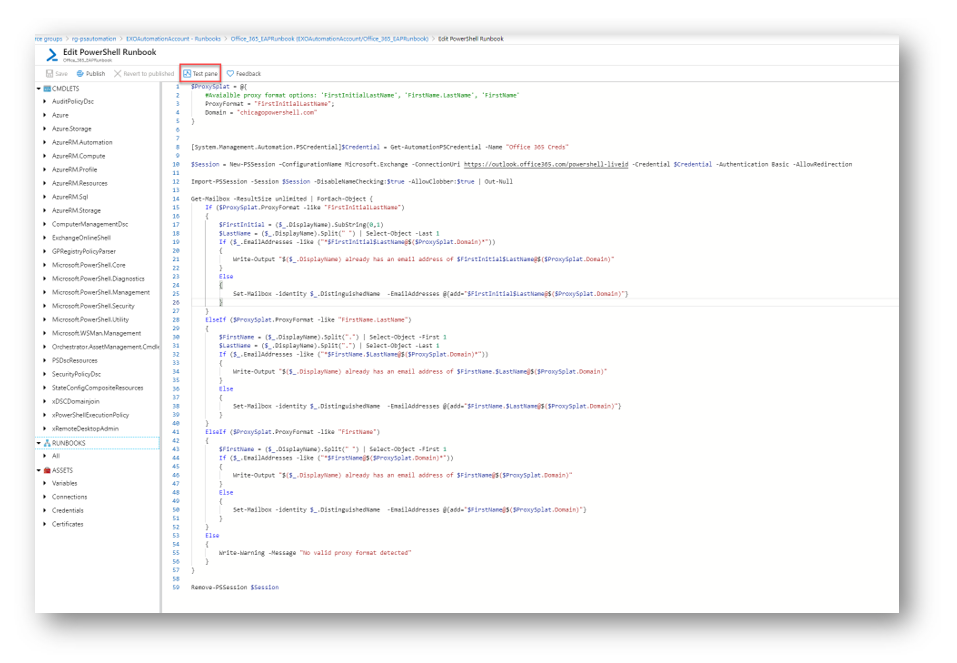
The PowerShell runbook has 3 default proxy formats out of the box. FirstInitialLastName, FirstName.LastName, and FirstName. You can add any other format that best fits your needs. The only information you need to modify is in the splat, the ProxyFormat and the Domain. In my example my format is FirstInitialLastName and chicagopowershell.com. So it will make sure all my mailboxes have a proxy with that format, in my case I would have a proxy of [email protected]. If I do not have one the runbook will automatically add it as an alias for me.
$ProxySplat = @{
    #Avaialble proxy format options: 'FirstInitialLastName', 'FirstName.LastName', 'FirstName'
    ProxyFormat = "FirstInitialLastName";
    Domain = "chicagopowershell.com"
}


[System.Management.Automation.PSCredential]$Credential = Get-AutomationPSCredential -Name "Office 365 Creds"

$Session = New-PSSession –ConfigurationName Microsoft.Exchange -ConnectionUri https://outlook.office365.com/powershell-liveid -Credential $Credential -Authentication Basic -AllowRedirection

Import-PSSession -Session $Session -DisableNameChecking:$true -AllowClobber:$true | Out-Null

Get-Mailbox -ResultSize unlimited | ForEach-Object {
    If ($ProxySplat.ProxyFormat -like "FirstInitialLastName")
    {
        $FirstInitial = ($_.DisplayName).SubString(0,1)
        $LastName = ($_.DisplayName).Split(" ") | Select-Object -Last 1
        If ($_.EmailAddresses -like ("*$FirstInitial$LastName@$($ProxySplat.Domain)*"))
        {
            Write-Output "$($_.DisplayName) already has an email address of $FirstInitial$LastName@$($ProxySplat.Domain)"
        }
        Else
        {
            Write-Output "$($_.DisplayName) does not have a email address of $FirstInitial$LastName@$($ProxySplat.Domain)..adding..."
            Set-Mailbox -identity $_.DistinguishedName  -EmailAddresses @{add="$FirstInitial$LastName@$($ProxySplat.Domain)"}
        }
    }
    ElseIf ($ProxySplat.ProxyFormat -like "FirstName.LastName")
    {
        $FirstName = ($_.DisplayName).Split(".") | Select-Object -First 1
        $LastName = ($_.DisplayName).Split(".") | Select-Object -Last 1
        If ($_.EmailAddresses -like ("*$FirstName.$LastName@$($ProxySplat.Domain)*"))
        {
            Write-Output "$($_.DisplayName) already has an email address of $FirstName.$LastName@$($ProxySplat.Domain)"
        }
        Else
        {
            Write-Output "$($_.DisplayName) does not have a email address of $FirstName.$LastName@$($ProxySplat.Domain)..adding..."
            Set-Mailbox -identity $_.DistinguishedName  -EmailAddresses @{add="$FirstName.$LastName@$($ProxySplat.Domain)"}
        }
    }
    ElseIf ($ProxySplat.ProxyFormat -like "FirstName")
    {
        $FirstName = ($_.DisplayName).Split(" ") | Select-Object -First 1
        If ($_.EmailAddresses -like ("*$FirstName@$($ProxySplat.Domain)*"))
        {
            Write-Output "$($_.DisplayName) already has an email address of $FirstName@$($ProxySplat.Domain)"
        }
        Else
        {
            Write-Output "$($_.DisplayName) does not have a email address of $FirstName@$($ProxySplat.Domain)..adding..."
            Set-Mailbox -identity $_.DistinguishedName  -EmailAddresses @{add="$FirstName@$($ProxySplat.Domain)"}
        }
    }
    Else
    {
        Write-Warning -Message "No valid proxy format detected"
    }
}

Remove-PSSession $Session
To connect to Exchange Online we can see here that its getting my automation credentials from my automation account.
[System.Management.Automation.PSCredential]$Credential = Get-AutomationPSCredential -Name "Office 365 Creds"


$Session = New-PSSession –ConfigurationName Microsoft.Exchange -ConnectionUri https://outlook.office365.com/powershell-liveid -Credential $Credential -Authentication Basic -AllowRedirection
Once you have made your changes and added the PowerShell code to your runbook you can test it by selecting the Test Pane option
Testing the RunBook
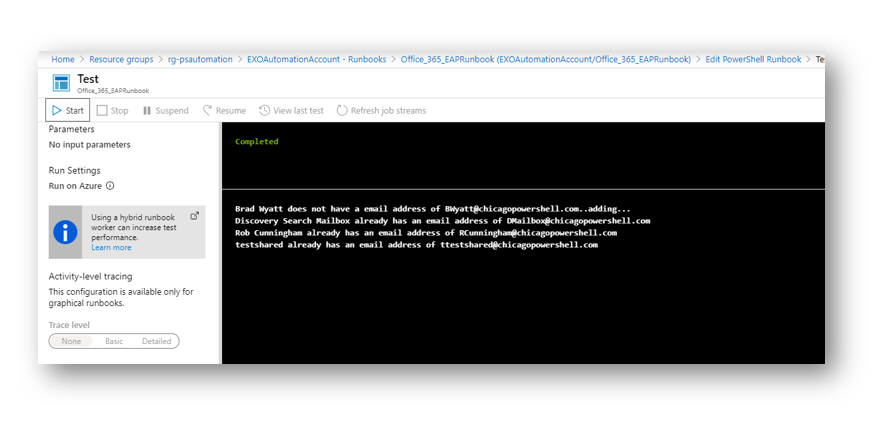
In the Test Pane select Start which will queue up your runbook. Because of Write-Output, we will see verbose message for each user. In my example all of my mailboxes besides mine had the proper e-mail alias. The runbook automatically added the alias to my mailbox.
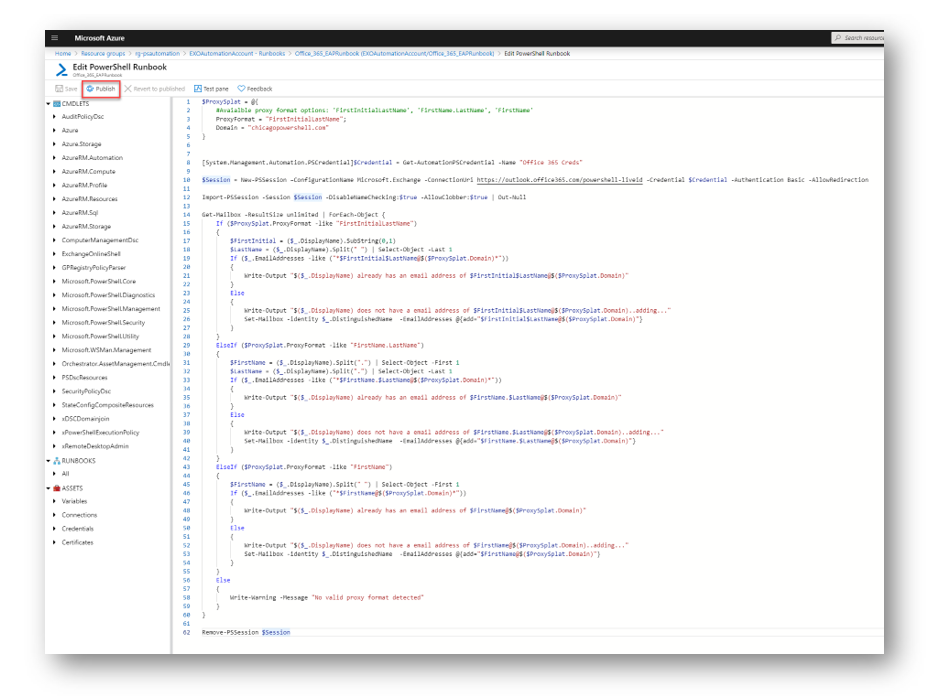
Publishing the RunBook
When you have gotten the runbook configured exactly how you like it, select Publish in the Edit blade to save and publish your runbook.
Scheduling the Runbook
For my EAP runbook I like to have it run once daily. This ensures that any users that were added that day without the correct email addresses, get the correct email address before the next business day. In the RunBook blade select Schedules
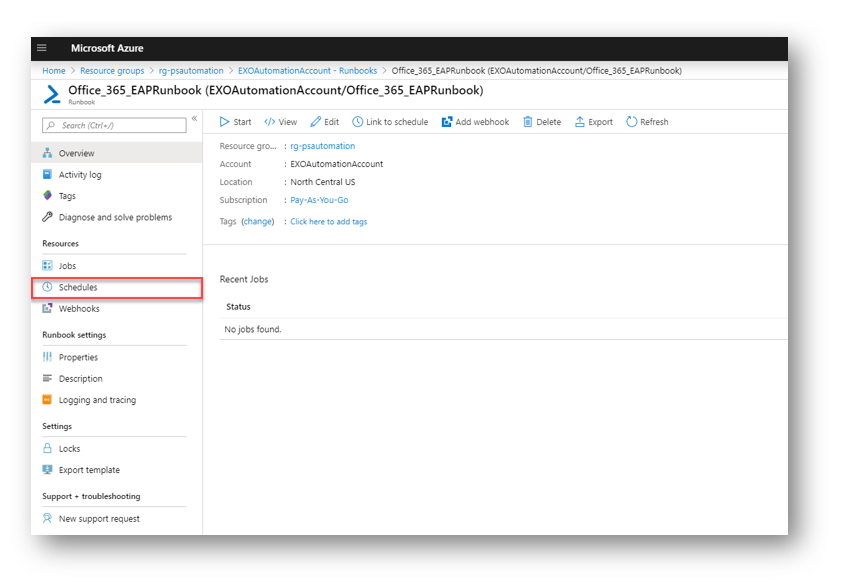
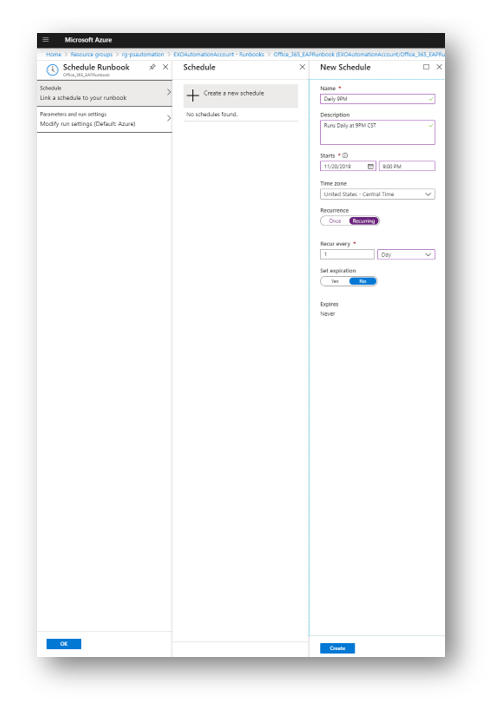
Select Add a Schedule

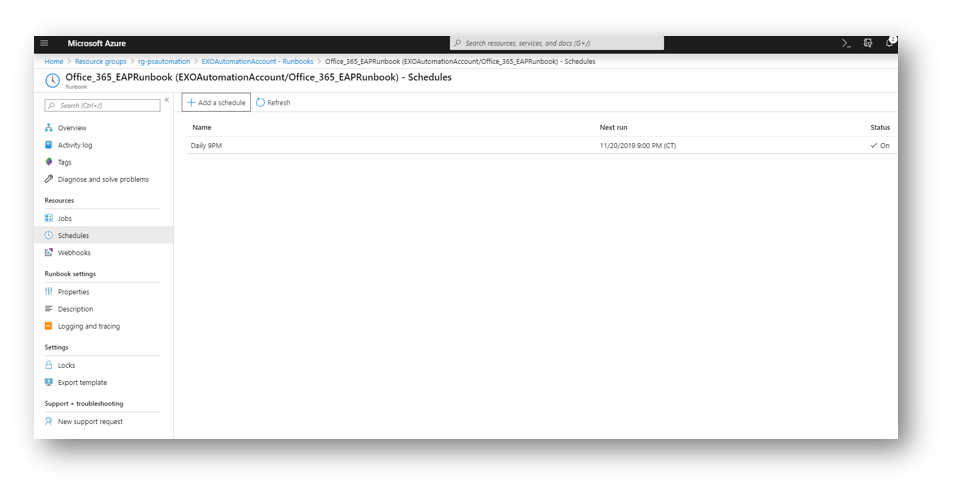
Create a schedule for your runbook. I set mine to run every day at 9PM.
Done! You have now created an Azure runbook that will use the automation credentials to connect to your Office 365 Exchange Online environment to ensure your exchange users have email addresses that match specific criteria that you have put in place. For more email address policies you can create more runbooks or modify this one to contain more than 1 proxy format.

My name is Bradley Wyatt; I am a 6x Dual-Microsoft Most Valuable Professional (MVP) in Microsoft Azure and Microsoft 365. I have given talks at many different conferences, user groups, and companies throughout the United States, ranging from PowerShell to DevOps Security best practices, and I am the 2022 North American Outstanding Contribution to the Microsoft Community winner.
3 thoughts on “Office 365 Email Address Policies with Azure Automation”
Great article!
How does the FirstInitialLastName proxy format handle multiple people with which would end up with the same name?
i.e. if you have 2 John Smiths then does the second one get josmith?
good question! It should show you an error on the second user because the proxy is not unique. You could put in a IF statement that if its already exists modify it by adding a 1 or something
Great article Brad.
How do you tweak this if modern authentication is enforced on all administrative accounts?