Customize your Office 365 Encrypted Messages with your Organizations Brand in Office 365
Table of Contents
As an Office 365 administrator, you can apply your company branding to customize the look of your organization’s Office 365 Message Encryption email messages as well as the contents of the encryption portal. You can customize the following aspects of the viewing experience for recipients of encrypted email messages:
- Introductory text of the email that contains the encrypted message
- Disclaimer text of the email that contains the encrypted message
- Text that appears in the OME portal
- Logo that appears in the email message and OME portal
- Background color in the email message and OME portal
You can also revert back to the default look and feel at any time.
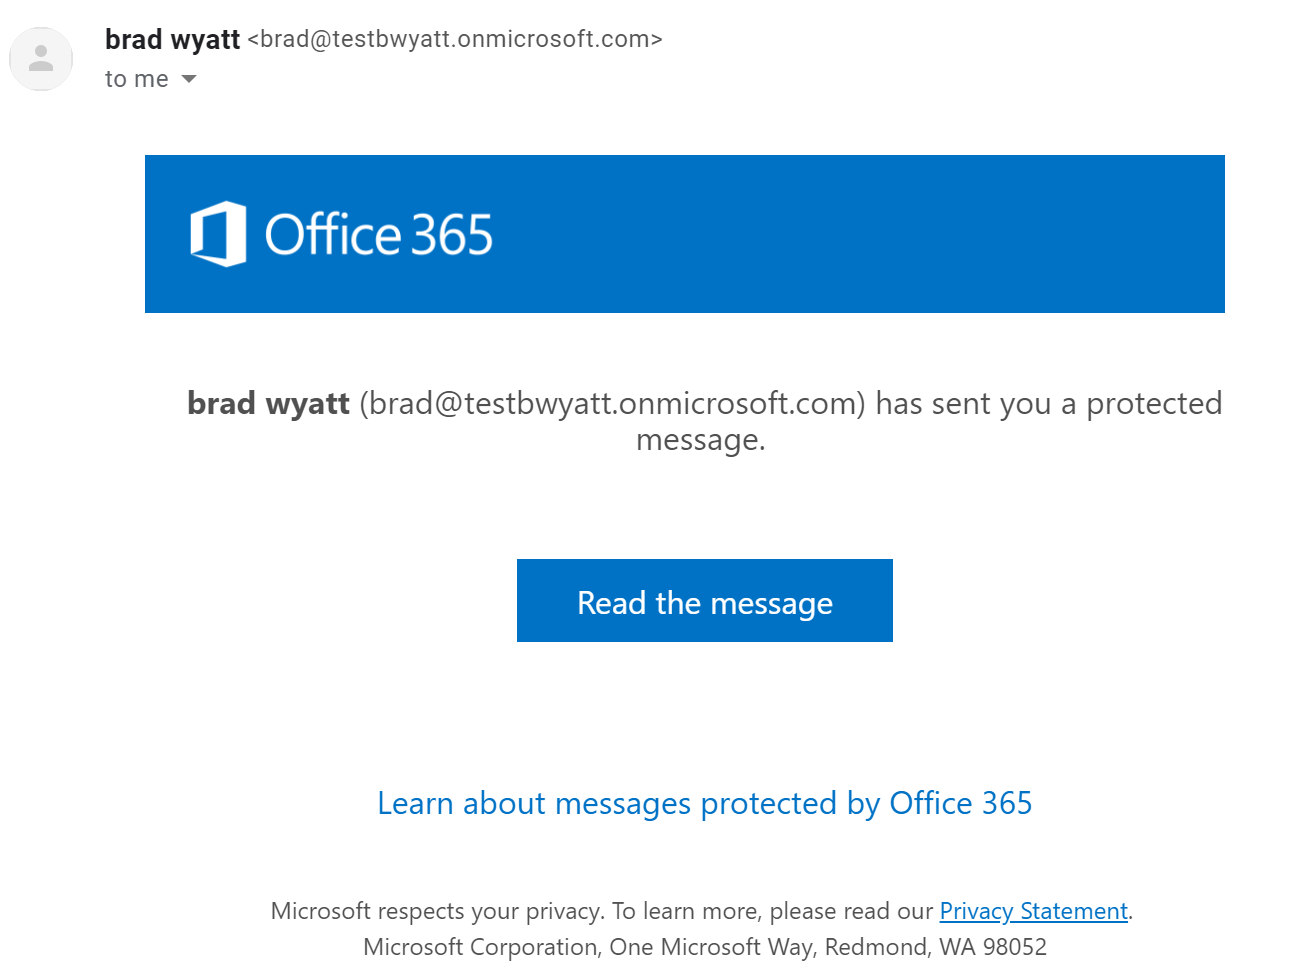
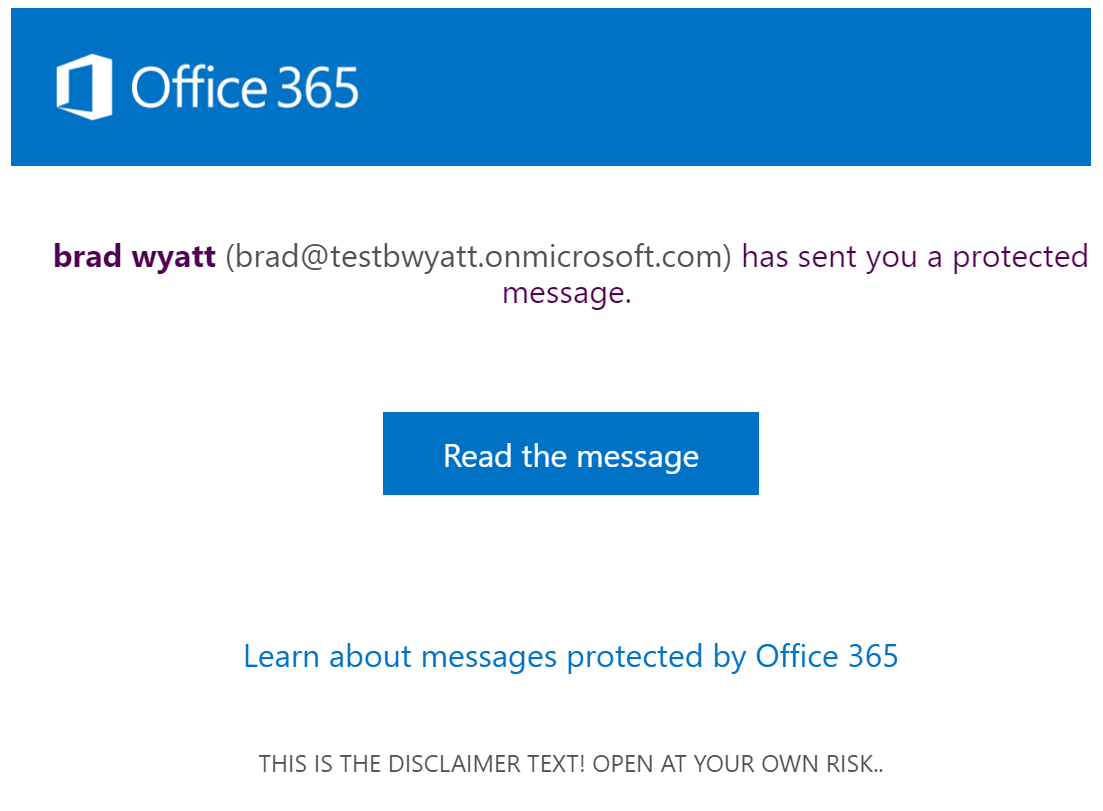
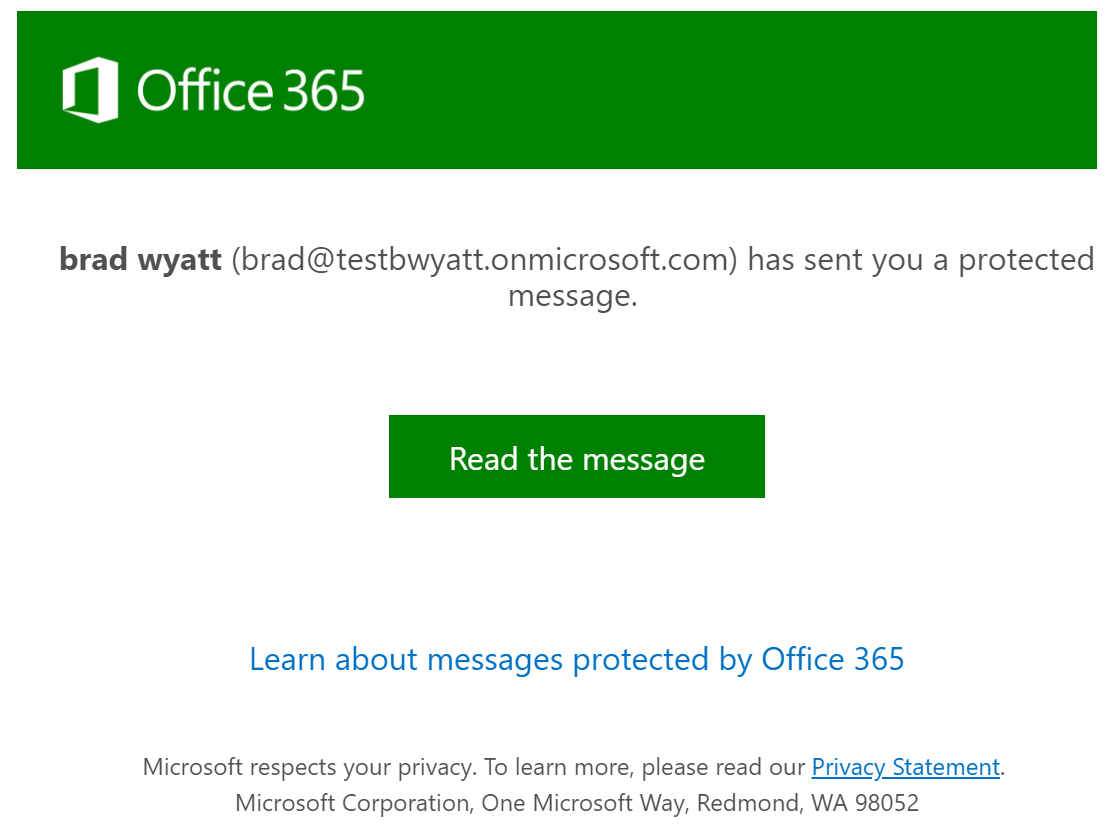
Below is the default message your recipient will see when they receive an encrypted email message.
Customize the Message
To customize the OME message you will first need to connect to Exchange Online using Remote PowerShell. You then want to get your OME template identity which is most likely, “OME Configuration”. To get the template identity run:
Get-OMEConfiguration
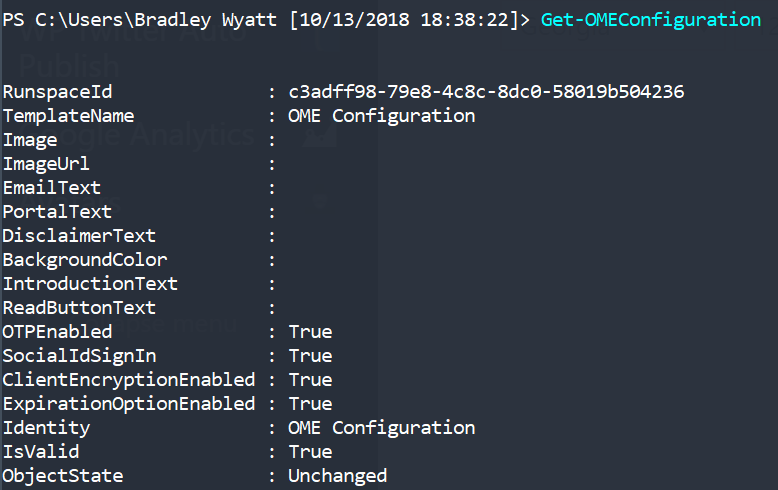
Now that we know our template that we will be working with, we can start customizing it to fit our needs.
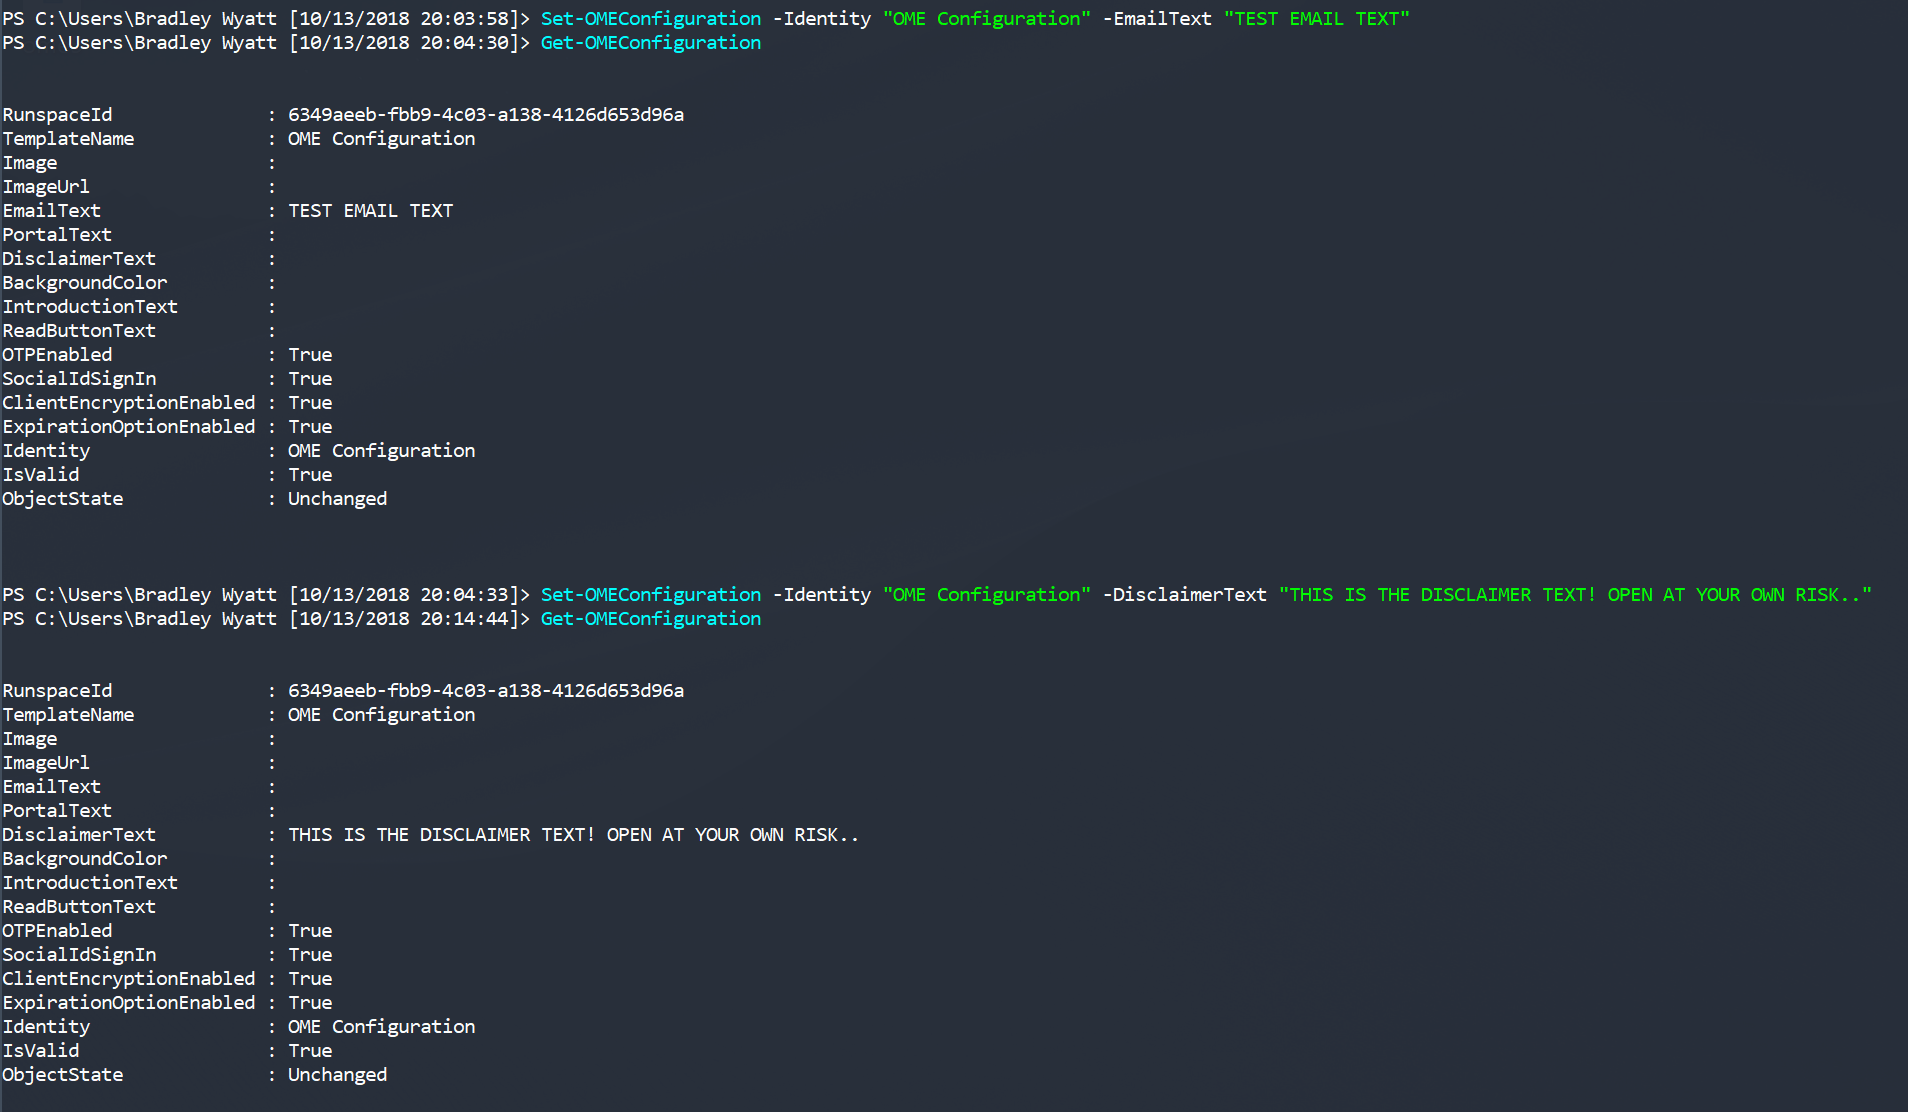
It is important to note that when you make changes to your OME Template, it will clear prior changes. In my example below I use the Set-OMEConfiguration cmdlet to add EmailText to my template and then confirm it works. When I next use the Set-OMEConfiguration cmdlet to add DisclaimerText, I notice that the EmailText is now Null. So if you want to make multiple changes to your template, make sure you pass it all in one command.
E-Mail Text
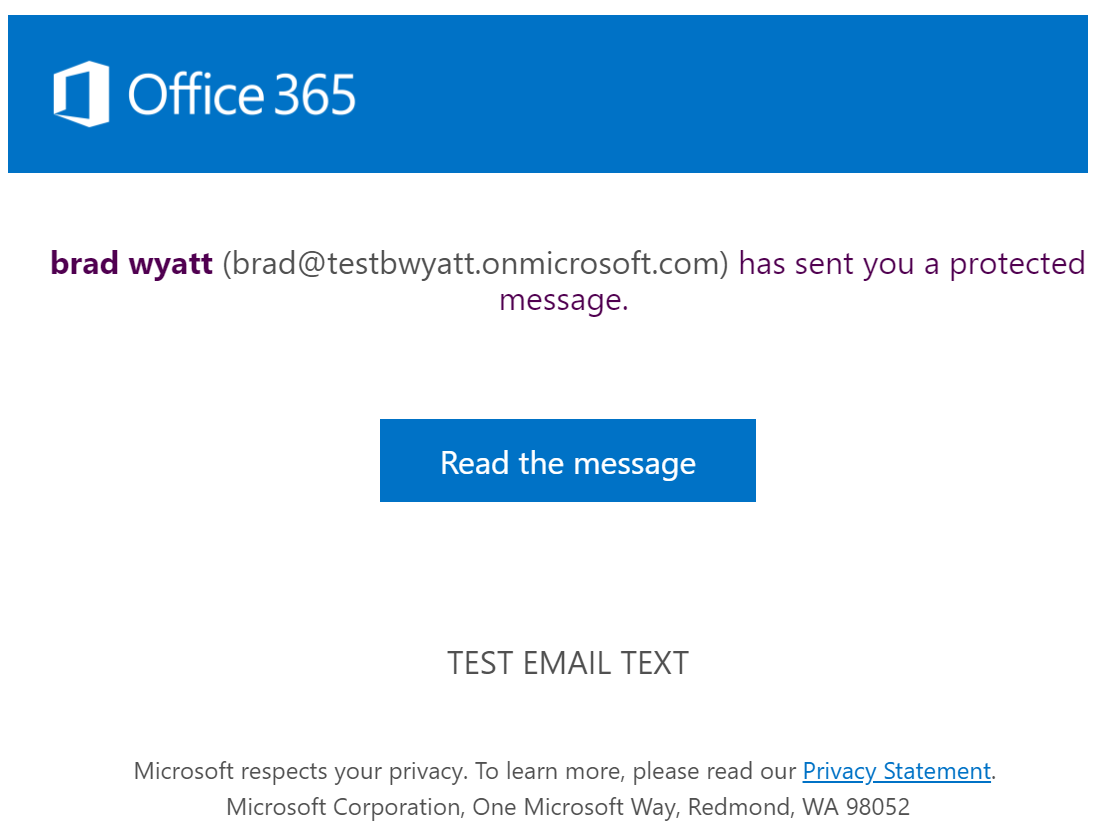
The E-mail text will sit below the “Read the message” button on the encrypted e-mail. In my example I am going to set my email text to “TEST EMAIL TEXT”. You text can be up to 1024 characters in length.
![]()
Set-OMEConfiguration -Identity "OME Configuration" -EmailText "TEST EMAIL TEXT"
Now when I send another encrypted message, my recipient will see the email text.
Disclaimer
The DisclaimerText parameter specifies the disclaimer text in the email that contains the encrypted message. The maximum length is 1024 characters.
Set-OMEConfiguration -Identity "OME Configuration" -DisclaimerText "THIS IS THE DISCLAIMER TEXT! OPEN AT YOUR OWN RISK.."
Portal Text
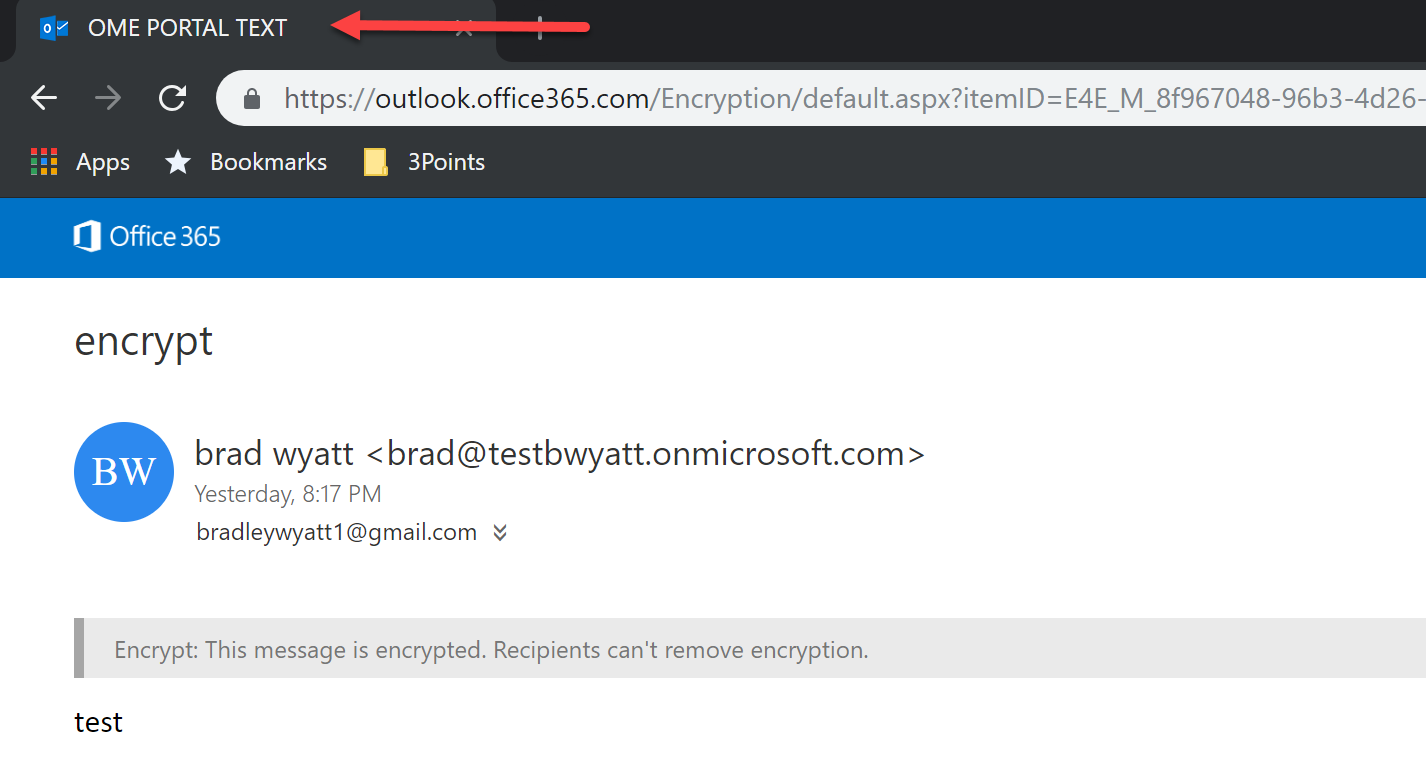
The PortalText parameter specifies the text that appears at the top of the encrypted mail viewing portal. The maximum length is 128 characters. This is seen when you user authenticates and views the encrypted message.
Set-OMEConfiguration -Identity "OME Configuration" -PortalText "OME PORTAL TEXT"
Image
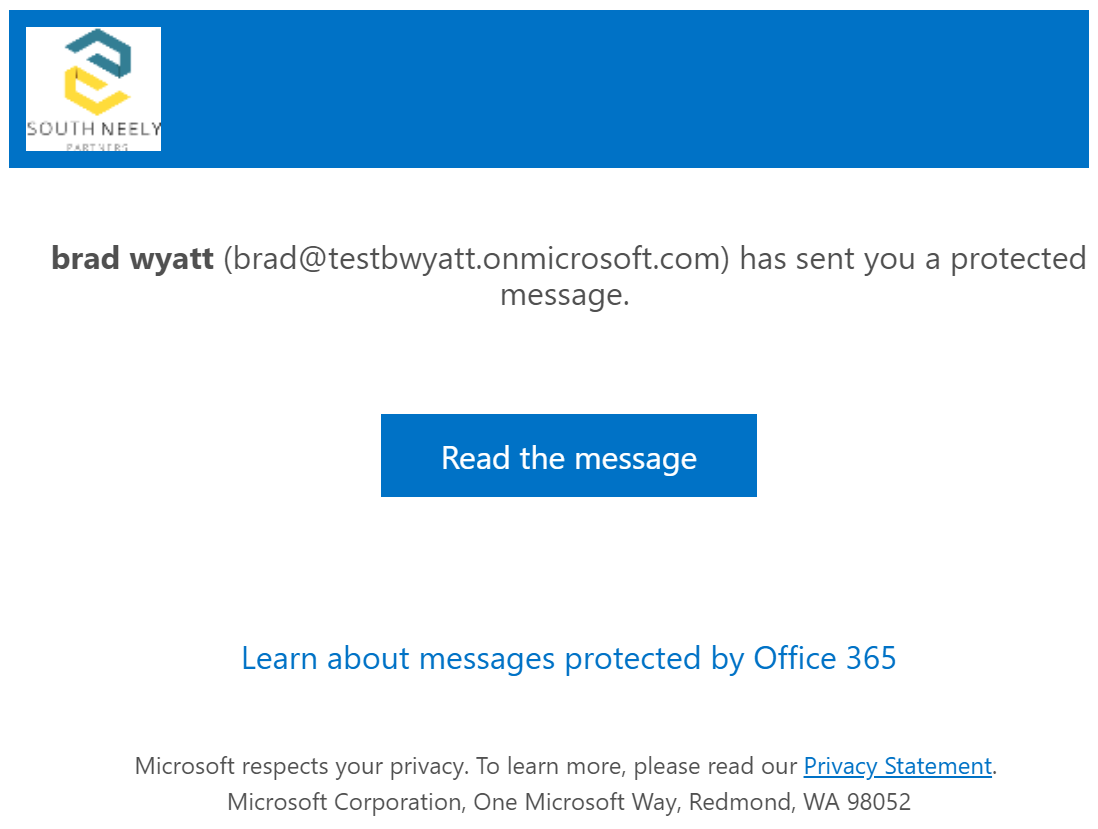
The Image parameter identifies and uploads an image that will be displayed in the email message and in the Office 365 portal.
You need to read the file to a byte-encoded object using the Get-Content cmdlet, for example, -Image (Get-Content “C:\Temp\OME Logo.gif” -Encoding byte)
- Supported file formats: .png, .jpg, .bmp, or .tiff
- Optimal size of logo file: less than 40 KB
- Optimal dimensions of logo image: 170×70 pixels
Set-OMEConfiguration -Identity "OME configuration" -Image (Get-Content "C:\Automation\logo.png" -Encoding byte)
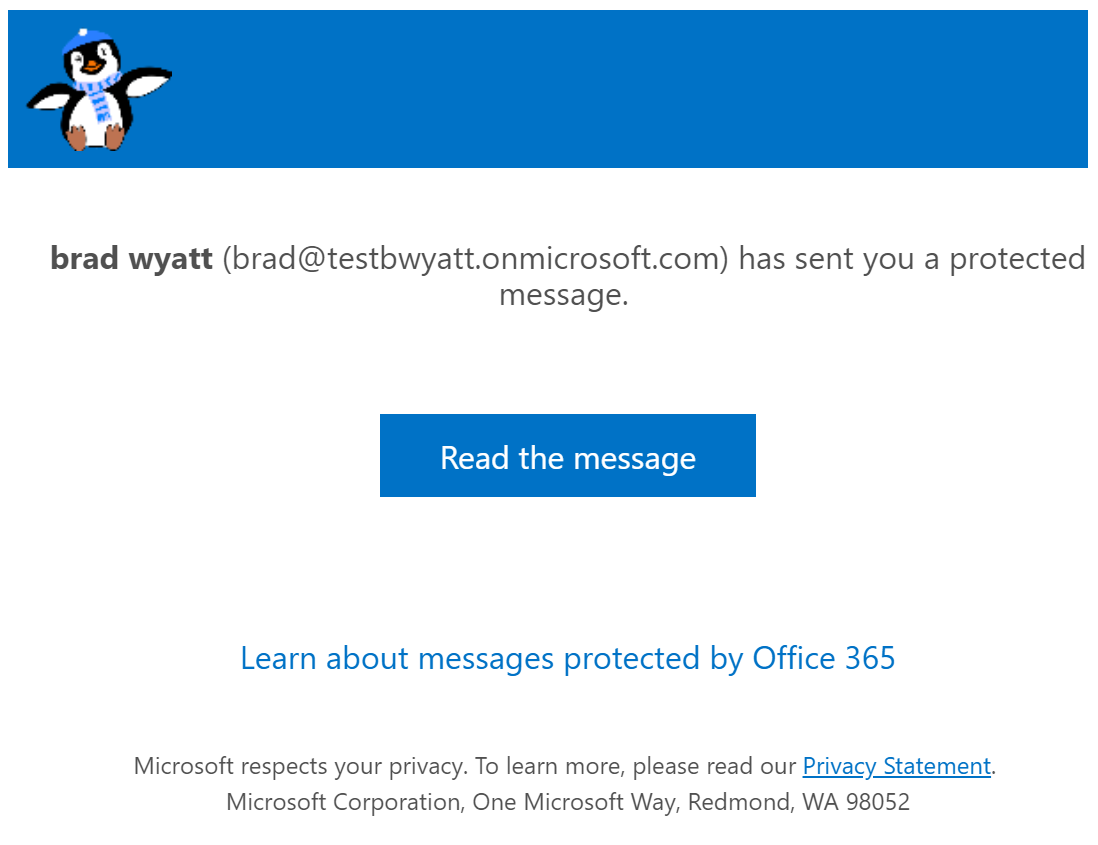
And yes you can make the logo a transparent image

Background Color
The BackgroundColor parameter specifies the background color. Valid values are:
- An available text value (for example, yellow is 0x00FFFF00).
- $null (blank). This is the default value.
For the list of available hex and text values, see Background colors for Office 365 Message Encryption (https://support.office.com/article/1508cb35-c5ff-4523-b579-947b21d5515f).
Set-OMEConfiguration -Identity "OME Configuration" -BackgroundColor green
Introduction Text
The default introduction text is “has sent you a protected message.” In my example below I changed it to “”has sent you super secret stuff! Don’t tell nobody” ”
Set-OMEConfiguration -Identity "OME Configuration" -IntroductionText "has sent you super secret stuff! Don't tell nobody"

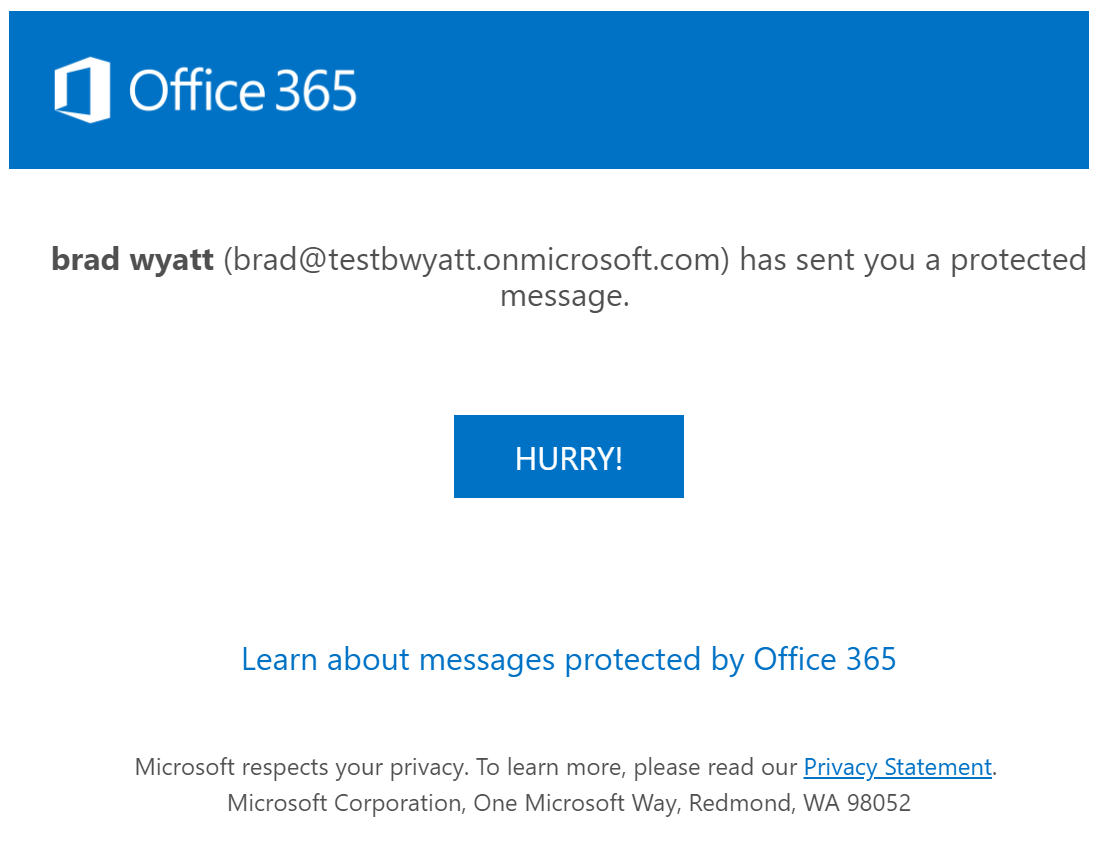
Read Button Text
The ReadButtonText is straight forward. It changes the text on the Read button which normally is “Read the message”. In my example I will change it to “Hurry!”.
Set-OMEConfiguration -Identity "OME Configuration" -ReadButtonText "HURRY!"
Sources
https://docs.microsoft.com/en-us/office365/securitycompliance/add-your-organization-brand-to-encrypted-messages
https://docs.microsoft.com/en-us/powershell/module/exchange/encryption-and-certificates/set-omeconfiguration?view=exchange-ps

My name is Bradley Wyatt; I am a 6x Dual-Microsoft Most Valuable Professional (MVP) in Microsoft Azure and Microsoft 365. I have given talks at many different conferences, user groups, and companies throughout the United States, ranging from PowerShell to DevOps Security best practices, and I am the 2022 North American Outstanding Contribution to the Microsoft Community winner.
12 thoughts on “Customize your Office 365 Encrypted Messages with your Organizations Brand in Office 365”
Nice Walkthrough.
I’m having issues setting the background color, and then change the logo.
I need a white background #ffffff – but when uploading the image afterwards, the background changes to blue again.
And vice versa. – Any clues?
what is your syntax. should be -backgroundcolor white
only works if you combine changes
So if you want to make multiple changes to your template, make sure you pass it all in one command.
Yes very true, this is most likely what he is experiencing. I also have it in the article:
Thanks for the great guide!!
Matthew
Nice write up! I should have reference this before I updated the PortalText and lost all the settings.
Can this be configured only for the parent tenant? I would need to create one for the separate domains my tenant has.
its configured on a per-tenant basis
Is there anyway to center the logo in the header?
dont believe the module has that param
O365 has changed the way that GET-OMEConfiguration reports back now, at lest on my OMEv2 implementation. If you run that command with no additional properties you are only shown your template names. You need to follow that command with ” | FL” to get the full listing of the changes you have made. I just went through this with O365 support. Also I’ve been successful in making individual changes to each section without it clearing out previous entries.
Do you have an example of how this is used in a DLP policy? I cannot get the order right.