Connect to the Microsoft Graph API with PowerShell
Table of Contents
This article will show you how to work with the Graph API using a PowerShell module. If you want to learn how to work with the API with only PowerShell please visit this article: https://www.thelazyadministrator.com/2019/07/22/connect-and-navigate-the-microsoft-graph-api-with-powershell/
The Microsoft Graph API is a REST API provided by Microsoft for integrating and managing Office 365 Exchange Online, OneDrive for Business, and Azure AD. It allows for application developers to integrate their apps with those Microsoft Services. Management of the environment is also possible but requires understanding of OAuth and REST.¹
By using the PowerShell module PSMSGraph we can interact with the Graph API in a more PowerShell friendly way. The MSMSGraph module is an API wrapper. It seeks to take the “foreign” concepts of REST and OAuth and make them accessible and usable in PowerShell. This module strives to make PowerShell administration and automation tasks via the Microsoft Graph API more like other PowerShell commands.²
To connect to the Microsoft Graph API using PowerShell we will have to install the PSMSGraph PowerShell module from here. The PSMSGraph Module is also available on the PowerShell Gallery.
Register an Azure App
To register an Azure application navigate to https://apps.dev.microsoft.com/ and select “Add an App”

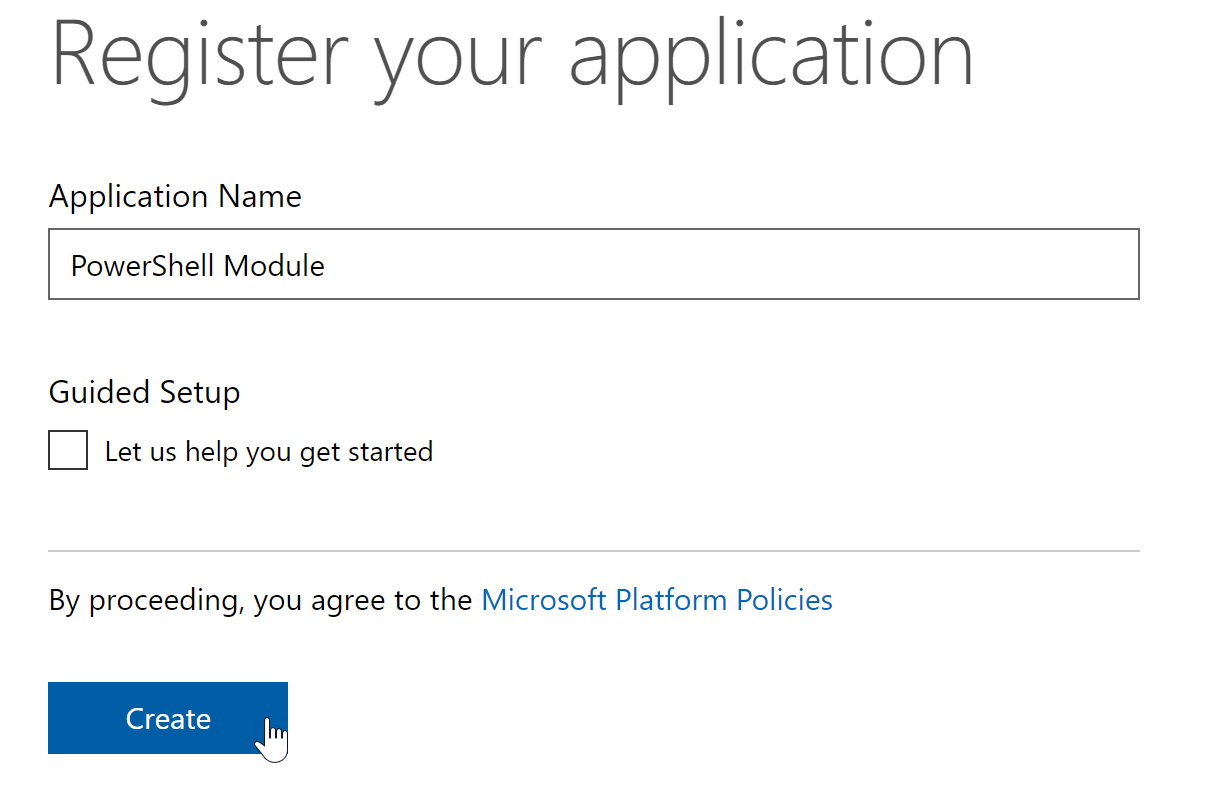
Next step is to put in your application name and press the “Create” button. In my example I am naming my application “PowerShell Module”. I would suggest to not go through the Guided Setup process for this.
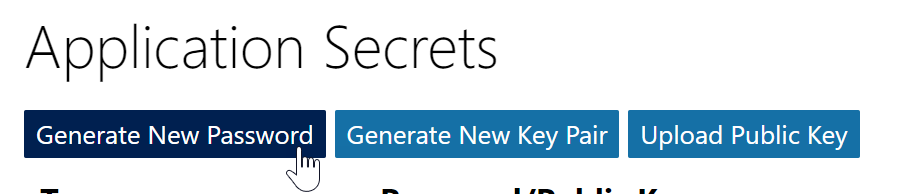
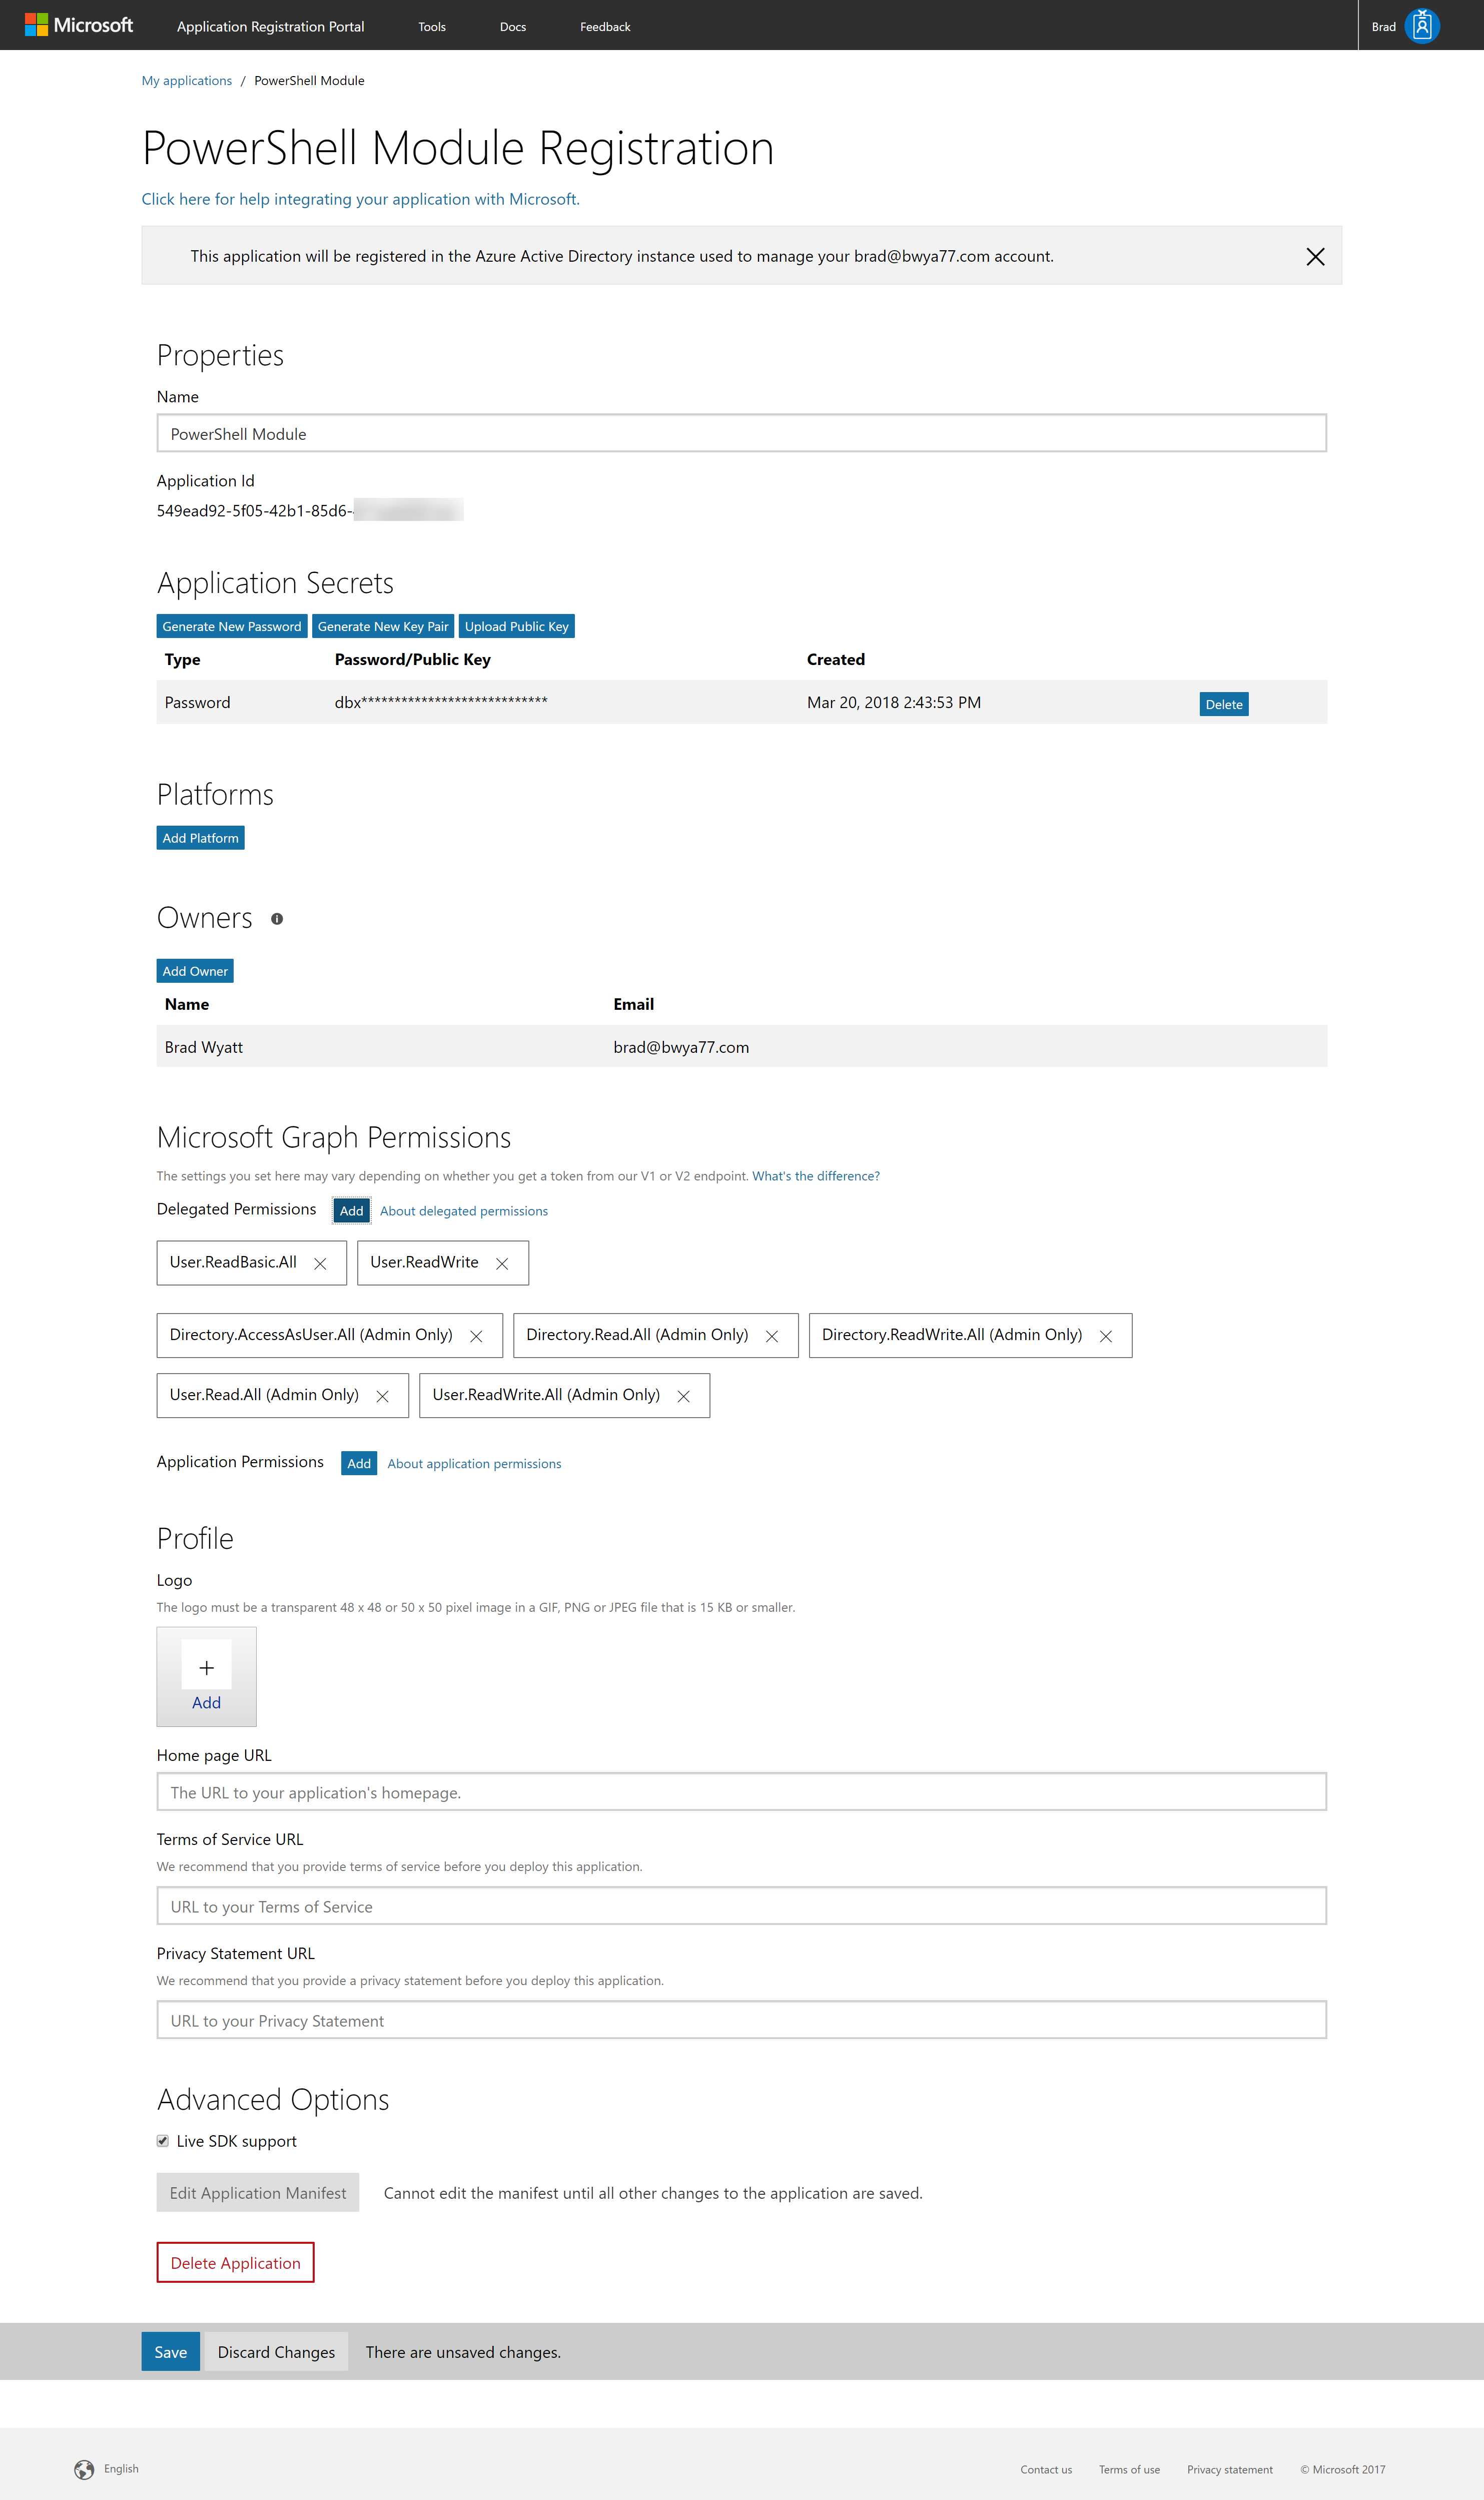
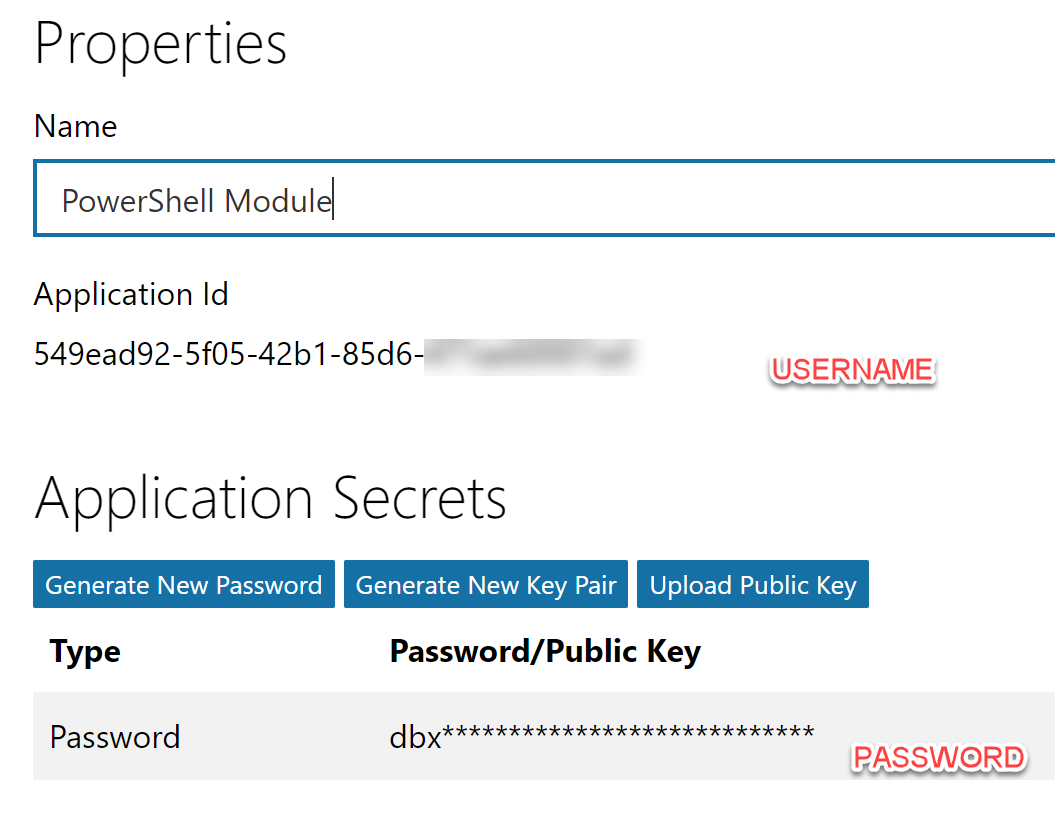
First think you want to do is generate a new Application Secret Key. It will only show you the key once so note it somewhere we can reference later.
Make sure you grant your application the permissions that best fit your needs. In my example I gave it some basic permissions for the time being. You can always come back into your app and grant or remove permissions as needed. The application is capped currently at 30 permission objects,
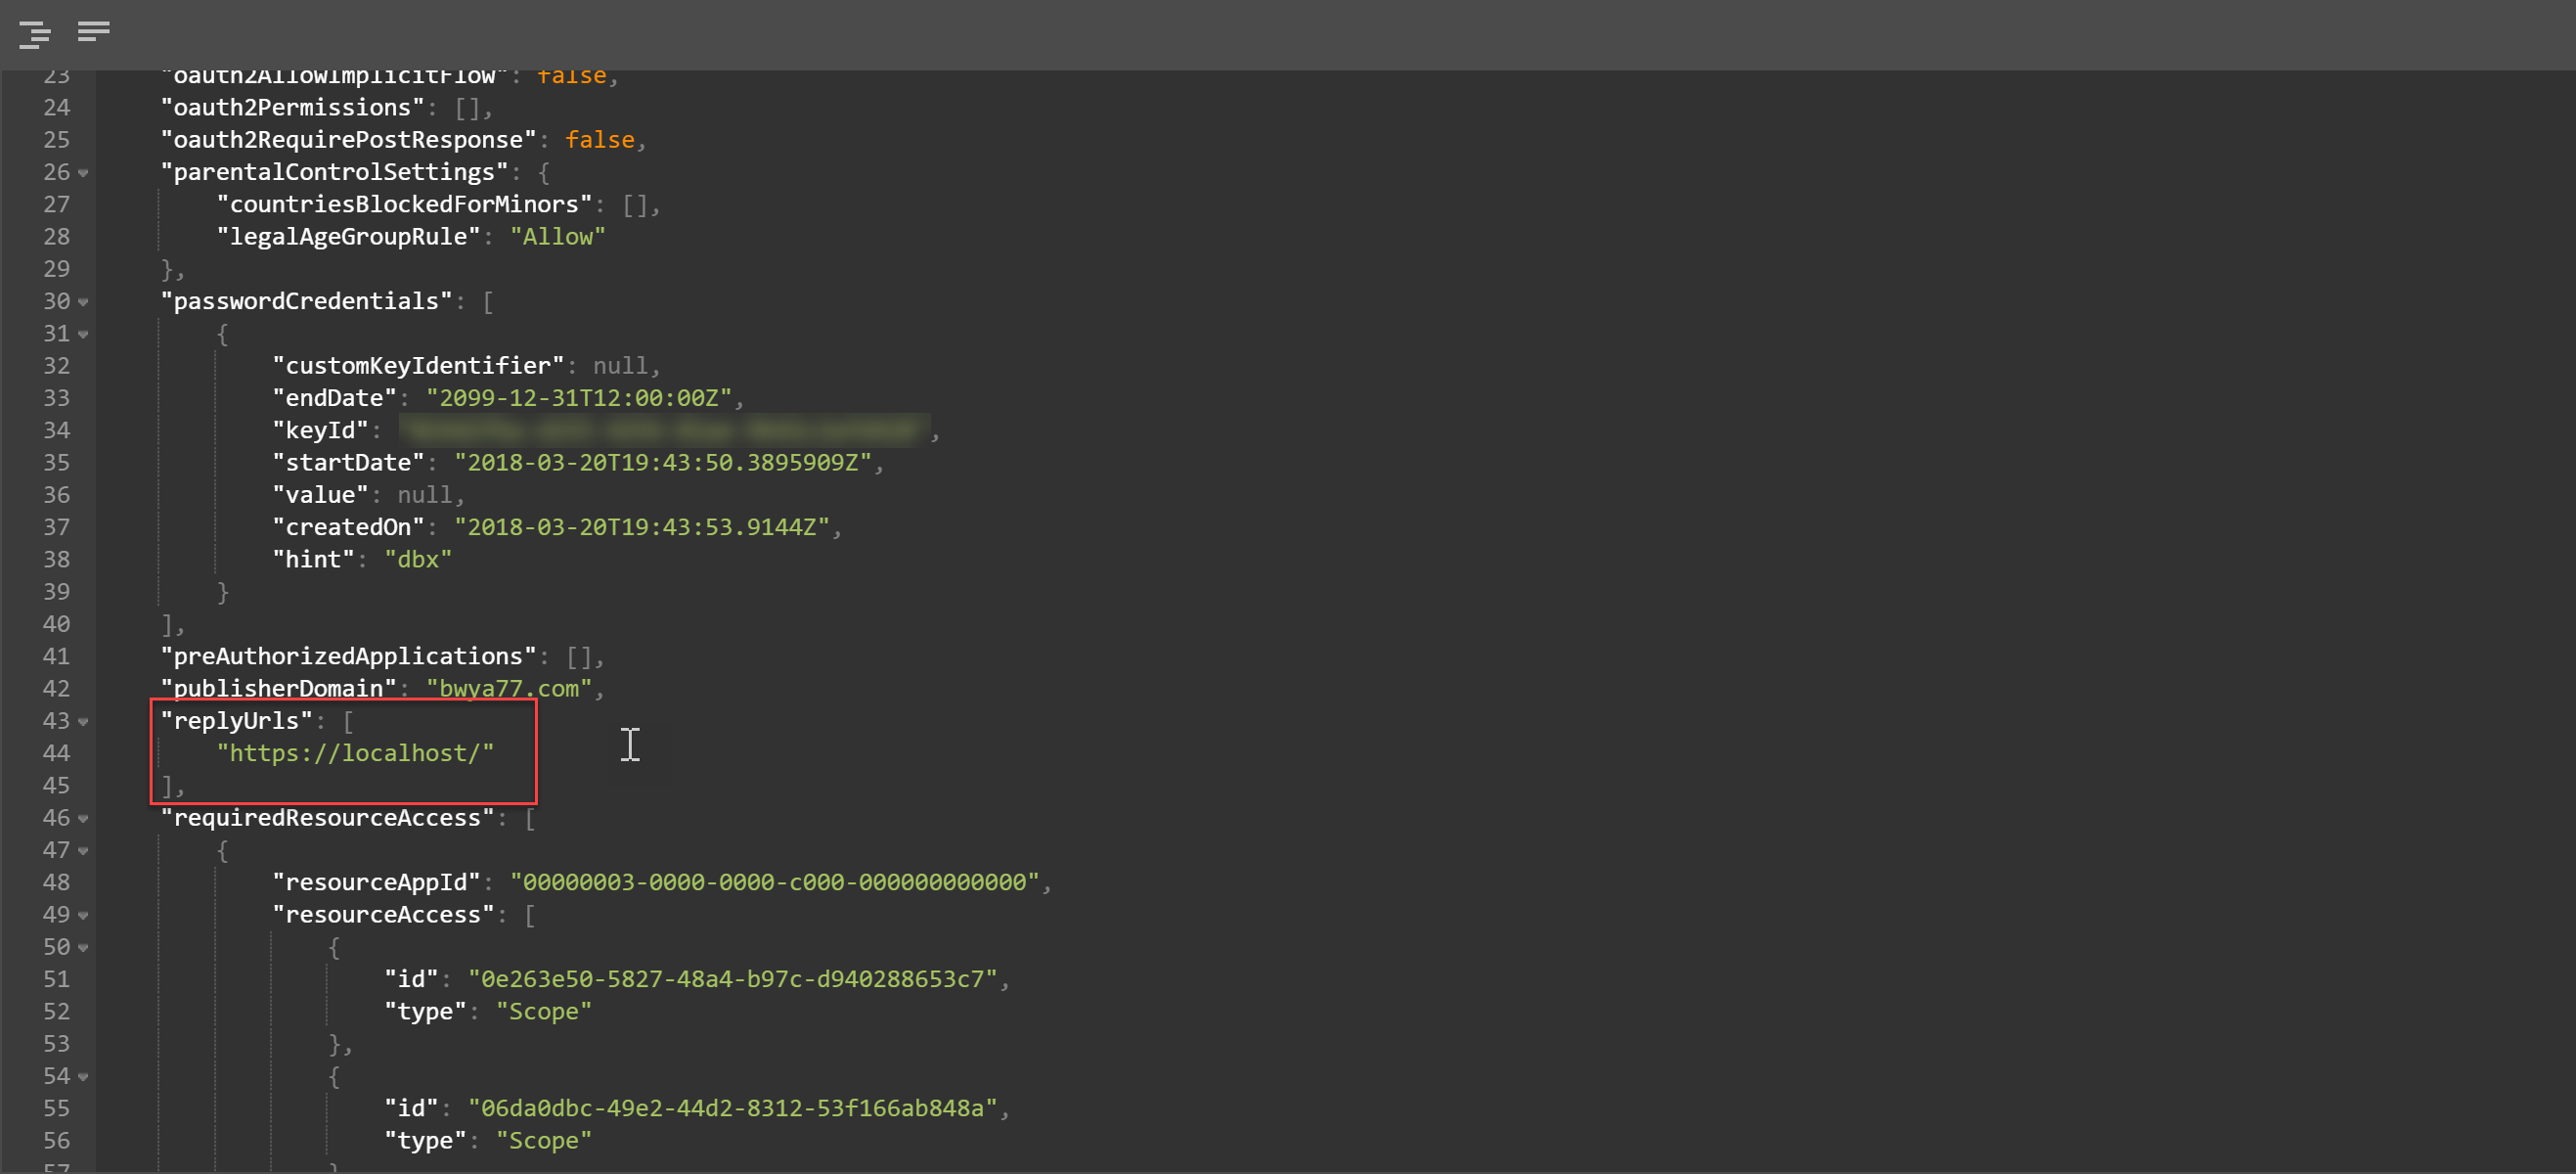
Save the application because next we will need to make changes at the Application Manifest. Once you are in the manifest editor you will want to locate “replyUrls”. This value is looking for an array so it must be in square brackets ( [] ). For our purposes you can just put in:
[
“https://localhost/”
],
Once you have entered in your ReplyUrls you can save the changes.
Authorize the app and export your Access Token
Next launch PowerShell ISE. Copy over the entire script below. We will go through it piece by piece. By the end of it you will have authorized your application to connect to the GraphAPI and exported the Access Token which you can continue to use.
Import-Module -name 'PSMSGraph'
#In the credential prompt, provide your application's Client ID as the username and Client Secret as the password
$ClientCredential = Get-Credential
$GraphAppParams = @{
    Name = 'PowerShell Module'
    ClientCredential = $ClientCredential
    RedirectUri = 'https://localhost/'
    Tenant = 'bwya77.onmicrosoft.com'

}
$GraphApp = New-GraphApplication @GraphAppParams
# This will prompt you to log in with your O365/Azure credentials.
# This is required at least once to authorize the application to act on behalf of your account
# The username and password is not passed back to or stored by PowerShell.
$AuthCode = $GraphApp | Get-GraphOauthAuthorizationCode
# see the following help for what resource to use.
# get-help Get-GraphOauthAccessToken -Parameter Resource
$GraphAccessToken = $AuthCode | Get-GraphOauthAccessToken -Resource 'https://graph.windows.net'
$GraphAccessToken | Export-GraphOAuthAccessToken -Path 'c:\MyGraphApp\AccessToken.XML'
The first command we want to run is:
Import-Module -name 'PSMSGraph'
Which will import the PSMSGraph module for us to use. Next, we will want to create a credential object and store it in a variable called ClientCredential. DO NOT put your Office 365 / Azure credentials in here. For the username you want to input the Application ID, the password is the Client Application Secret.
Next, we will want to enter our Graph Application parameters. The Name is the name of the application. the ClientCredential is the credential object we created in the earlier step with the Application ID and Application Secret. Set RedirectUri to ‘https://localhost/’. The Tenant is the tenant domain, this is the .onmicrosoft domain you get when you first sign up.
$GraphAppParams = @{
    Name = 'PowerShell Module'
    ClientCredential = $ClientCredential
    RedirectUri = 'https://localhost/'
    Tenant = 'bwya77.onmicrosoft.com'

}
Next we are going to create a new graph application using the parameters we set above. This will be stored in a variable called GraphApp
$GraphApp = New-GraphApplication @GraphAppParams
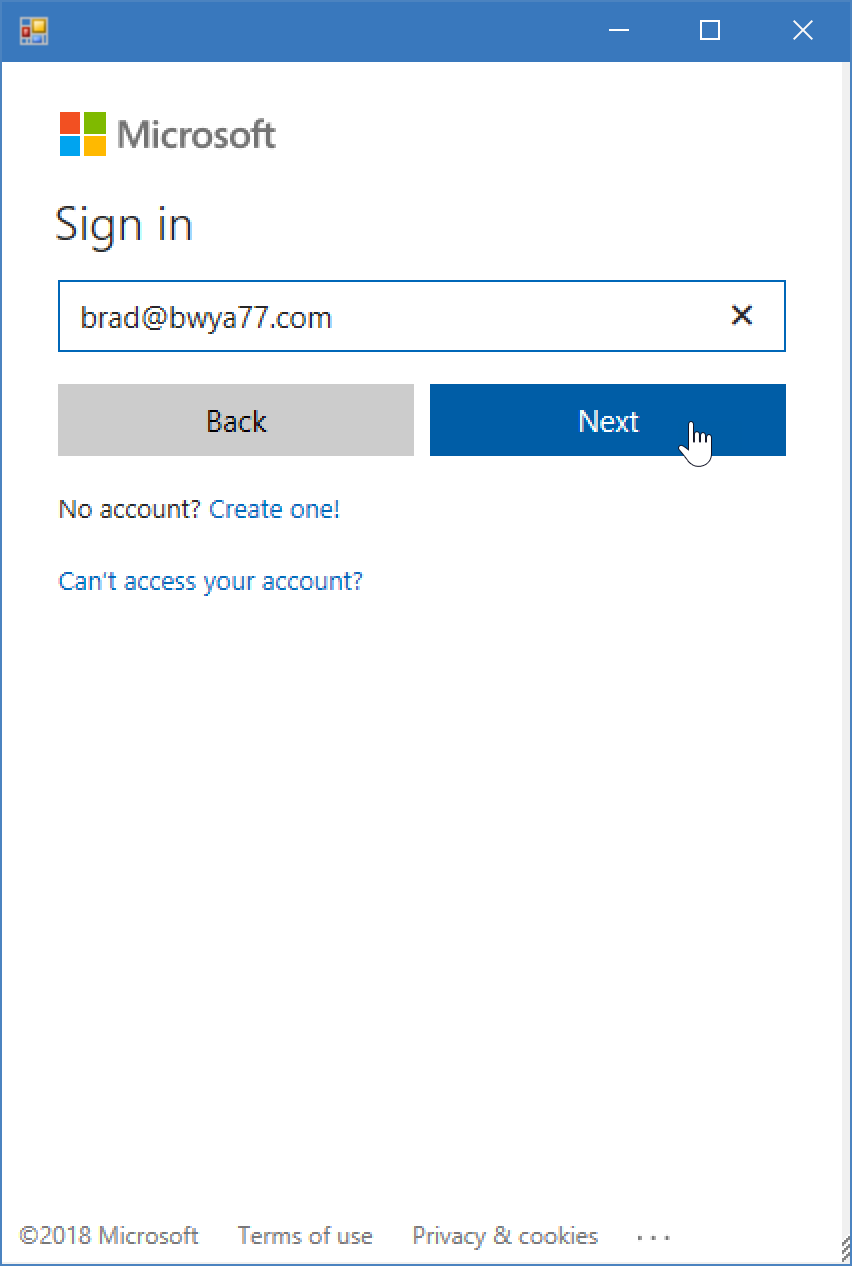
The next command will prompt you for your Office 365 / Azure credentials. This is required at least once to authorize the application to act on behalf of your account. The username and password is not passed back to, or stored by PowerShell
$AuthCode = $GraphApp | Get-GraphOauthAuthorizationCode
$AuthCode = $GraphApp | Get-GraphOauthAuthorizationCode
For the final step we will get and store our graph access token. This will be used whenever we want to connect to the Graph API. In my example I exported the token at C:\MyGraphApp. To find out what resource to use in the Get-GraphOauthAccessToken check the help by running get-help Get-GraphOauthAccessToken -Parameter Resource
$GraphAccessToken = $AuthCode | Get-GraphOauthAccessToken -Resource 'https://graph.windows.net'
$GraphAccessToken | Export-GraphOAuthAccessToken -Path 'c:\MyGraphApp\AccessToken.XML'
Connect to the Graph API
Each time you want to connect to the Microsoft Graph API you will need to export the AccessToken.
Import-Module -name ‘PSMSGraph’
$GraphAccessToken = Import-GraphOAuthAccessToken -Path 'c:\MyGraphApp\AccessToken.XML'
$GraphAccessToken | Update-GraphOAuthAccessToken -Force
When you disconnect you will want to export the AccessToken. This MUST be done each time.
$GraphAccessToken | Export-GraphOAuthAccessToken -Path 'c:\MyGraphApp\AccessToken.XML'
Connect to the Graph API and Get All Users
In this example we will use our token to connect to the Microsoft Graph API and get a list of our users. First, import the token
$GraphAccessToken = Import-GraphOAuthAccessToken -Path 'c:\MyGraphApp\AccessToken.XML'

$GraphAccessToken | Update-GraphOAuthAccessToken -Force
Next, we can get all of our users by running the following command:
Get-AADUserAll -AccessToken $GraphAccessToken
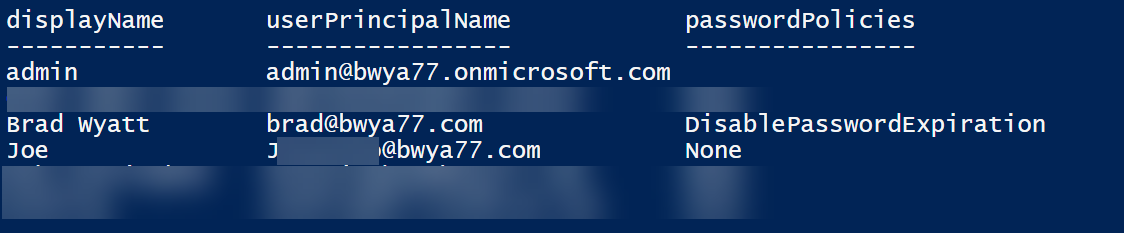
You will see a full list of your users and all their attributes. You can use the regular Select-Object cmdlet to select any objects you want to see if you don’t want everything.
Get-AADUserAll -AccessToken $GraphAccessToken | Select-Object DisplayName,UserPrincipalName,passwordPolicies
Once we have finished with the Microsoft Graph we can export our access token
$GraphAccessToken | Export-GraphOAuthAccessToken -Path 'c:\MyGraphApp\AccessToken.XML'
Sources:
1: https://psmsgraph.readthedocs.io/en/latest/
2: https://psmsgraph.readthedocs.io/en/latest/

My name is Bradley Wyatt; I am a 6x Dual-Microsoft Most Valuable Professional (MVP) in Microsoft Azure and Microsoft 365. I have given talks at many different conferences, user groups, and companies throughout the United States, ranging from PowerShell to DevOps Security best practices, and I am the 2022 North American Outstanding Contribution to the Microsoft Community winner.