Getting Started with GitHub Copilot in the CLI
Table of Contents
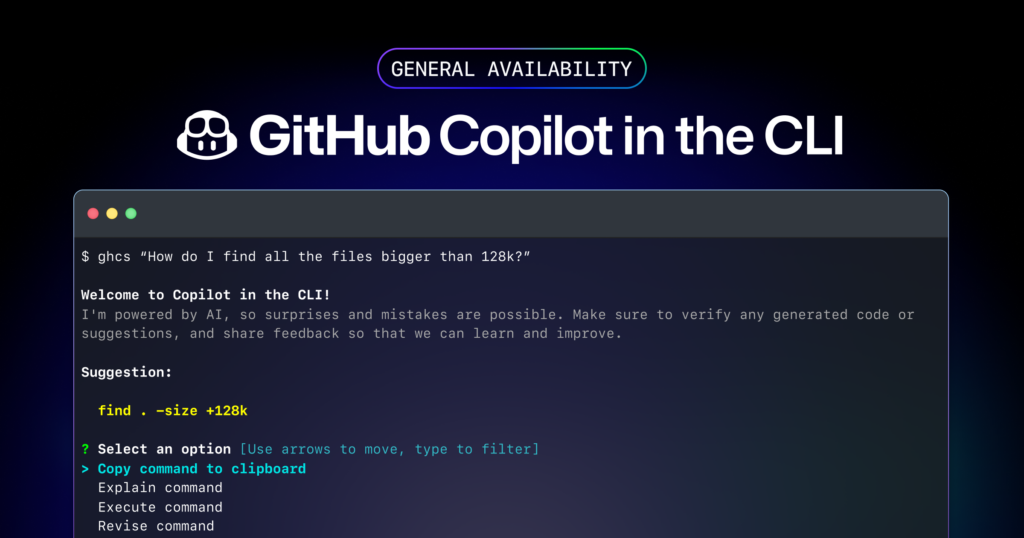
It was announced recently that GitHub Copilot in the CLI has reached General Availablity for all Individual, Business, and Enterprise customers. In this post, I will show you how you can get download and install the CLI and Copilot extension, authenticate to use Copilot, and the available commands and use cases.
Install the GitHub CLI
Windows
With Windows, we can install the GitHub CLI via the command line (Winget, Chocolatey, or Scoop) or manually from here.
Winget
With Winget, we can install the GitHub CLI using the following command:
winget install --id GitHub.cli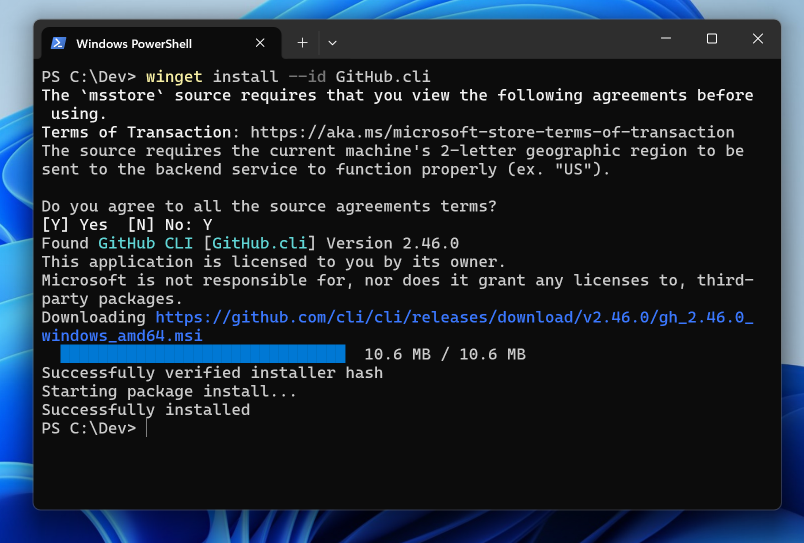
MacOS
With MacOS, we can install the GitHub CLI via homebrew or manually from here.
Homebrew
Using homebrew, run the following command:
brew install gh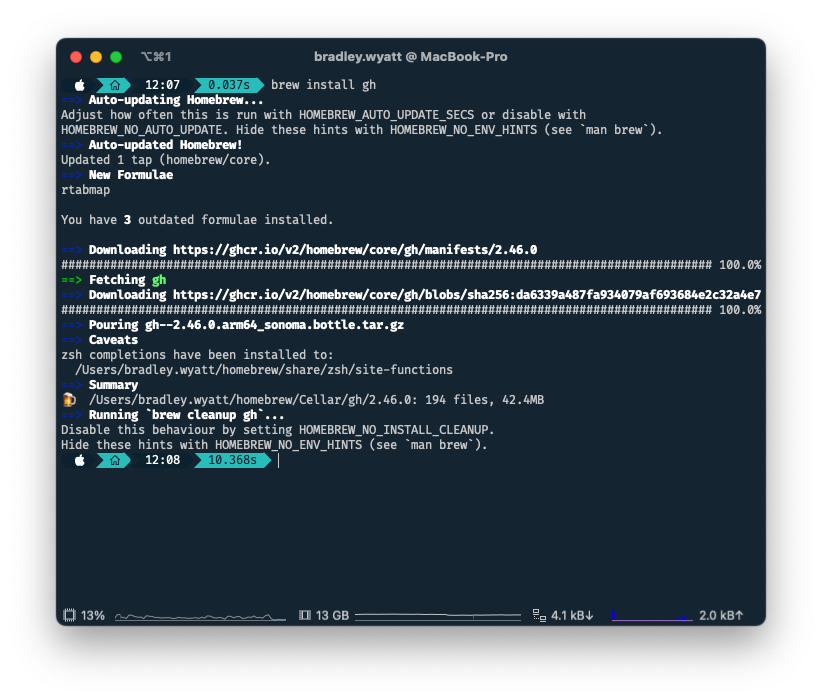
Authenticate
Note: In order to use Copilot in the CLI, you must have an active GitHub Copilot subscription.
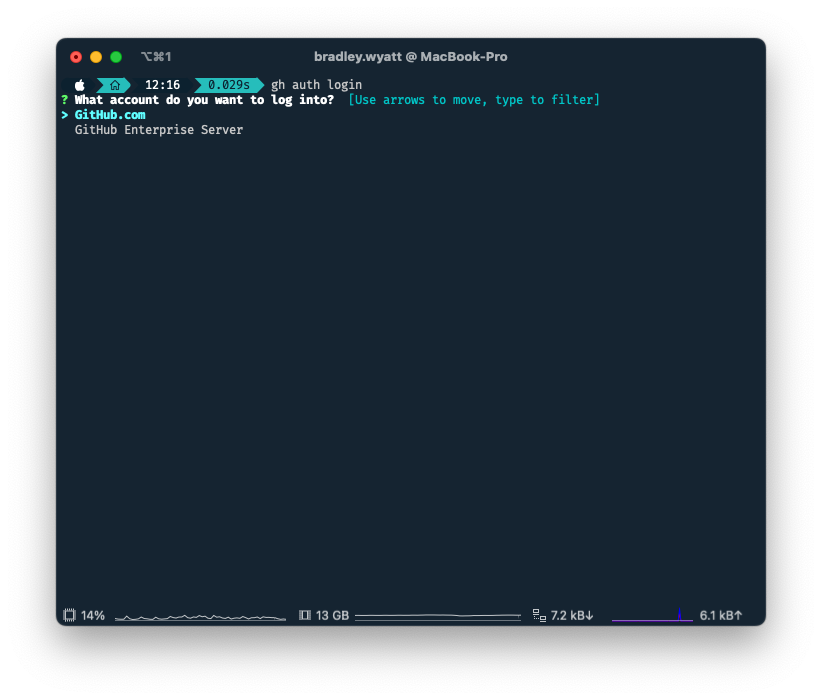
Once you have a valid subscription to use Copilot, run the following command to authenticate:
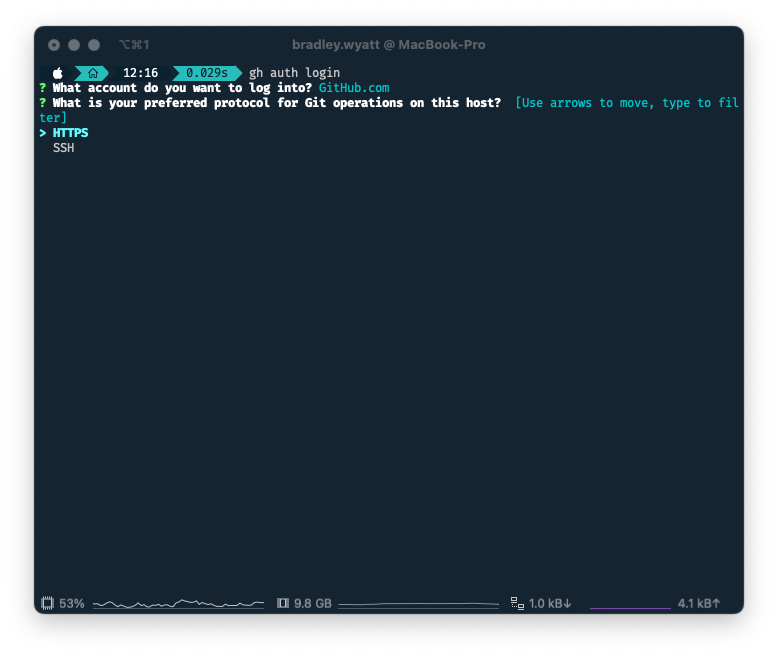
gh auth loginSelect the type of account you want to log into. In my case, Github Copilot is associated with my Github.com account, so I will select that option using the arrow keys.
Next, it will ask you your preferred protocol to authenticate. In my example, I will use HTTPS.
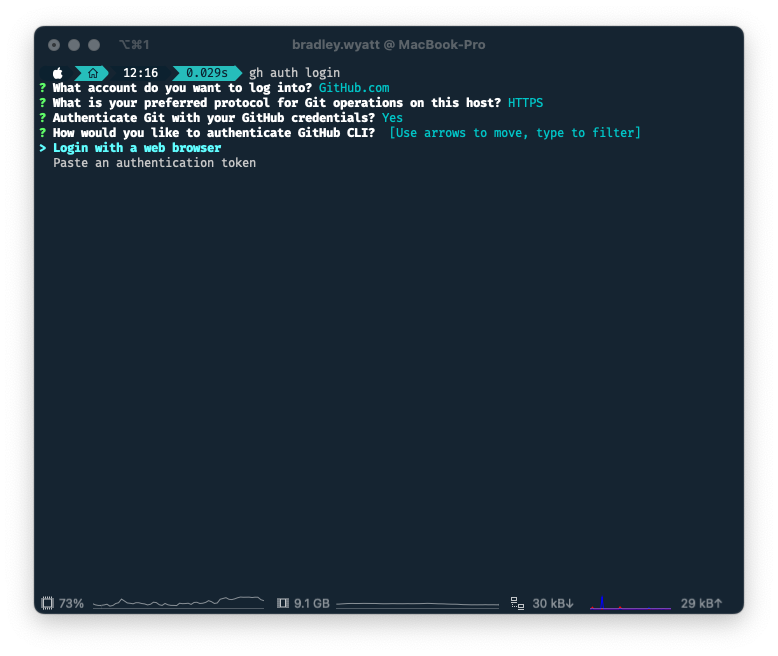
Next, it will ask if you want to authenticate Git with your GitHub Credentials. Enter “Y” to confirm. Then you can authenticate using a web browser or paste an auth token directly into the terminal.
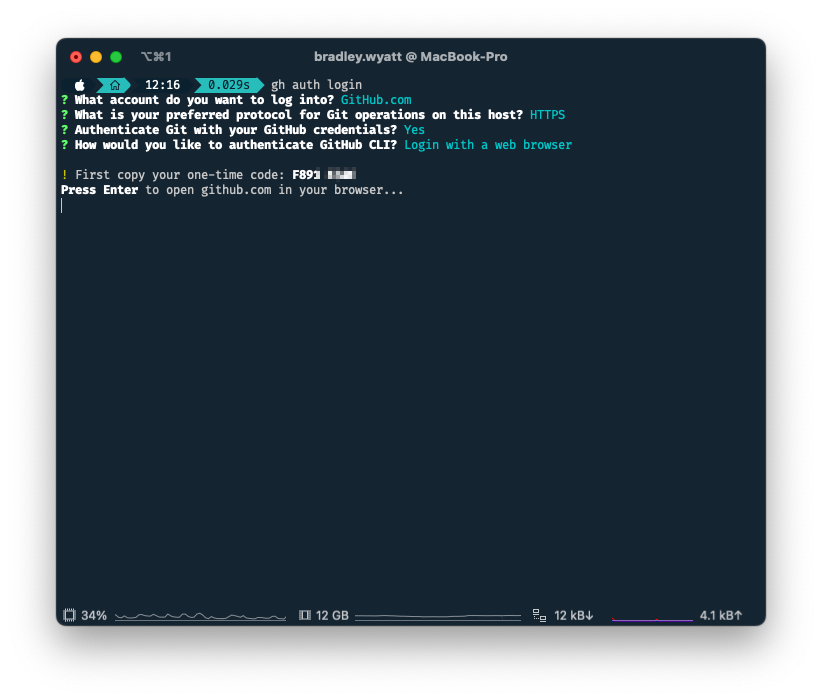
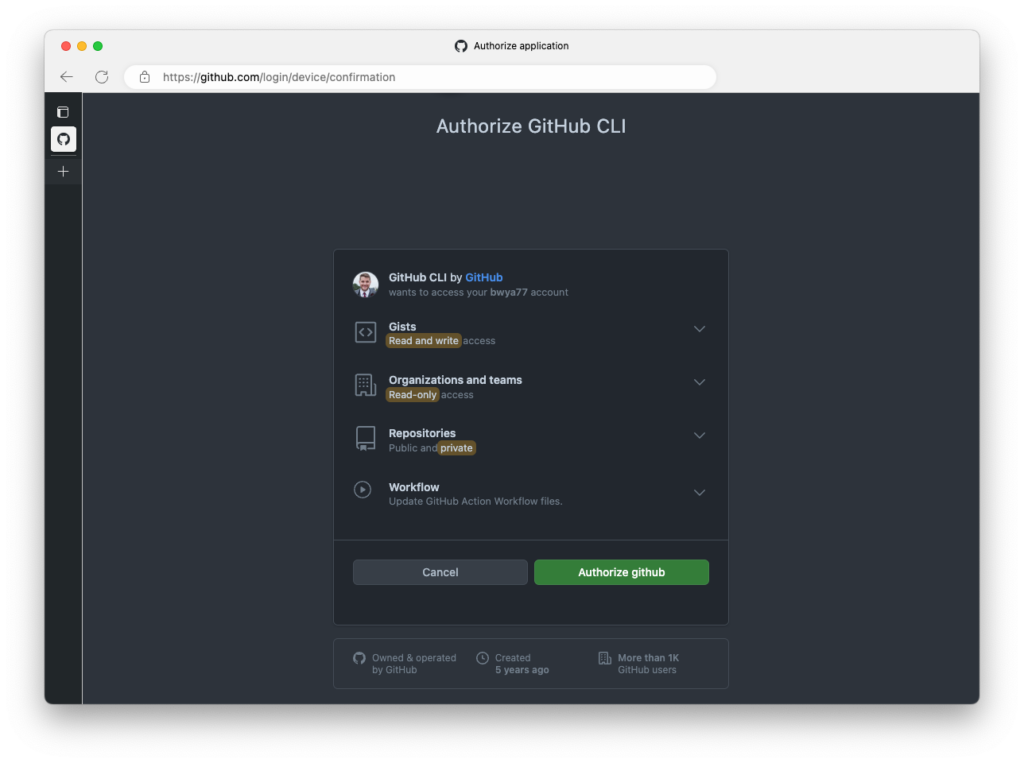
Using the web, you will authenticate using device code flow. It will show you a code in your terminal and if you press “Enter” it will open a web browser to https://github.com/login/device
Enter the code that you were shown in your terminal and press, “Continue.”
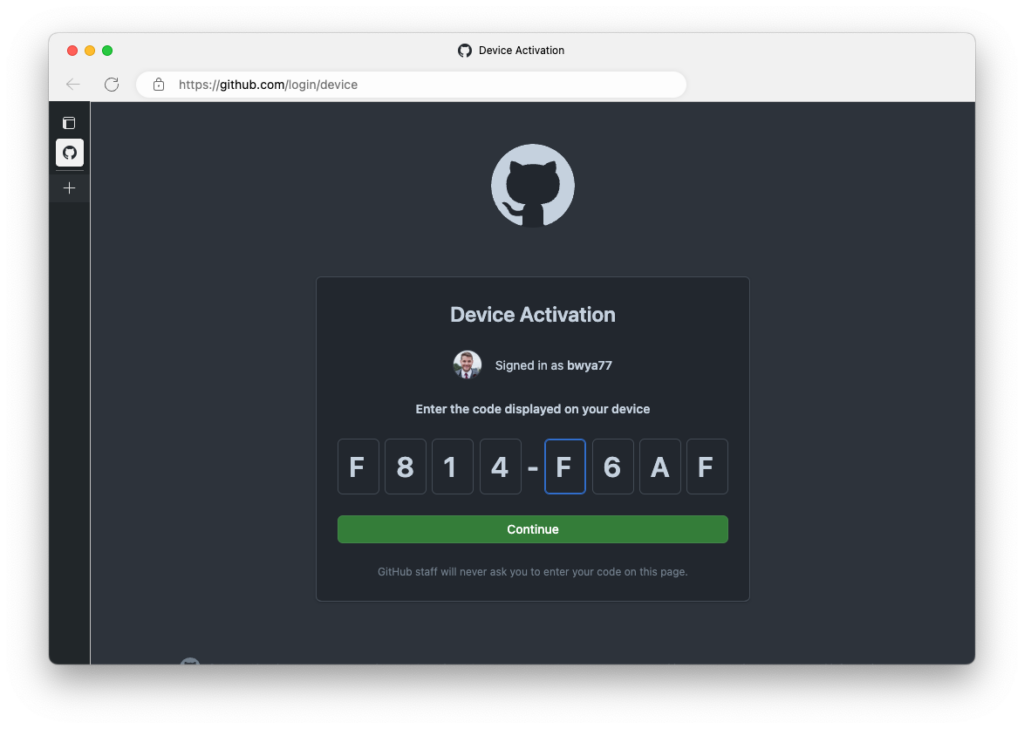
Review and approve the requested permissions.
GitHub CLI Commands
The GitHub CLI has a manual that contains all the available commands. The manual can be found here.
Install the Copilot CLI Extension
Now that we have the GitHub CLI installed and authenticated, we need to install the GitHub Copilot Extension. To install the extension, use the following command:
gh extension install github/gh-copilot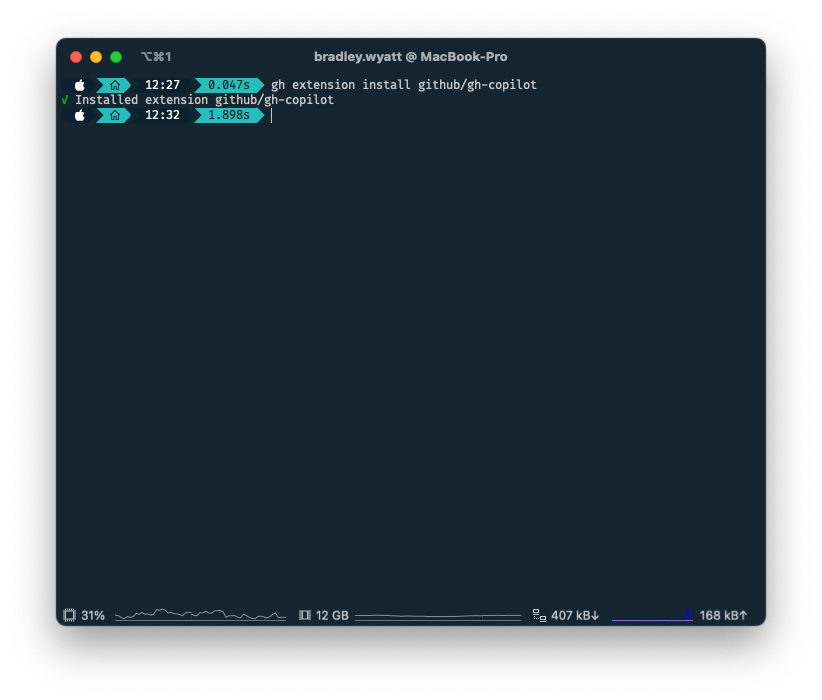
Available Commands
The built-in help can assist you with understanding how you can interact with the Copilot CLI extension. You can run the help by running the following command:
gh copilot --help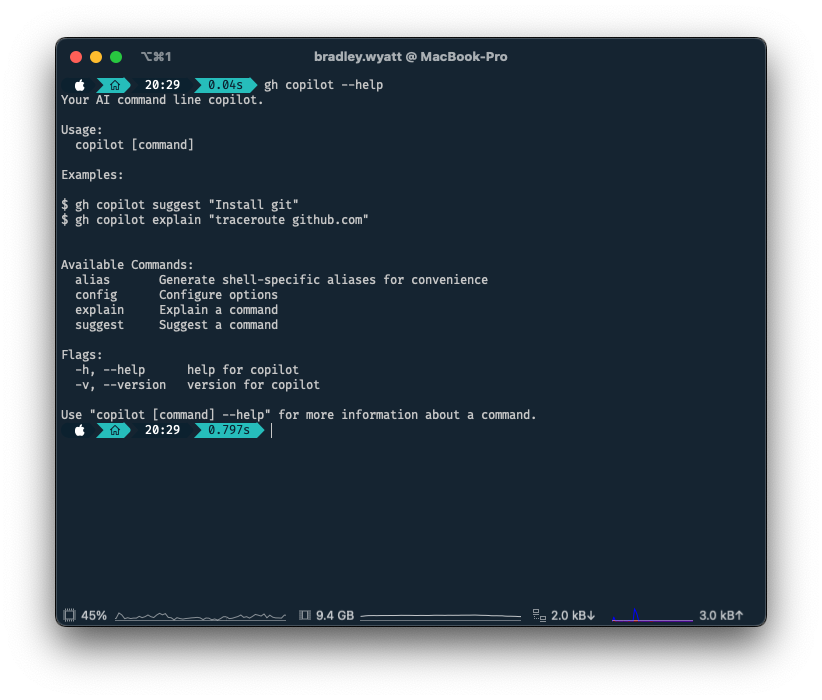
Alias
An alias is another name you can use to call the Copilot CLI, and it can be used interchangeably. Using gh copilot alias, we can create different aliases. You can also create an alias around longer commands, such as replacing gh copilot suggest with ghcs or replacing gh copilot explain with ghce.
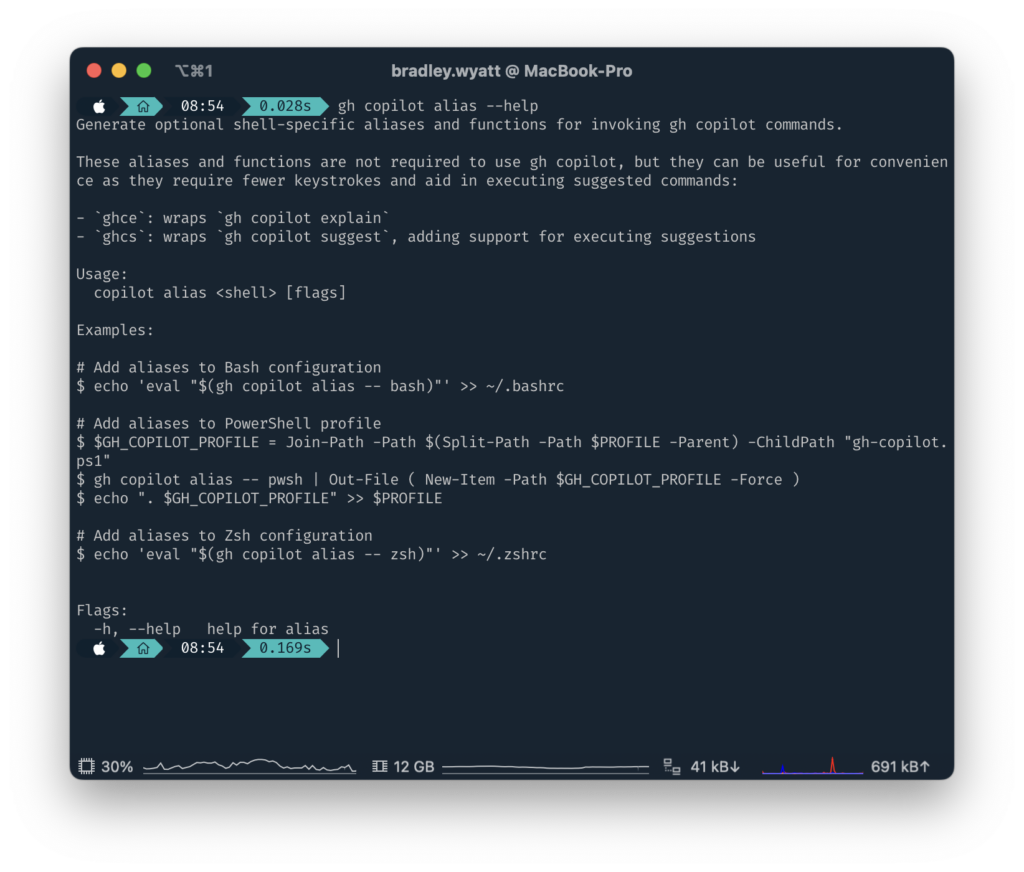
To get help for the Alias commands, let’s run the following command:
gh copilot alias --helpFrom there, we can see the different alias commands for the different shells. You can copy and paste the code, but I will go into futher details below.
Zsh
If you are running Zsh, run the following commands to create the aliases:
echo 'eval "$(gh copilot alias -- zsh)"' >> ~/.zshrc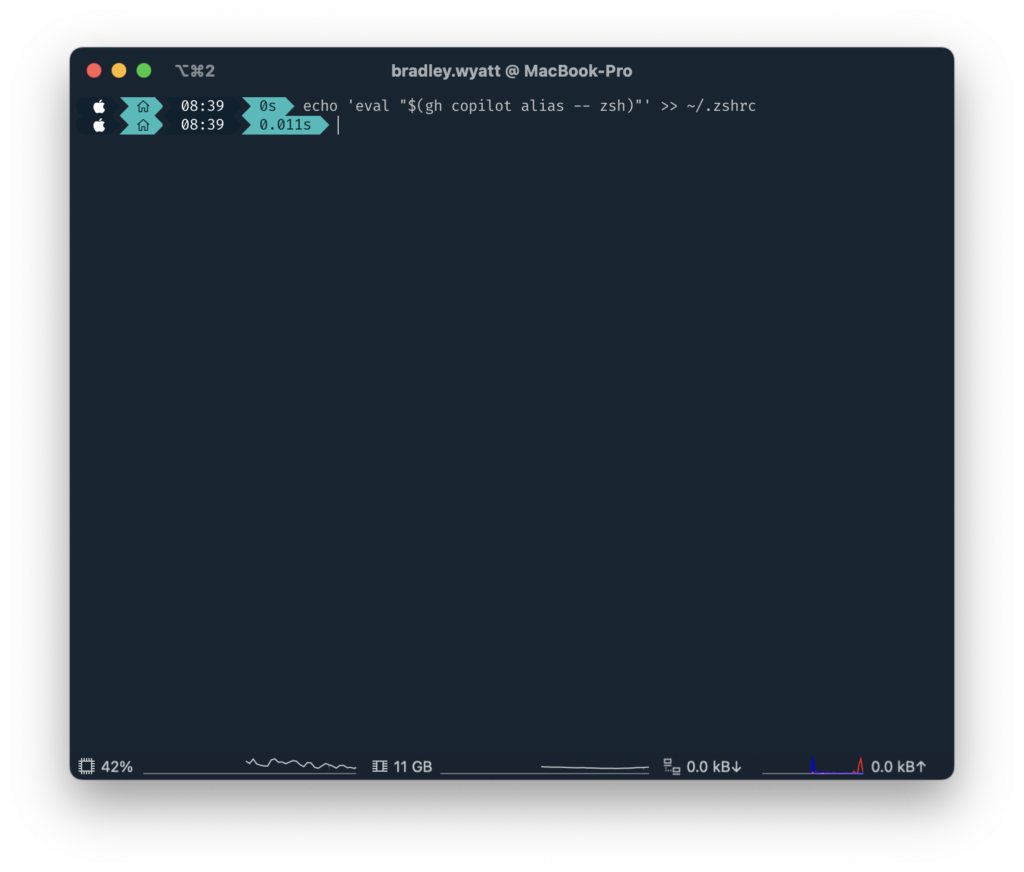
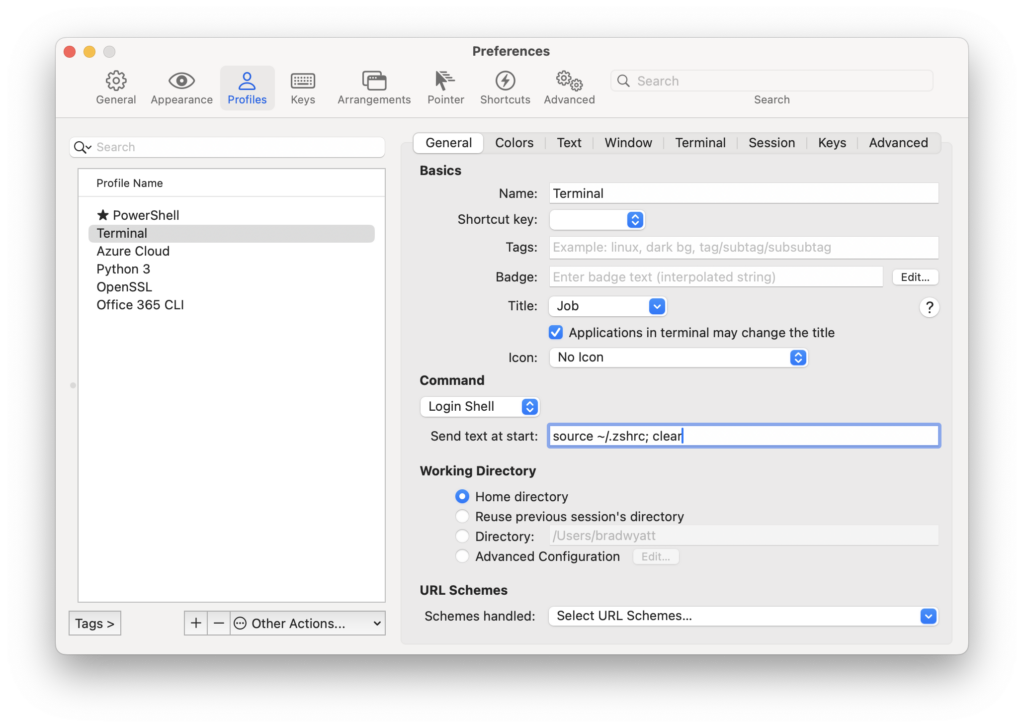
Note: Since I am running iTerm I will add the source command, ‘source ~/.zshrc; clear‘ to my startup prompt.
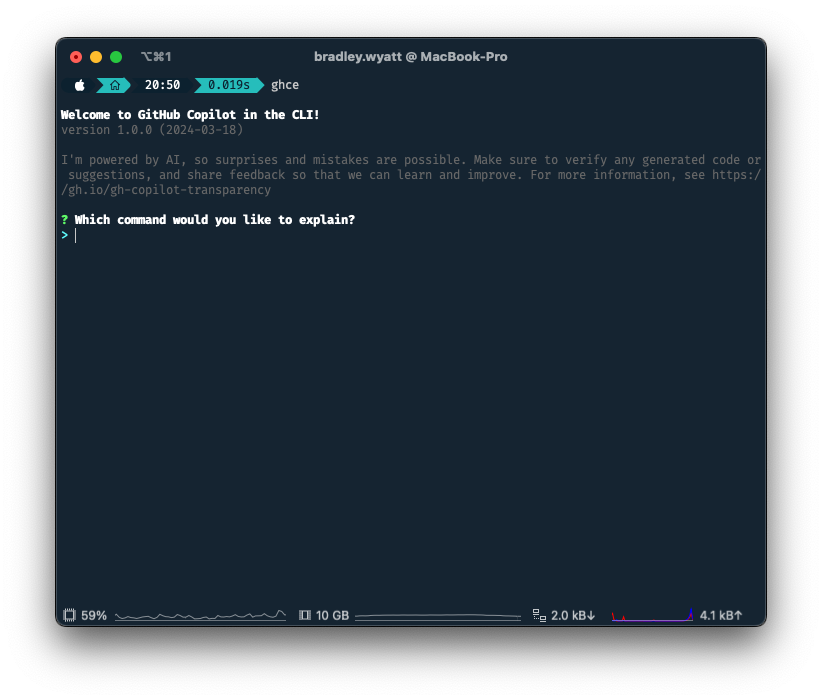
Now, I can run ghce for gh copilot explain or ghcs instead of gh copilot suggest.
PowerShell
Note: Since I am on a Mac running pwsh, I had to first add the gh binary to my path. To do this, I ran, “sudo nano /etc/paths.d/gh” and then entered, “/Users/MYUSERNAME/homebrew/bin/“. Be aware that your binary may be in a different directory. Since I installed it via Homebrew, it is located at the path above. If you run ‘where gh‘ in the terminal, it will tell you the CLI’s path.
For PowerShell, you need to run the following 3 lines to add the aliases:
$GH_COPILOT_PROFILE = Join-Path -Path $(Split-Path -Path $PROFILE -Parent) -ChildPath "gh-copilot.ps1"
gh copilot alias -- pwsh | Out-File ( New-Item -Path $GH_COPILOT_PROFILE -Force )
echo ". $GH_COPILOT_PROFILE" >> $PROFILE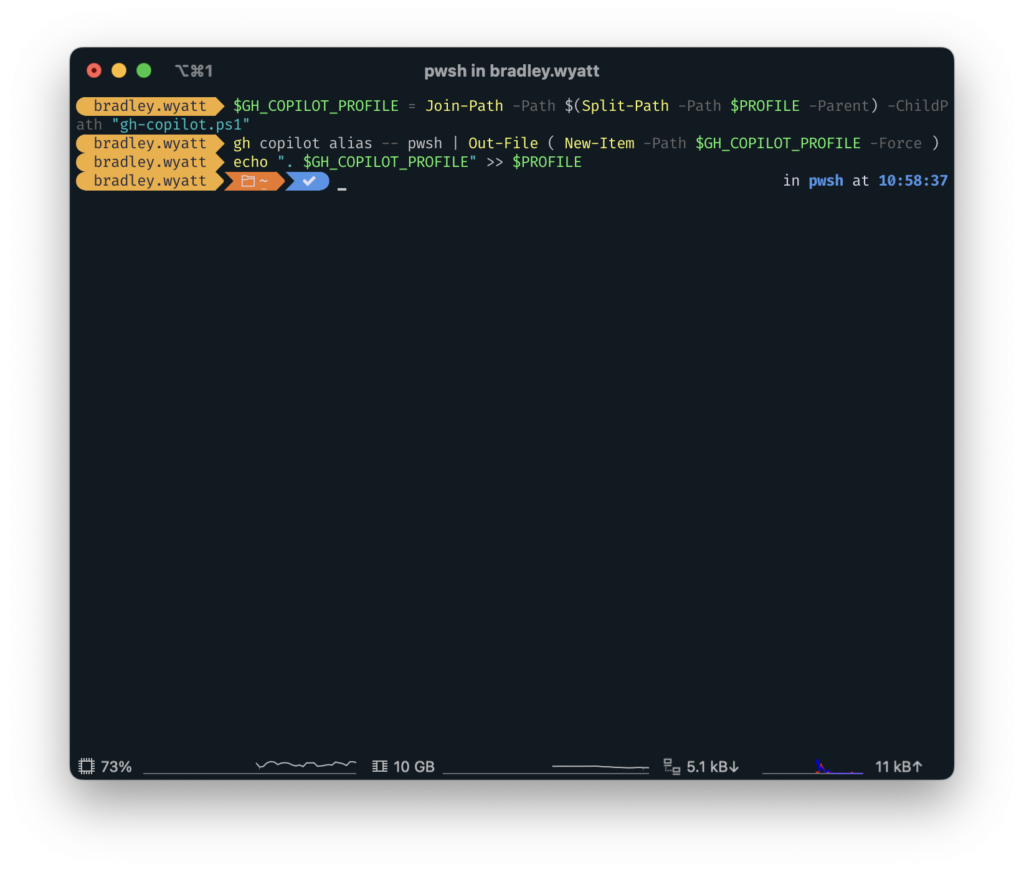
This adds a script to the root of your profile path and adds the following line to your $PROFILE:
. /Users/YOURUSERNAME/.config/powershell/gh-copilot.ps1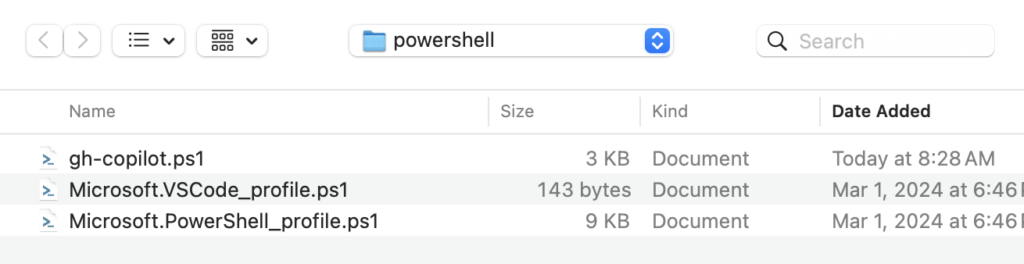
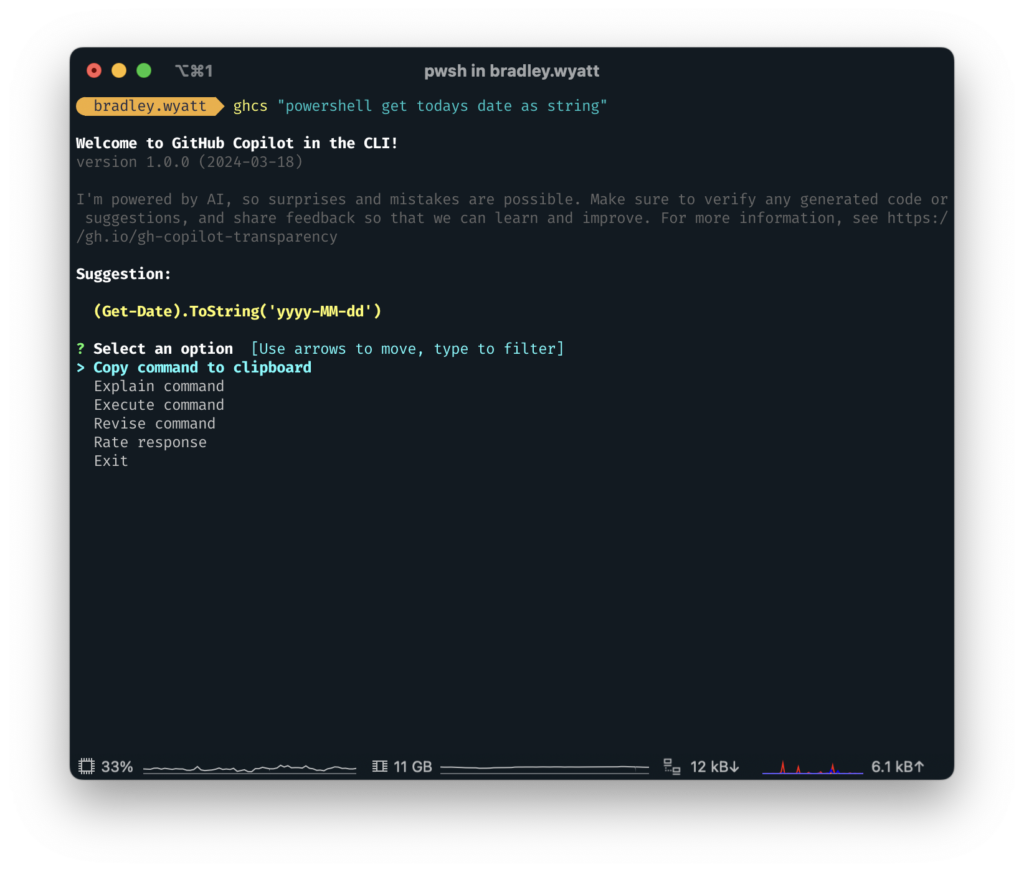
Now, in PowerShell, I can use the aliases. In my example, I am asking for it to suggest (ghcs) a PowerShell command to get today’s date as a string.
Explain a Command
Github Copilot has the ability to explain commands to you within the shell. Using my alias of ghce (gh copilot explain). If you put the language prior to the command, it will tell you information about that language’s command. In my example below, I will show the following examples:
Get-Datecommand for PowerShell- Pip command for Python
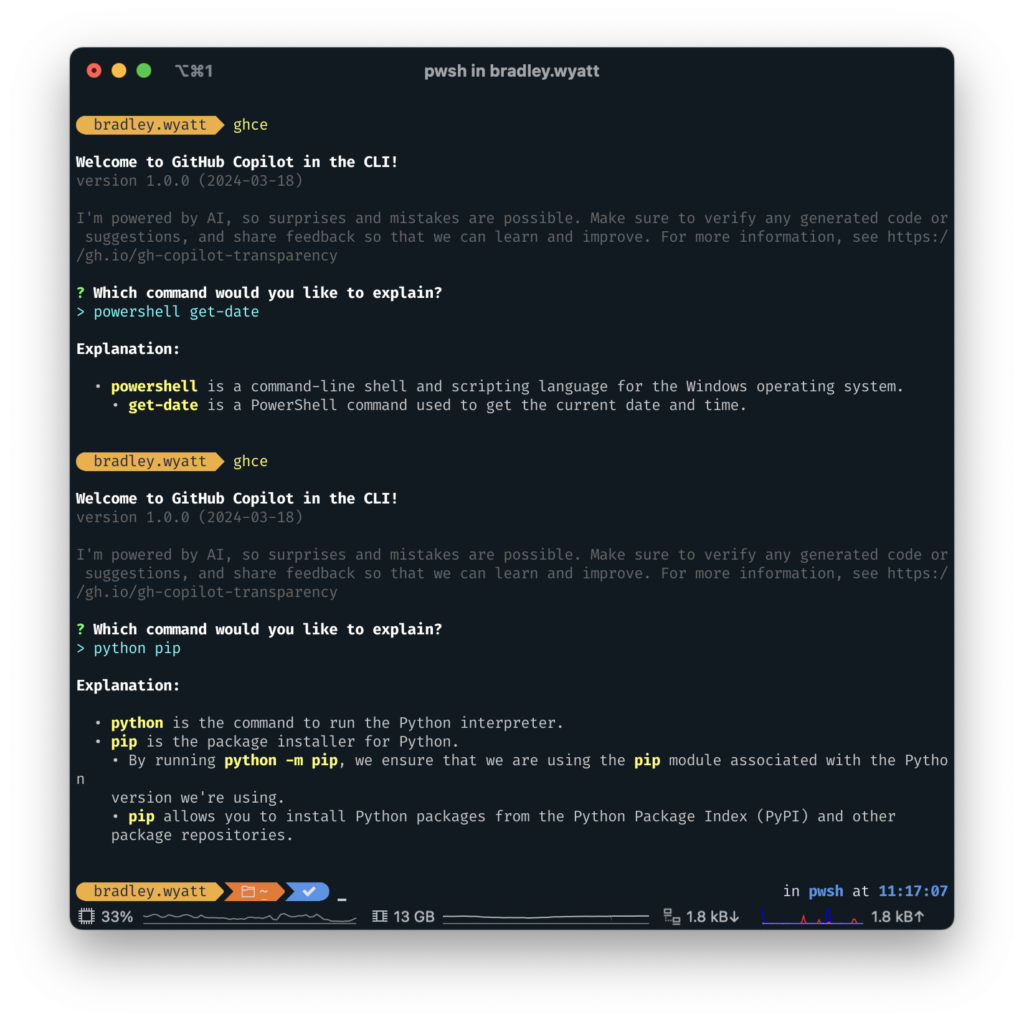
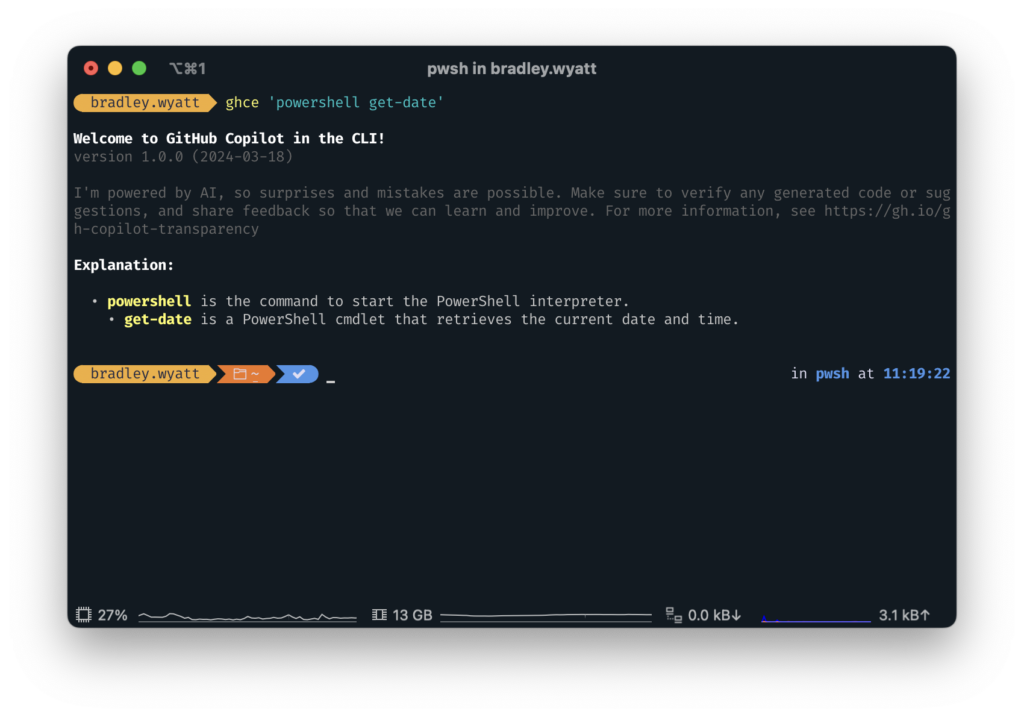
You can also just run ghce 'powershell get-date' instead of just ghce and then going through the prompts.
You can also run the following command to view the Explain help and see more real-world examples:
gh copilot explain --help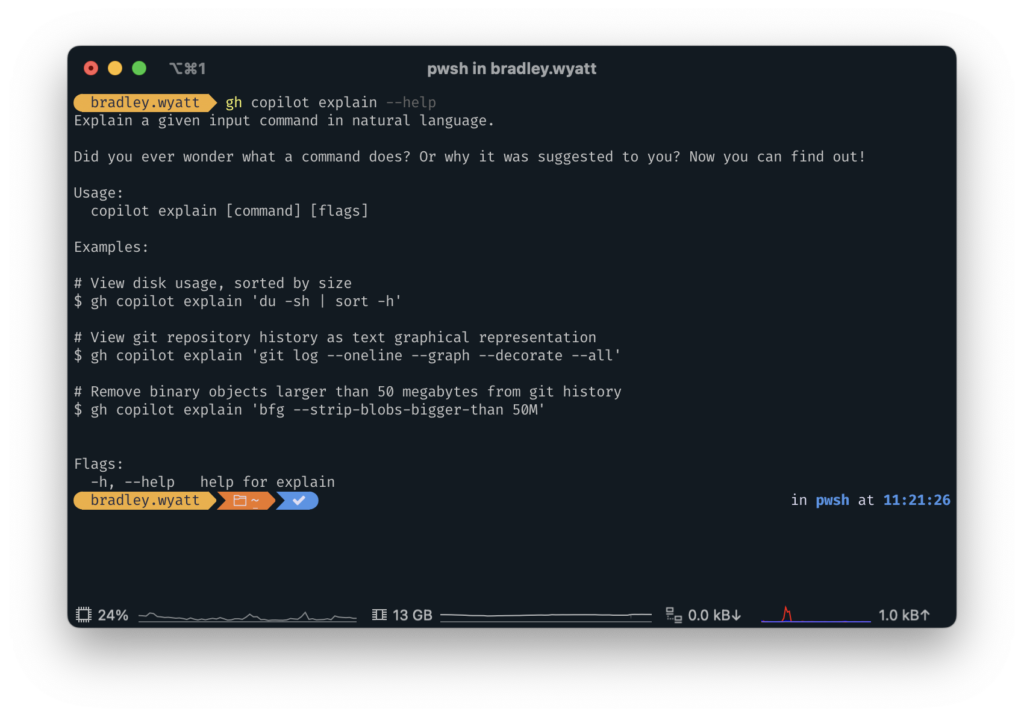
Suggest a Command
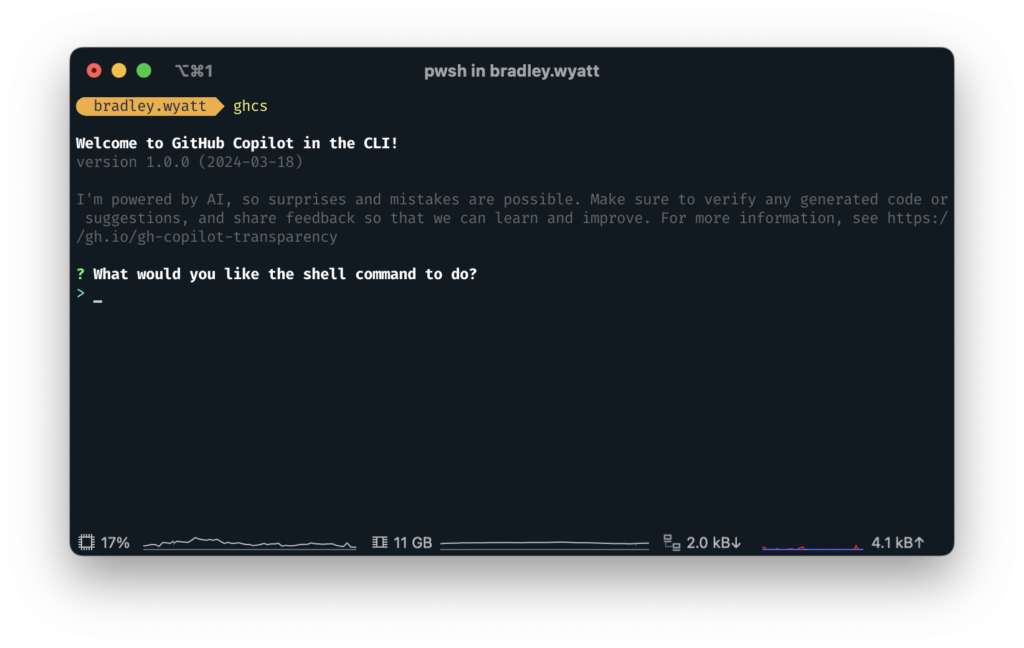
Copilot CLI can also suggest a command using natural language. In my example below, I want to find the command to get today’s date:
ghcs "get todays date in powershell"
You can also just run ghcs or gh copilot suggest and it will prompt you
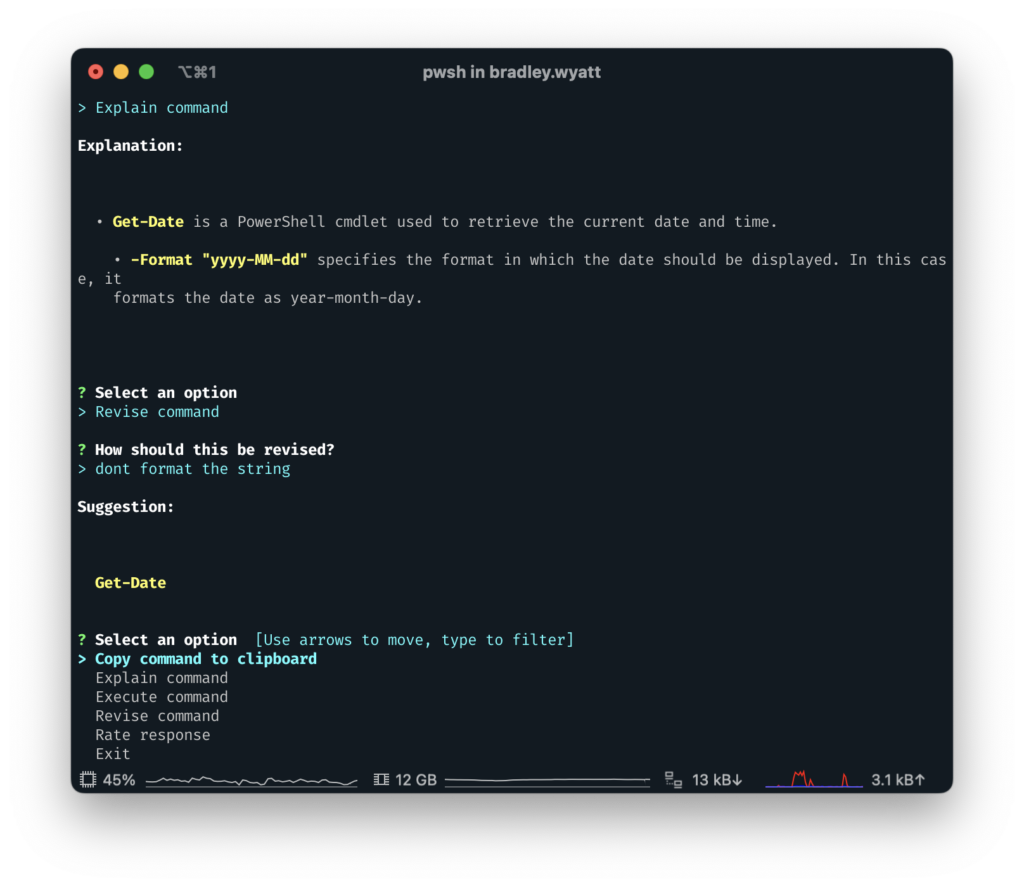
Suggest Actions
You may have noticed that after you have copilot suggest a command, there are several available options presented to you:
- Copy Command to Clipboard: Copies the suggested command straight to your clipboard
- Explain command: Uses
gh copilot explainagainst the suggested command - Execute command: Execute the suggested command in your terminal.
- Revise command: Prompts you on how you want to revise the suggested command and then runs that through gh copilot suggest. (In the example below, I was suggested
Get-Date -Format "yyyy-MM-dd"and I suggested it not to format the date string) - Rate response: rate the suggested command
- Exit: Exits the copilot actions menu.

My name is Bradley Wyatt; I am a 6x Dual-Microsoft Most Valuable Professional (MVP) in Microsoft Azure and Microsoft 365. I have given talks at many different conferences, user groups, and companies throughout the United States, ranging from PowerShell to DevOps Security best practices, and I am the 2022 North American Outstanding Contribution to the Microsoft Community winner.
One thought on “Getting Started with GitHub Copilot in the CLI”
I appreciate this clean, linear guide to configuring GitHub Copilot in PowerShell. It’s fun to have and this was a motivating guide to follow in installing and first usages of it.