Manage and Administer SharePoint using SharePointPnP.PowerShell
Table of Contents
The SharePoint Development Community (also known as the SharePoint PnP community) is an open-source initiative coordinated by SharePoint engineering. This community controls SharePoint development documentation, samples, reusable controls, and other relevant open-source initiatives related to SharePoint development1 .
The SharePointPnP.PowerShell module is quite vast when it comes to managing and administrating your on-premise or SharePoint online environment. Before we dive into it you will first want to install it so you have all the cmdlets available to you.
| SharePoint Version Command to install | |
| SharePoint Online | Install-Module SharePointPnPPowerShellOnline |
| SharePoint 2016 | Install-Module SharePointPnPPowerShell2016 |
| SharePoint 2013 | Install-Module SharePointPnPPowerShell2013 |
Note: This will be an on-going article. As I continue using this module I will update this article.
Connecting to SharePoint
In my environment I have SharePoint with Office 365 so I will be connecting to SharePoint Online. For testing purposes I will be working in one of my test sites so I will connect directly to that site.
$webUrl = "https://bwya77.sharepoint.com/sites/o365_training/"
Connect-PnPOnline -Url $webUrl
Running Connect-PnPOnline will prompt me for credentials. Once I enter my administrator credentials I am connected in seconds.
Enterprise Keywords
Users add enterprise keywords to items on a SharePoint site to use for tagging and to develop a folksonomy. Enterprise keywords can capture some of the knowledge of the people who use the content. To make it easier to add keywords, you can add a special enterprise keywords column to a list or library. Users then can select the item to add a keyword to, and enter the word or phrase they want in the item properties2 .
Term Store
When working with Enterprise Keywords I found that I had to specify the keyword by using its GUID from the SharePoint Term Store. This may change in future versions, at the time of this post I am working with 3.0.1808.1.
To find the GUID of your term navigate to the SharePoint Admin Center and select “Term Store” on the left pane.
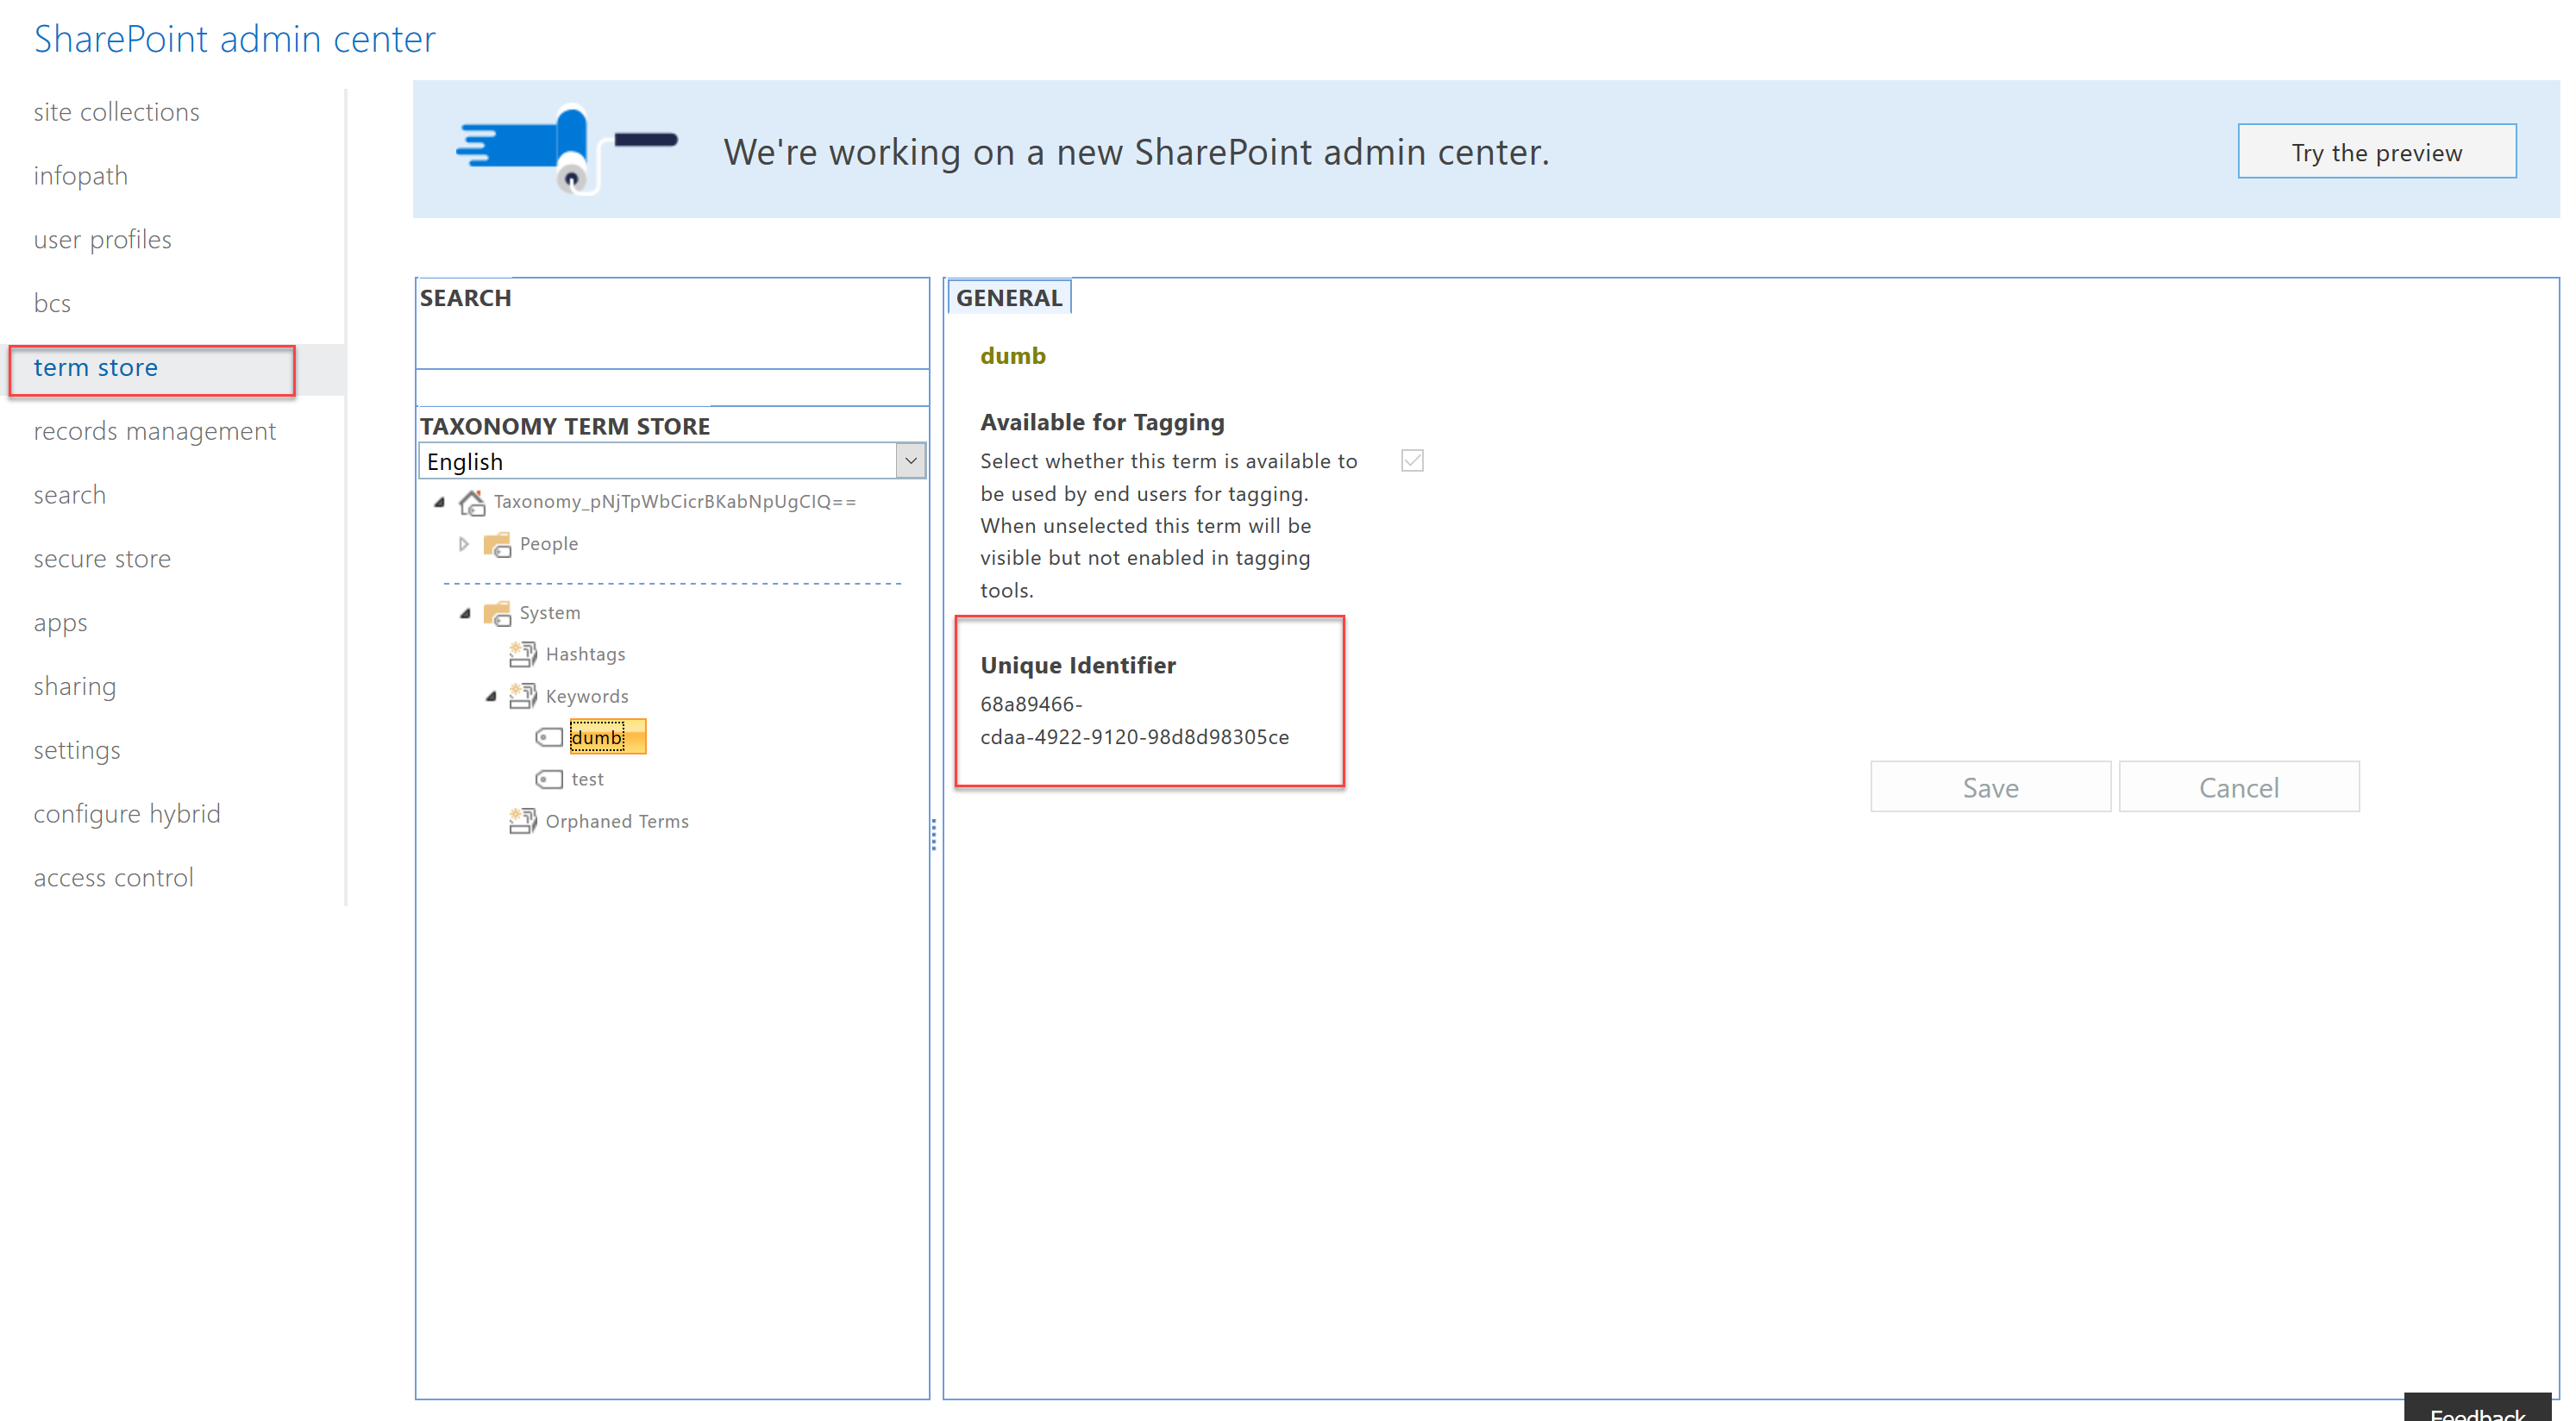 In my script I store the GUIDs in variables so I can reference them easier.
#Enterprise Keywords GUIDs
$Test = "5b6ddded-ce24-4e39-a698-14b67ab282e0"
$Dumb = "68a89466-cdaa-4922-9120-98d8d98305ce"
Upload Files to SharePoint
In my example I want to upload every file in C:\Transfer\Upload as well as all files in any sub-folders. If I did not want to include files in sub-folders I would remove the -Recurse parameter.
In SharePoint Online I want to add all of the local files to a folder called “Training”. Remember we connected to site URL https://bwya77.sharepoint.com/sites/o365_training/ so really all files will be at the URL https://bwya77.sharepoint.com/sites/o365_training/Training/
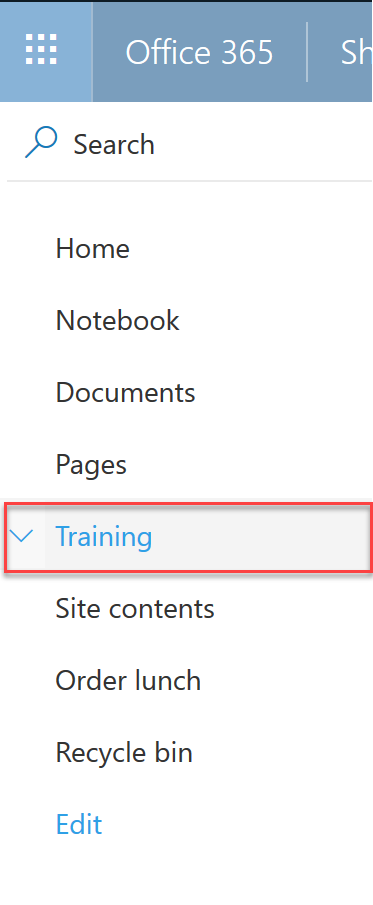
I can see this folder as well on my left navigation pane
 During this upload I also want to tag the “Test” Enterprise Keyword to each file. To do this I use the -Values parameter and then call the TaxKeyword value.
-Values @{ "TaxKeyword" = $Test, $Test }
I put the variable there twice because it will set the taxValueCollection and then the TaxKeyword. If you put it in only once it will error on a null value.
#Upload files in Dir and add Enterprise keywords
$Files = Get-ChildItem -Path C:\Transfer\Upload -Force -Recurse
foreach ($File in $Files)
{

	write-host "Uploading $($File.Directory)\$($File.Name)"

	#Its in there twice because we must set taxValueCollection
	Add-PnPFile -Path "$($File.Directory)\$($File.Name)" -Folder "/Training/" -Values @{ "TaxKeyword" = $Test, $Test }

}
Tag Existing Data
The next item I want to achieve is to tag all existing files with new Enterprise Keywords. I will be working in the same site and in the same folder.
One Keyword
If I want to only tag the data with the “Dumb” Enterprise Keyword I can run the following
$folderurl = "https://bwya77.sharepoint.com/sites/o365_training/Training"


$folder = Get-PnPFolder -RelativeUrl $folderUrl
$files = Get-PnPProperty -ClientObject $folder -Property Files
foreach ($File in $Files)
{

	write-host "Working on $($file.name)"
	$item = Get-PnPFile -Url "/Training/$($file.name)" -AsListItem
	#Its in there twice because we must set taxValueCollection
	Set-PnPListItem -List "Training" -Identity $item.ID -Values @{ "TaxKeyword" = $Dumb, $Dumb }


}
Multiple Keywords
If I want to tag the files with the “Test” and “Dumb” Enterprise Keywords, I can run the following:
$folderurl = "https://bwya77.sharepoint.com/sites/o365_training/Training"


$folder = Get-PnPFolder -RelativeUrl $folderUrl
$files = Get-PnPProperty -ClientObject $folder -Property Files
foreach ($File in $Files)
{

	write-host "Working on $($file.name)"
	$item = Get-PnPFile -Url "/Training/$($file.name)" -AsListItem
	#Its in there twice because we must set taxValueCollection
	Set-PnPListItem -List "Training" -Identity $item.ID -Values @{ "TaxKeyword" = $Test,$Test,$Dumb,$Dumb }


}
Copy Files Between Sites & Site Collections
Next I want to copy all files and folders (including the files and folders nested within) from one site or site collection, to another. You can also copy everything from document libraries, folders and more.
In my example I will be copying everything from https://bwya77.sharepoint.com/sites/o365_training/Training to another site called Files and into the Shared Documents folder.
$webUrl = "https://bwya77.sharepoint.com/sites/o365_training/"
Connect-PnPOnline -Url $webUrl

$folderurl = "https://bwya77.sharepoint.com/sites/o365_training/Training"

$folder = Get-PnPFolder -Url $folderUrl
$files = Get-PnPProperty -ClientObject $folder -Property Files
foreach ($File in $Files)
{
	Copy-PnPFile -SourceUrl "$folderurl" -TargetUrl "/sites/Files/Shared Documents/" -Force -OverwriteIfAlreadyExists
}
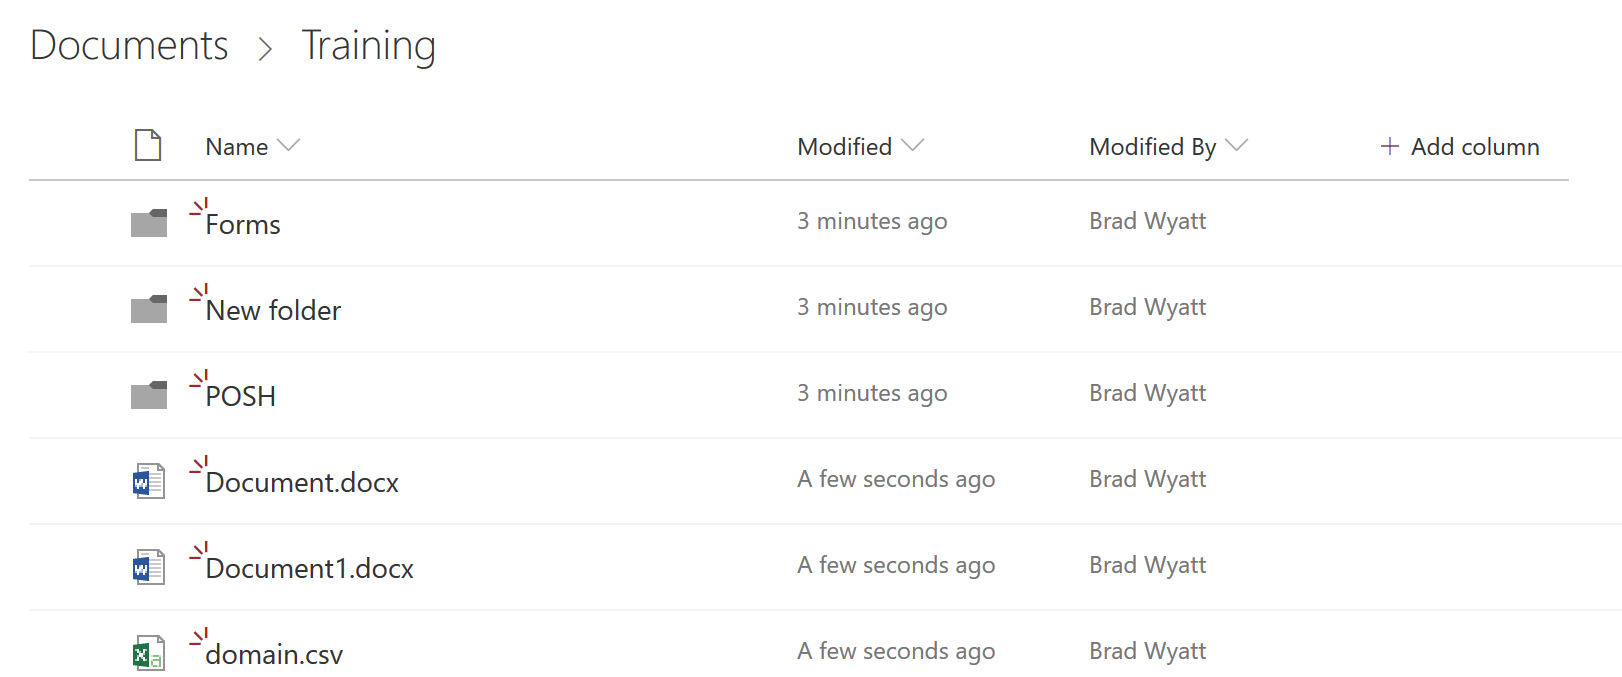
Here we see that it automatically created a folder called Training and inside the folder is everything from the source.
 We can also see the folders and files that were at the source. The folder structure came over exactly the same. Every file from the source will be in the same spot in the destination.
Sources
1: https://docs.microsoft.com/en-us/sharepoint/dev/community/community

My name is Bradley Wyatt; I am a 6x Dual-Microsoft Most Valuable Professional (MVP) in Microsoft Azure and Microsoft 365. I have given talks at many different conferences, user groups, and companies throughout the United States, ranging from PowerShell to DevOps Security best practices, and I am the 2022 North American Outstanding Contribution to the Microsoft Community winner.
One thought on “Manage and Administer SharePoint using SharePointPnP.PowerShell”
You saved my day with this: -Values @{ “TaxKeyword” = $Test, $Test }
Thank you!!!