Deploy Web Link Shortcuts to the Desktop and Start Menu Using Intune
Table of Contents
I am currently doing a Auto Pilot / Intune deployment and was asked how we could deploy web link shortcuts to the users desktop as well as the start menu. Currently when you do a web link app deployment in Intune it will only ‘install’ it in the users Start menu and not the users desktop. By leveraging PowerShell and Intune Configuration policies we can have it deploy to the start menu and the desktop.
During my initial search I came across this blog which was exactly what I was looking for but since I have OneDrive folder redirection it seemed to be having issues finding the desktop path, and I wanted to use any icons instead of the default chrome or edge icons.
Azure Blob and Custom Icons
For the shortcut you need to specify a url to a ICO file. To do this I set up cold Azure Blob storage to host the icon files that I would be using with Intune.
Azure Blob
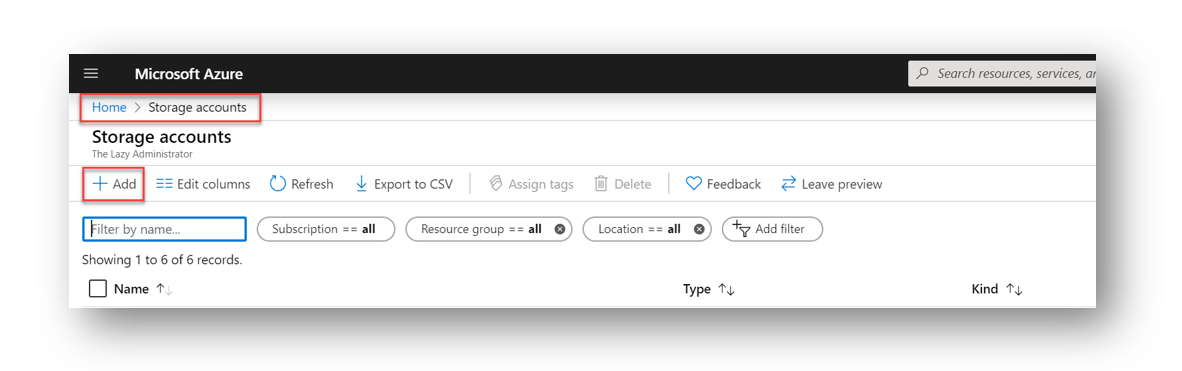
Navigate to the Azure Portal and go to Storage Accounts and then click Add
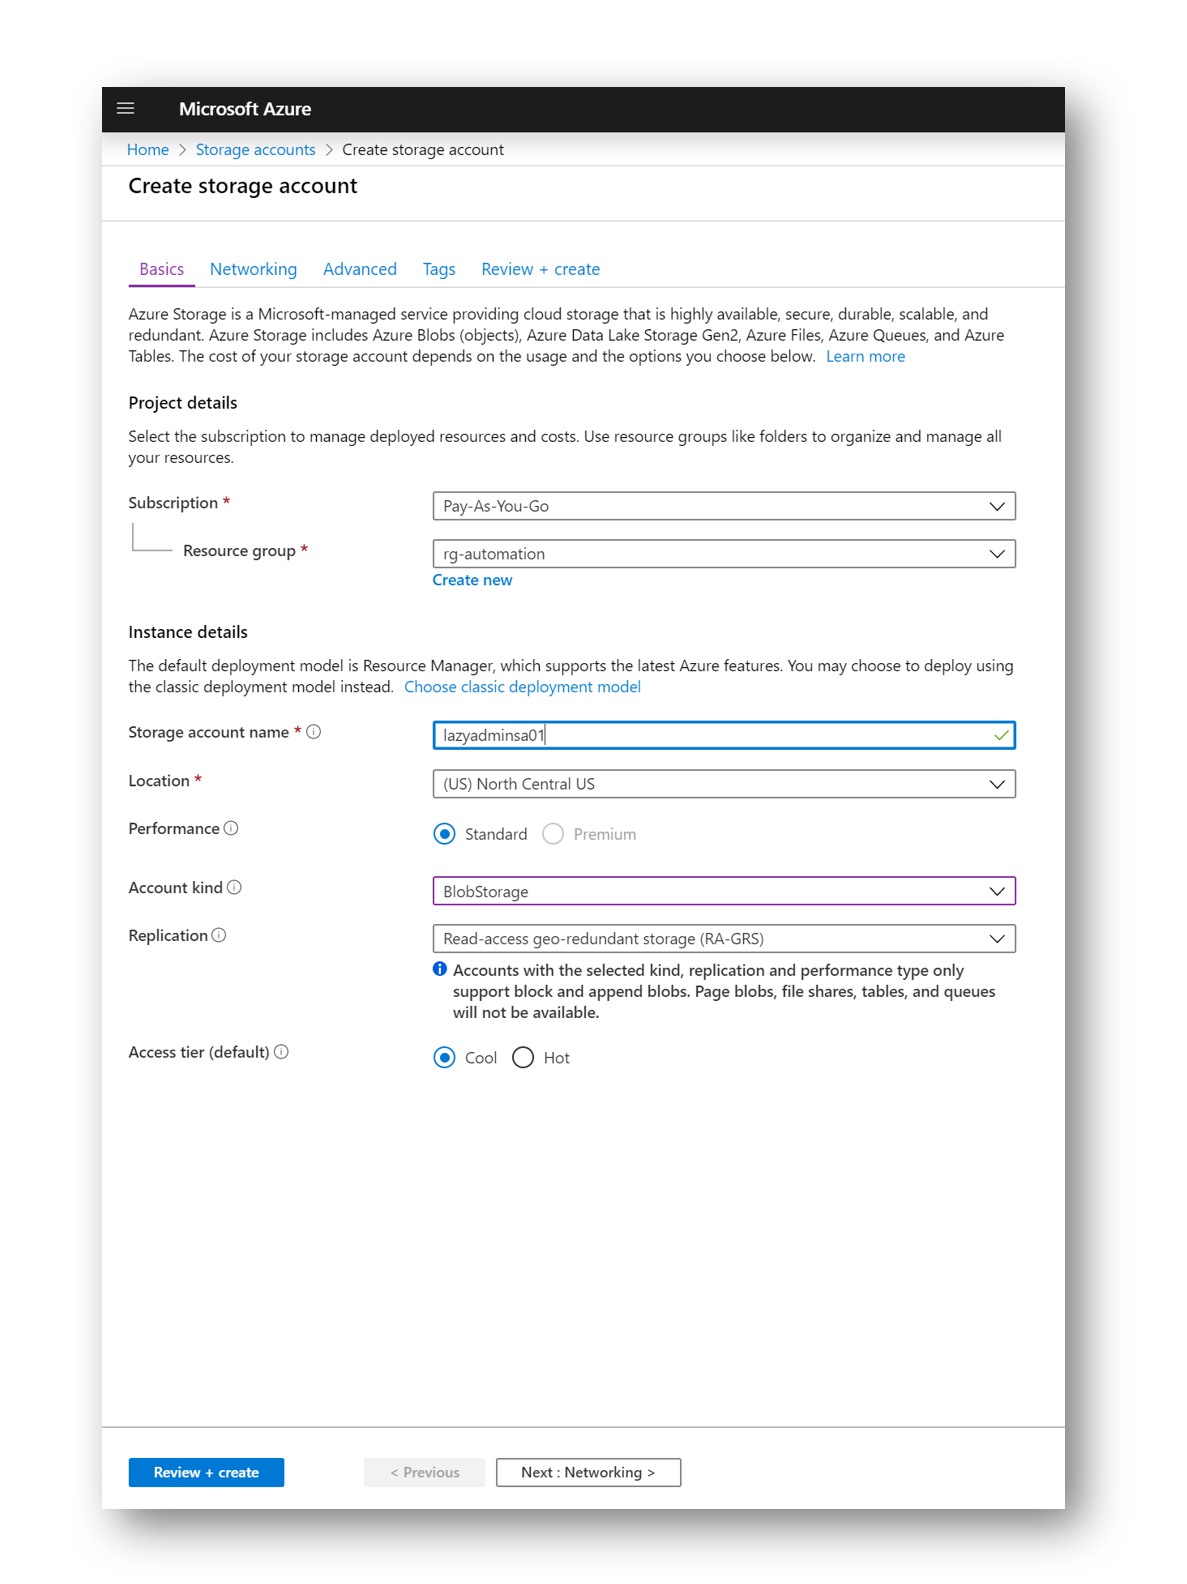
In the next blade select your Subscription, the Resource Group you want the SA to reside in, provide a Name, Location, select BlobStorage for the Account Kind and then for Access tier select Cool. If you need to configure networking, tags, etc then proceed to the next step. Otherwise click Review + Create.
 Next, download and install the Azure Storage Explorer from Microsoft. We will use the storage explorer to upload our icon files as well as get the access URL.
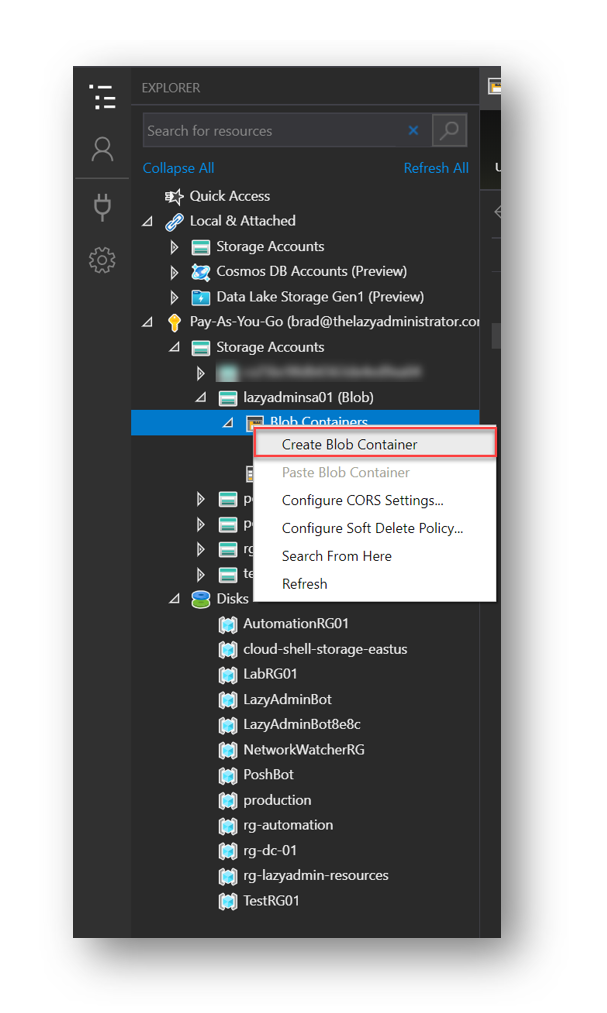
Once you have installed the Azure Storage Explorer, log in using your Azure account. Find your newly create Storage Account and right click and select Create Blob Container. I will name mine “Icons”
Convert PNG, JPG or BMP to ICO
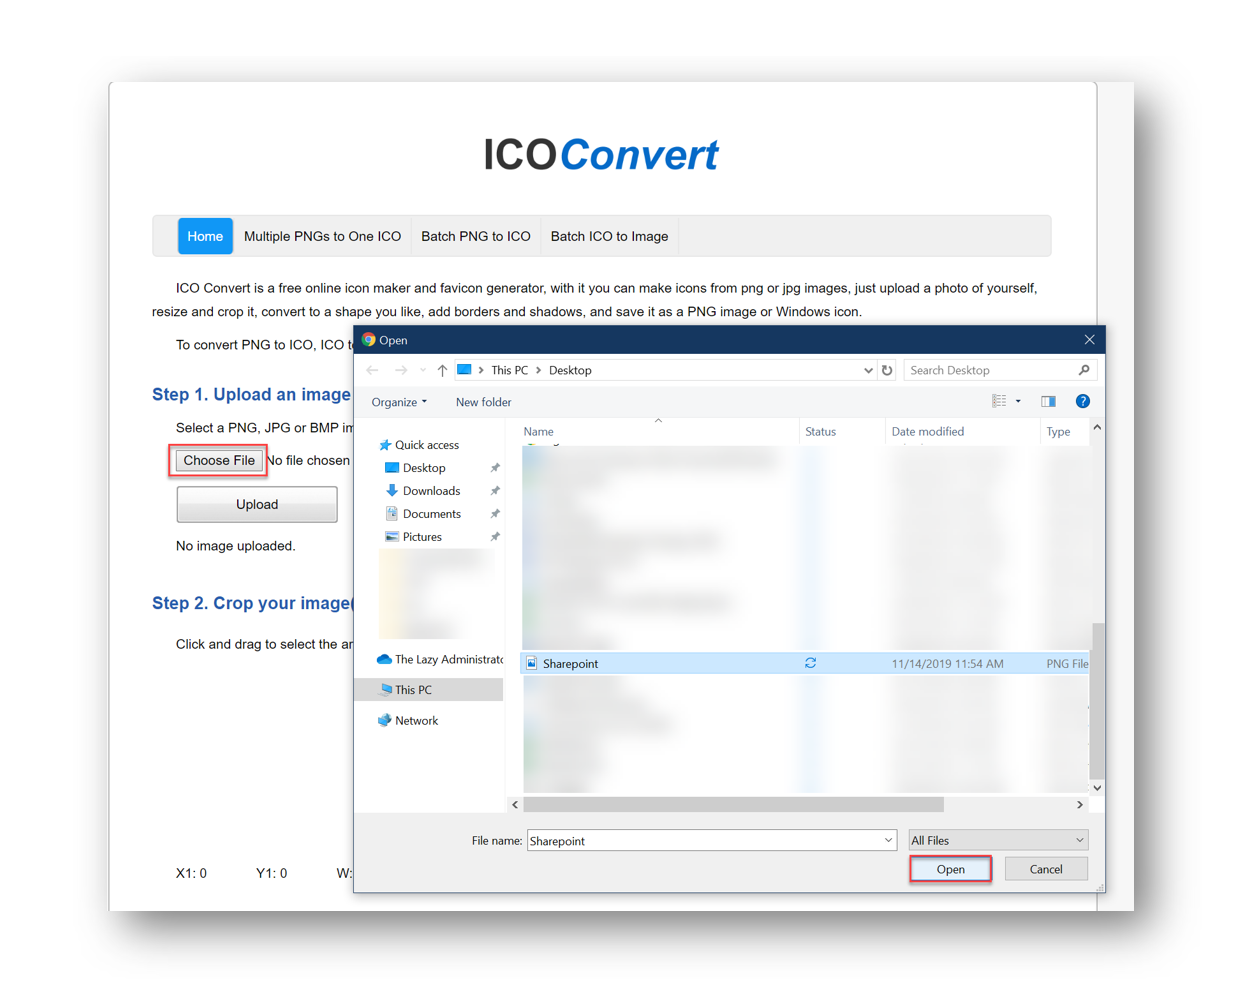
The next step is to create our icon files from existing PNG, JPG or BMP files. I like to use the website ICOConvert to convert existing images to ICO icon files. In my example I will make a SharePoint Icon file. I have already download the SharePoint PNG file and saved it to my Desktop.
On the webpage it select Choose File and navigated to my saved SharePoint file and then press Upload
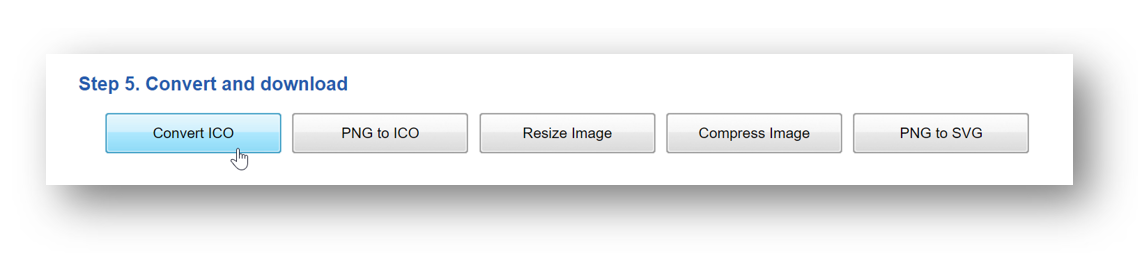
 Finally at the bottom of the page I select Convert ICO which will download my newly converted ICO file.
Upload to Blob and Get Access URL
Once we have the Storage Account set up in Azure and our Icon, we have to upload it to our Azure Blob Storage and get the access URL.
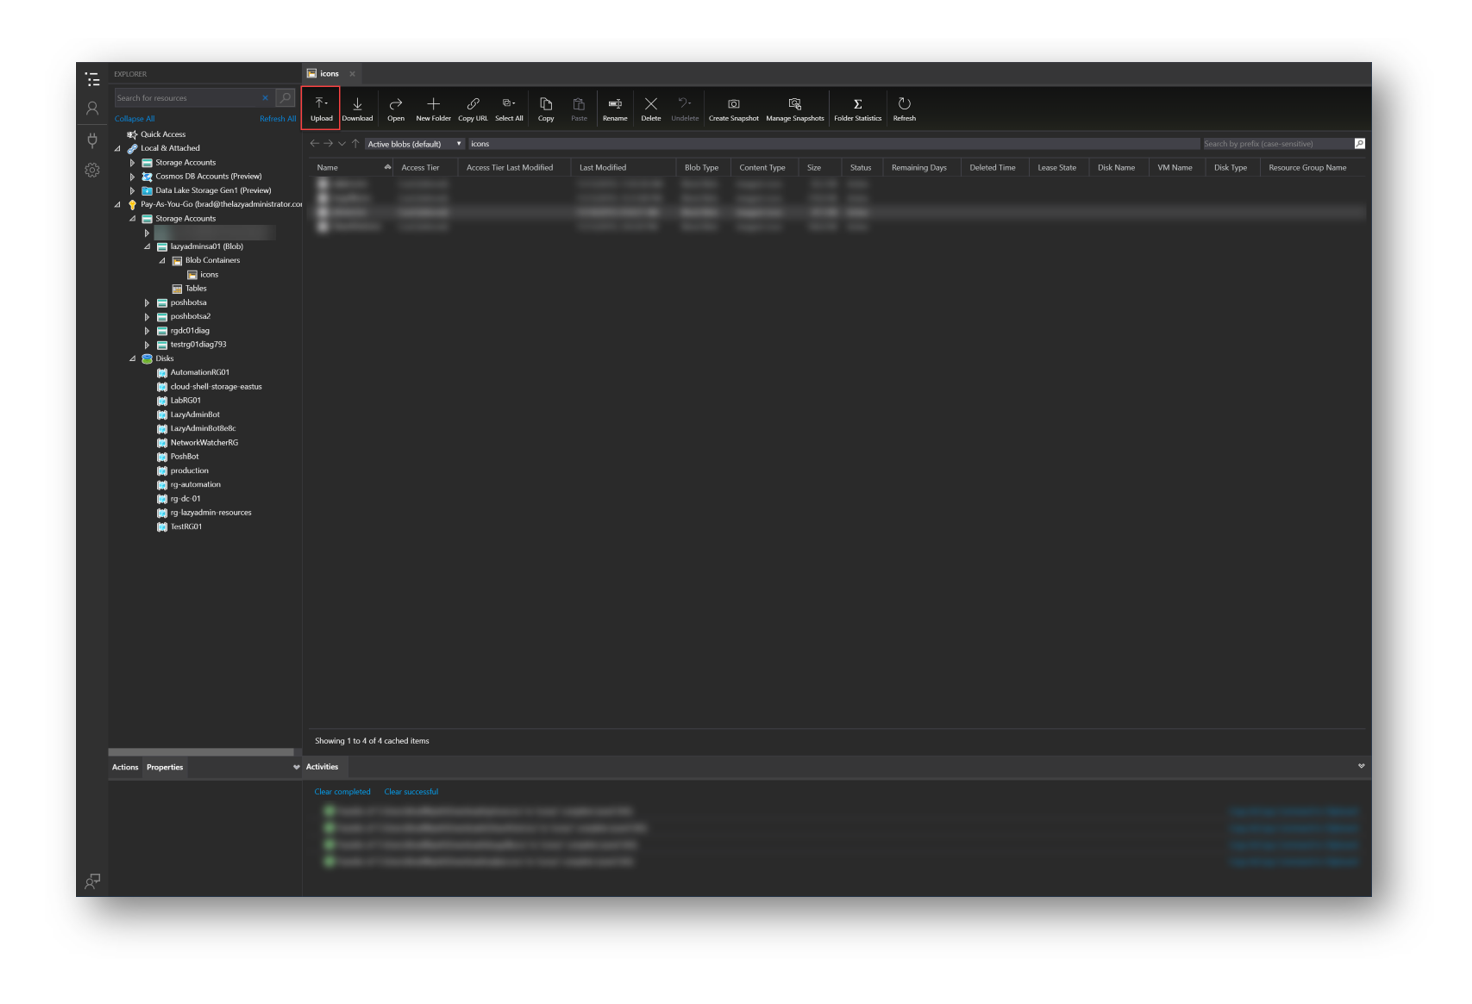
In the Azure Storage Explorer application, navigate to your blob storage you created earlier and select Upload and then Upload Files
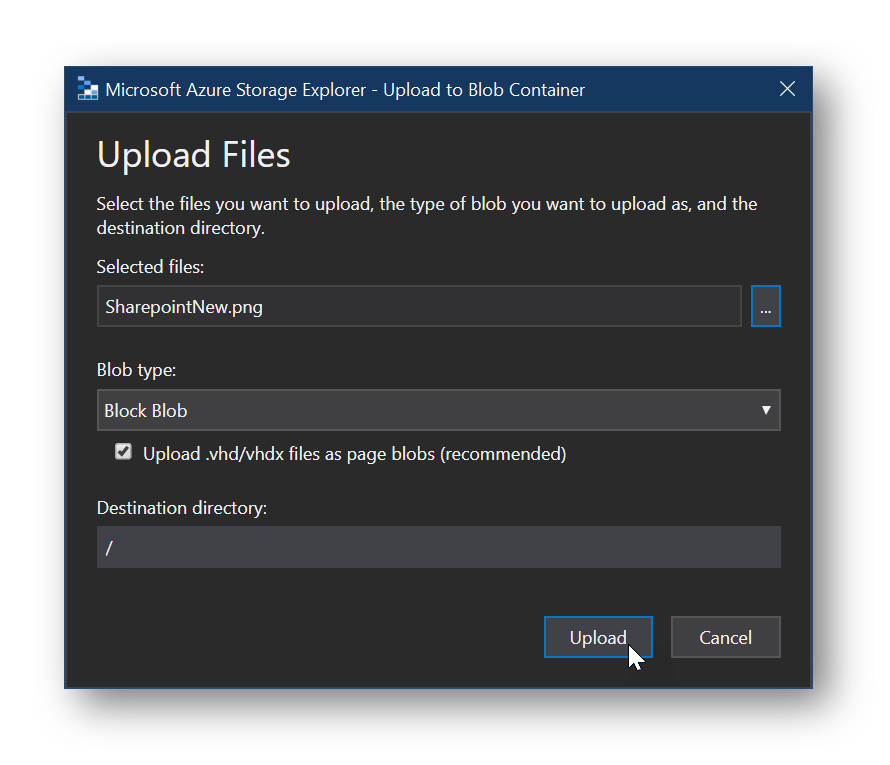
Navigate to your ICO file and press Upload
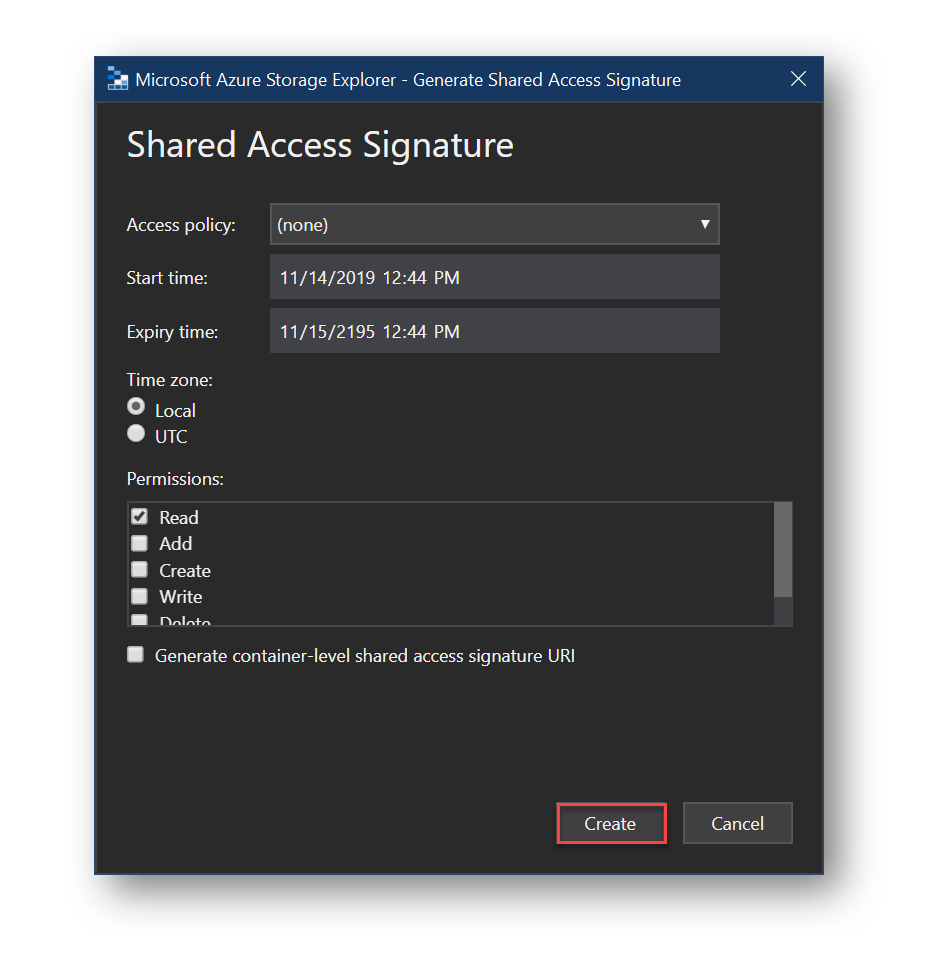
Right click our newly imported file and select Get Shared Access Signature
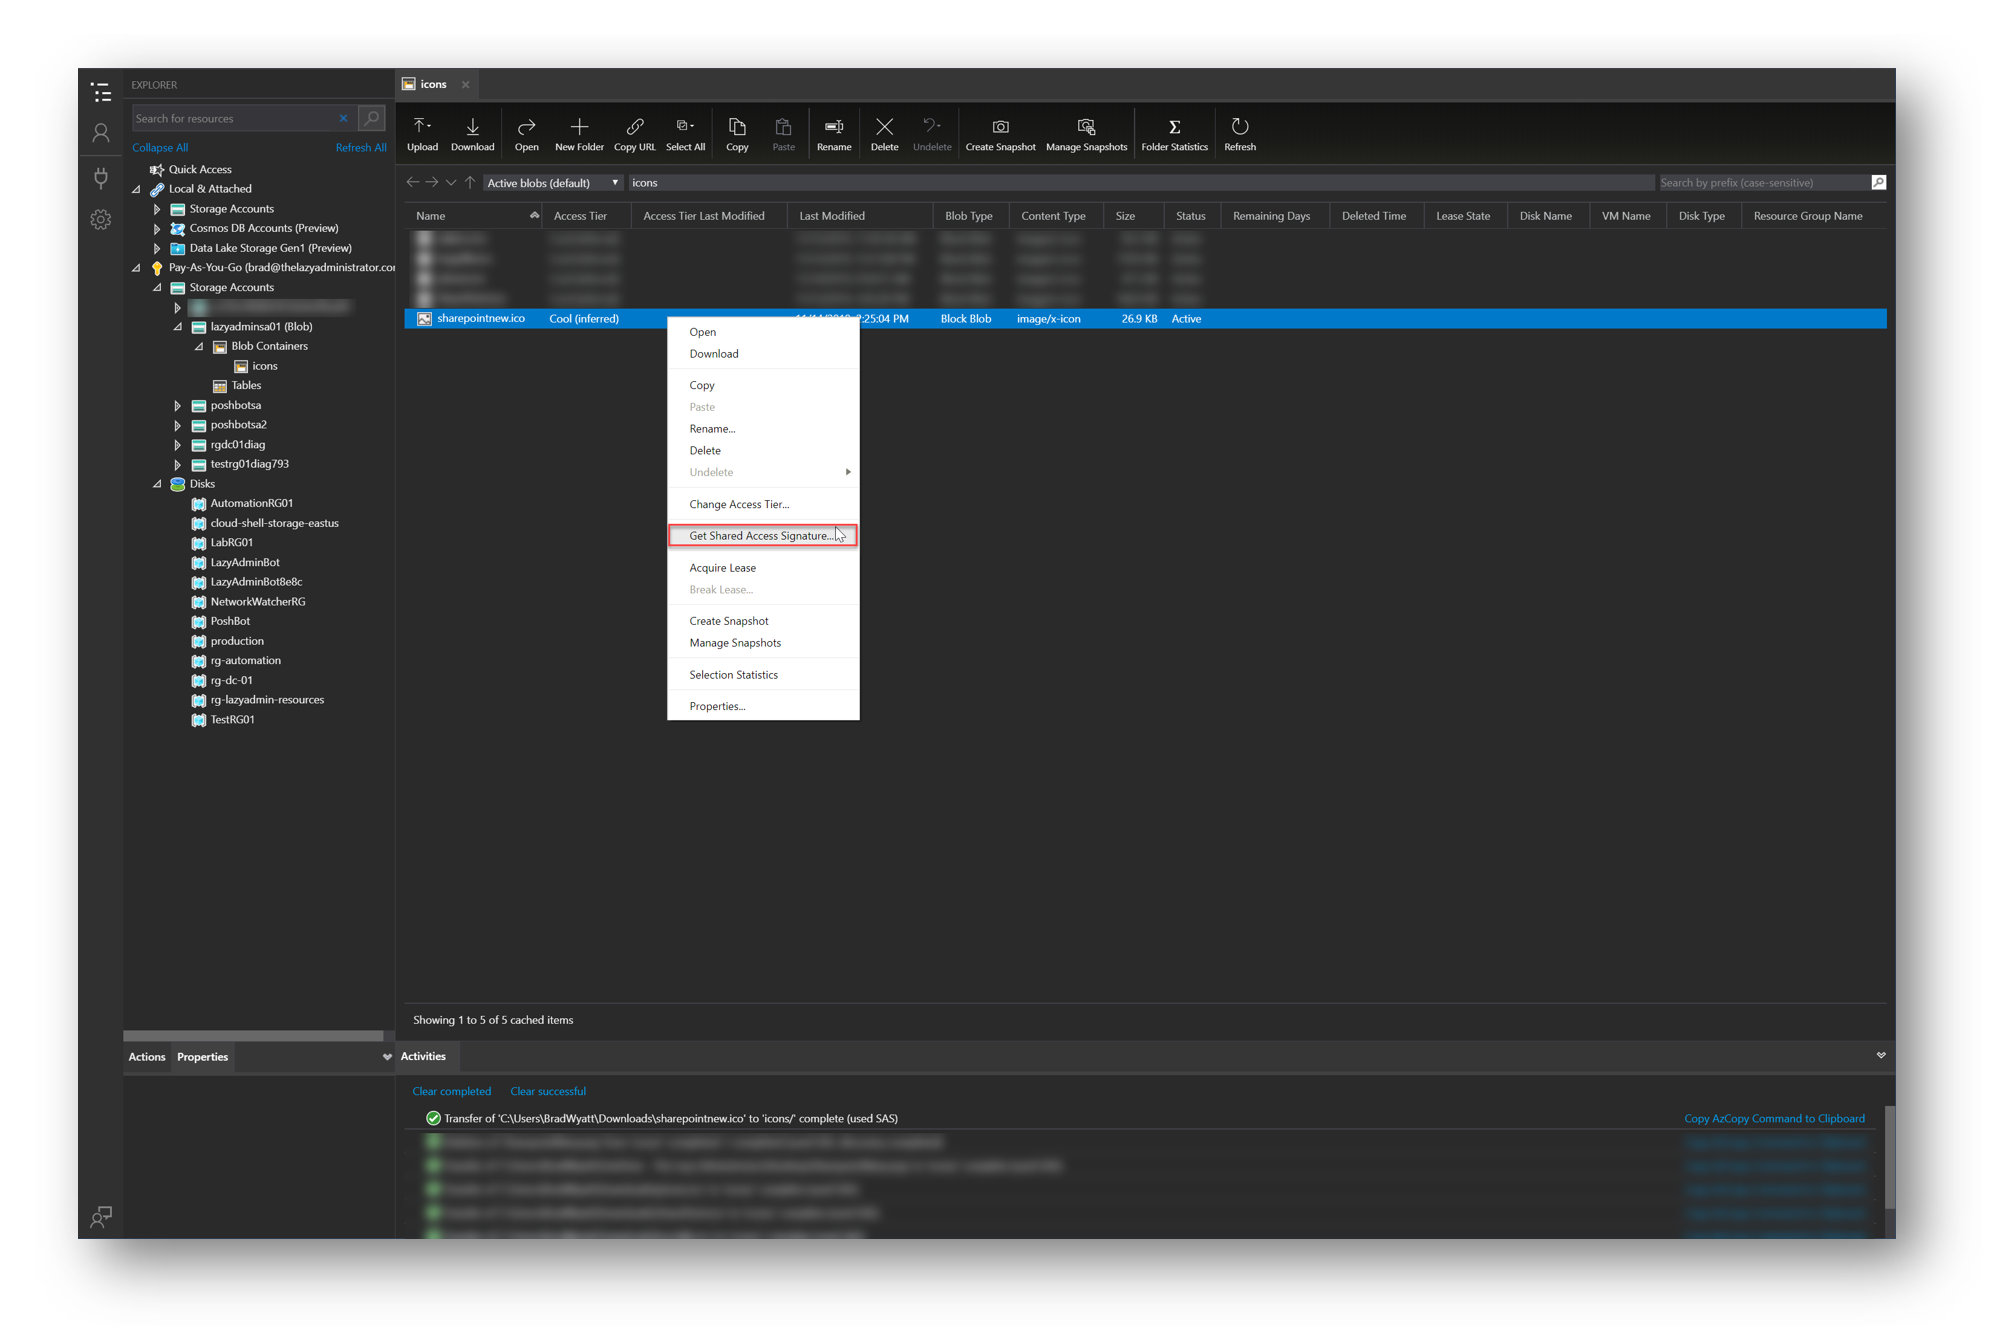
For Expiry time I like to set it to a date way out in the future. It doesn’t really matter because I will only need it to deploy the shortcut and then its not needed. For permissions I just need Read
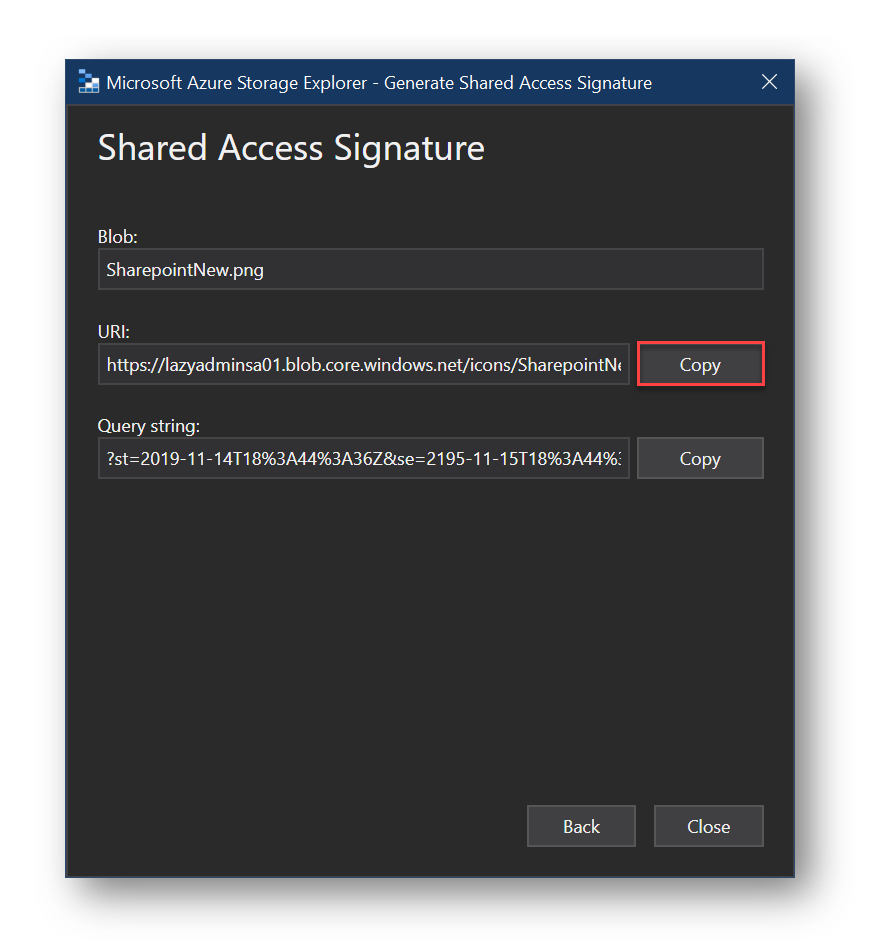
Copy the URL and save it for later, we will need this for our PowerShell script
PowerShell Script
Update already Deployed Shortcuts
Lets say you already deployed your shortcuts to machines, but you wanted to update the link, icon, or something else. Since this was deployed with PowerShell it wont auto-update like a MSI would. To ensure my shortcuts update I added a scriptblock to see if the shortcut is already on the users desktop. If it is it will quickly delete it prior to deploying the new updated one.
#Test if icon is currently present
$IconPresent = Get-ChildItem -Path $Desktop | Where-Object {$_.Name -eq "$ShortcutName.lnk"}
If ($null -ne $IconPresent)
{
	Remove-Item $IconPresent.VersionInfo.FileName -Force -Confirm:$False
}
Below is the entire PowerShell script, save it locally to you and below I will comment on several items you need to change and how it works.
param (
	[system.string]$ShortcutName     = "SharePoint",
	[system.string]$ShortcutUrl      = "https://bwya77.sharepoint.com/",
	[system.string]$IconURL          = "https://lazyadminsa01.blob.core.windows.net/icons/SharepointNew.png?st=2019-11-14T18%3A44%3A36Z&se=2195-11-15T18%3A44%3A00Z&sp=rl&sv=2018-03-28&sr=b&sig=FbcYTS0ogA2XCGFpp9iJhOFEybXzt0CIPl1hsj%2B1A5g%3D",
	[system.string]$Desktop          = [Environment]::GetFolderPath("Desktop"),
 [system.string]$IntuneProgramDir = "$env:APPDATA\Intune",
	[System.String]$TempIcon         = "$IntuneProgramDir\sharepoint.ico",
	[bool]$ShortcutOnDesktop         = $True,
	[bool]$ShortcutInStartMenu       = $True
)

#Test if icon is currently present, if so delete it so we can update it
$IconPresent = Get-ChildItem -Path $Desktop | Where-Object {$_.Name -eq "$ShortcutName.lnk"}
If ($null -ne $IconPresent)
{
	Remove-Item $IconPresent.VersionInfo.FileName -Force -Confirm:$False
}

$WScriptShell = New-Object -ComObject WScript.Shell

If ((Test-Path -Path $IntuneProgramDir) -eq $False)
{
    New-Item -ItemType Directory $IntuneProgramDir -Force -Confirm:$False
}

#Start download of the icon in blob storage
Start-BitsTransfer -Source $IconURL -Destination $TempIcon


if ($ShortcutOnDesktop)
{
	$Shortcut = $WScriptShell.CreateShortcut("$Desktop\$ShortcutName.lnk")
	$Shortcut.TargetPath = $ShortcutUrl
    $Shortcut.IconLocation = $TempIcon
	$Shortcut.Save()
}

if ($ShortCutInStartMenu)
{
	$Shortcut = $WScriptShell.CreateShortcut("$env:APPDATA\Microsoft\Windows\Start Menu\Programs\$ShortcutName.lnk")
	$Shortcut.TargetPath = $ShortcutUrl
    $Shortcut.IconLocation = $TempIcon
	$Shortcut.Save()
}
Parameters
ShortcutName: This will be the name of the shortcut you will have on the desktop. In my case it will be named “SharePoint”
ShortcutURL: This will be the URL the user will be brought to in their default web browser when they double click the icon
IconURL: This will be the URL to our icon in blob storage that I had you save for later
Desktop: No need to modify this value, its getting the folder path to your Desktop
IntuneProgramDir: This will be the location of your icons locally. I have set it to the users %APPDATA% in a folder I create called Intune as I know users will have access to %APPDATA%
TempIcon: This will be the location to the icon file that is downloaded from Azure Blob storage. The only thing you need to change is the name.ico entry. If you have every script in intune using sharepoint.ico it will keep overwriting this file and all your shortcuts will have the same icons.
ShortcutOnDesktop: True or False. Specifies if you want a shortcut on the desktop or not
ShortcutInStartMenu: True or False. Specifies if you want a shortcut in the start menu or not
Bit Transfer
To save the icons locally I have using Start-BitsTransfer which will download the ICO file from Azure Blob Storage. You could reference a URL that ends in .ico but if that URL ever gets changed, removed, etc you may find your desktop is full of icons that are broken. This is why I took the approach to save them locally on each machine in %APPDATA%
Intune Configuration Policy
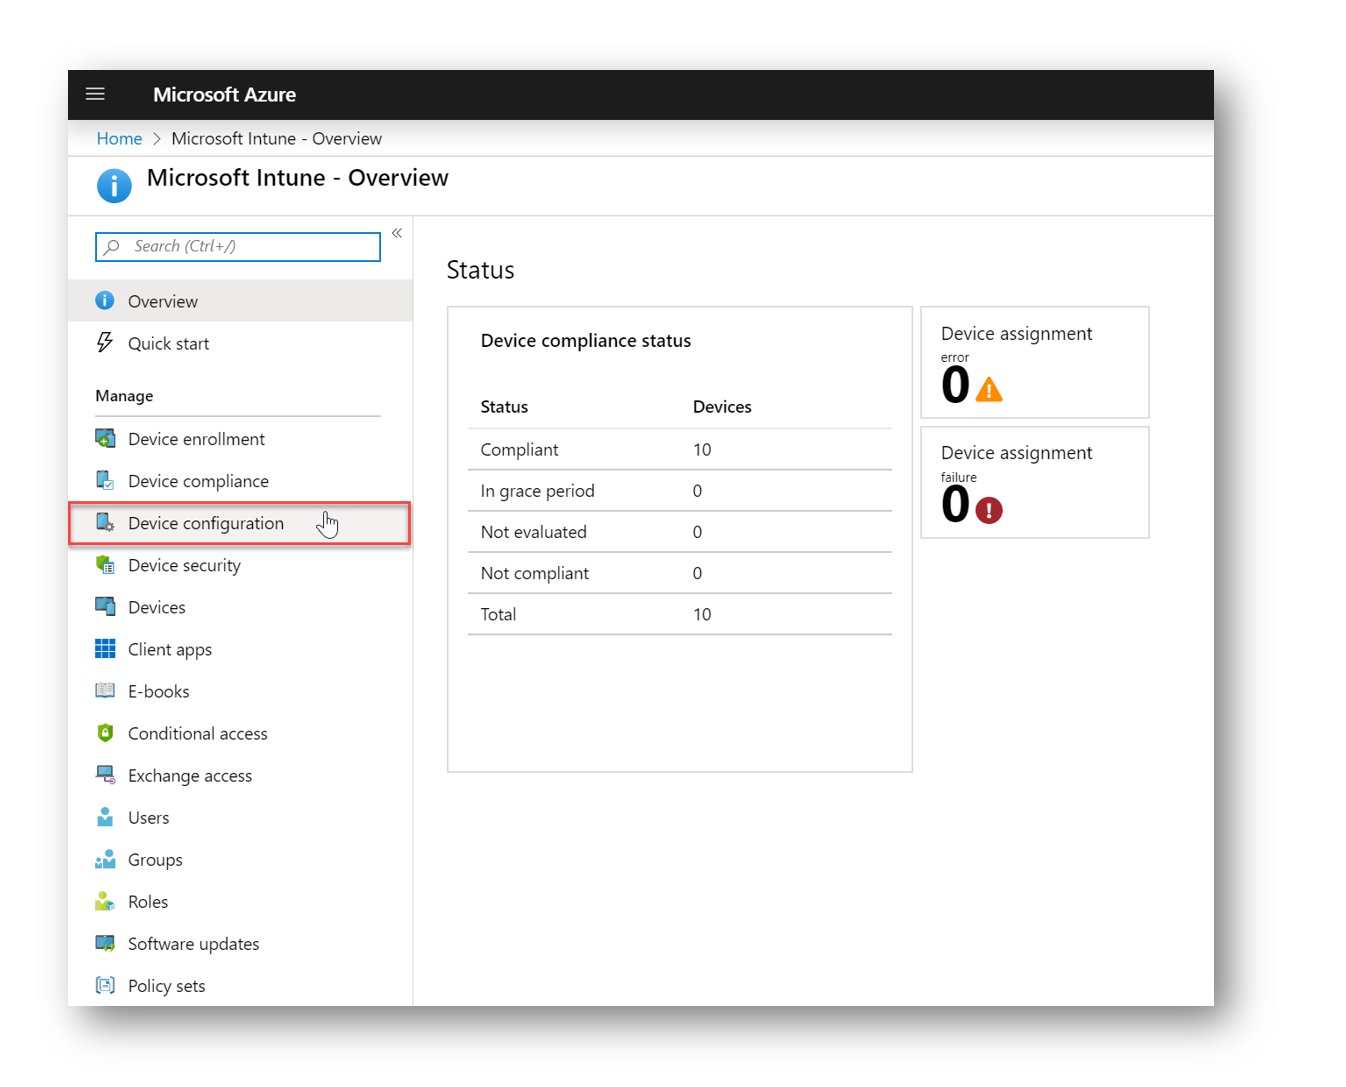
In the Intune blade select Device Configuration to set up a new Device Configuration Policy
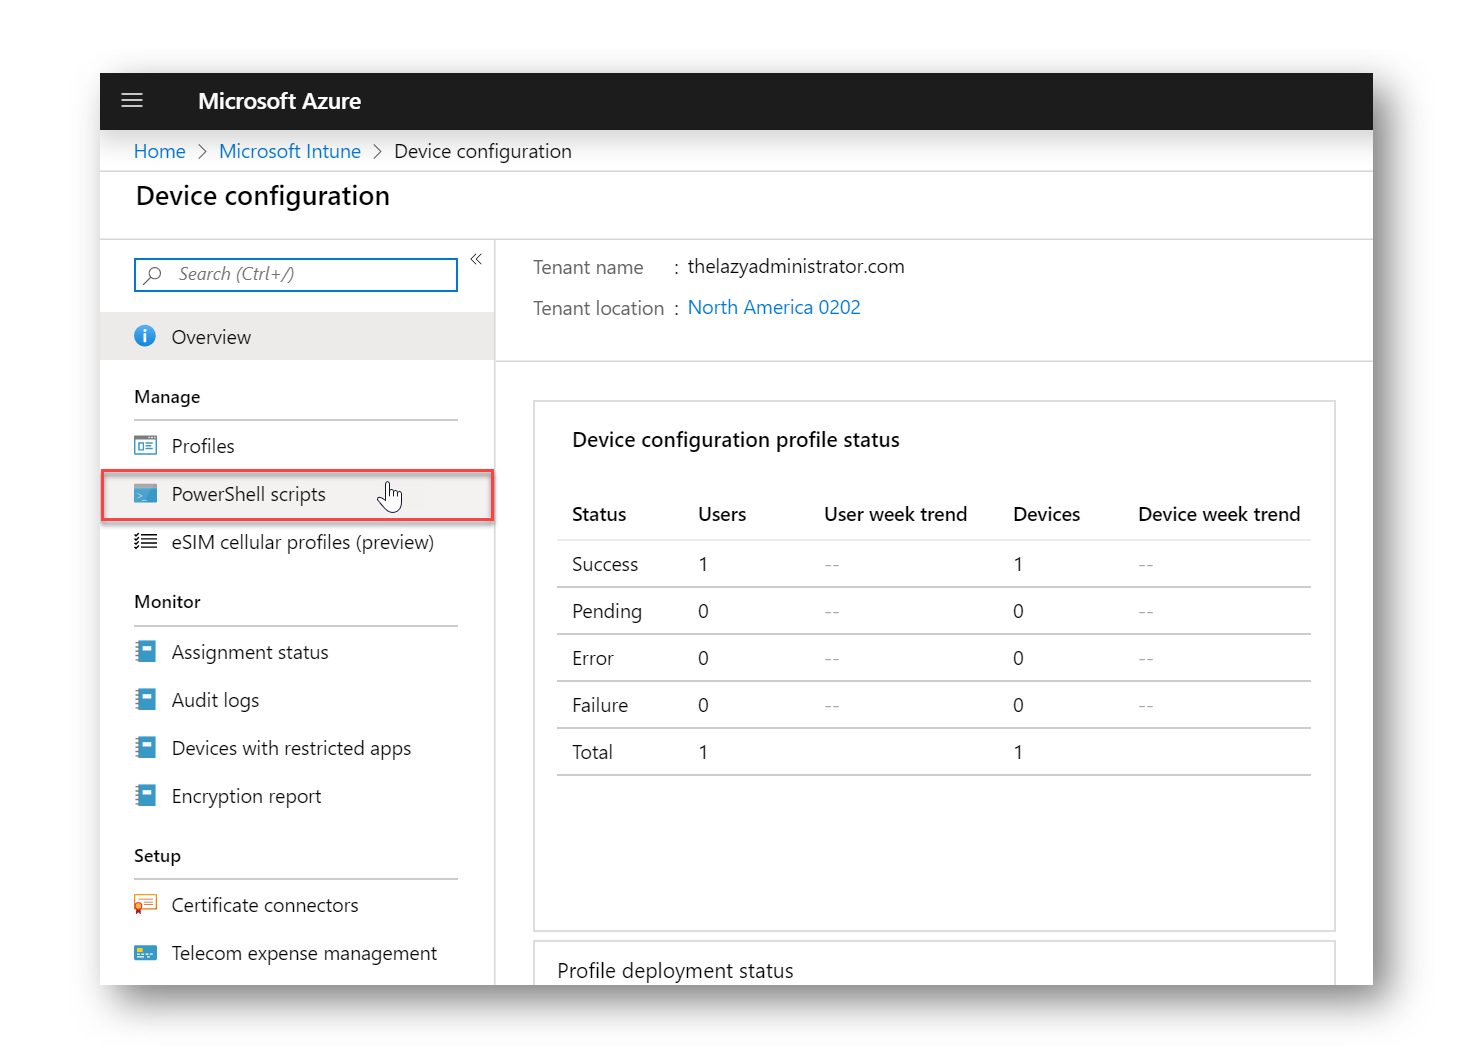
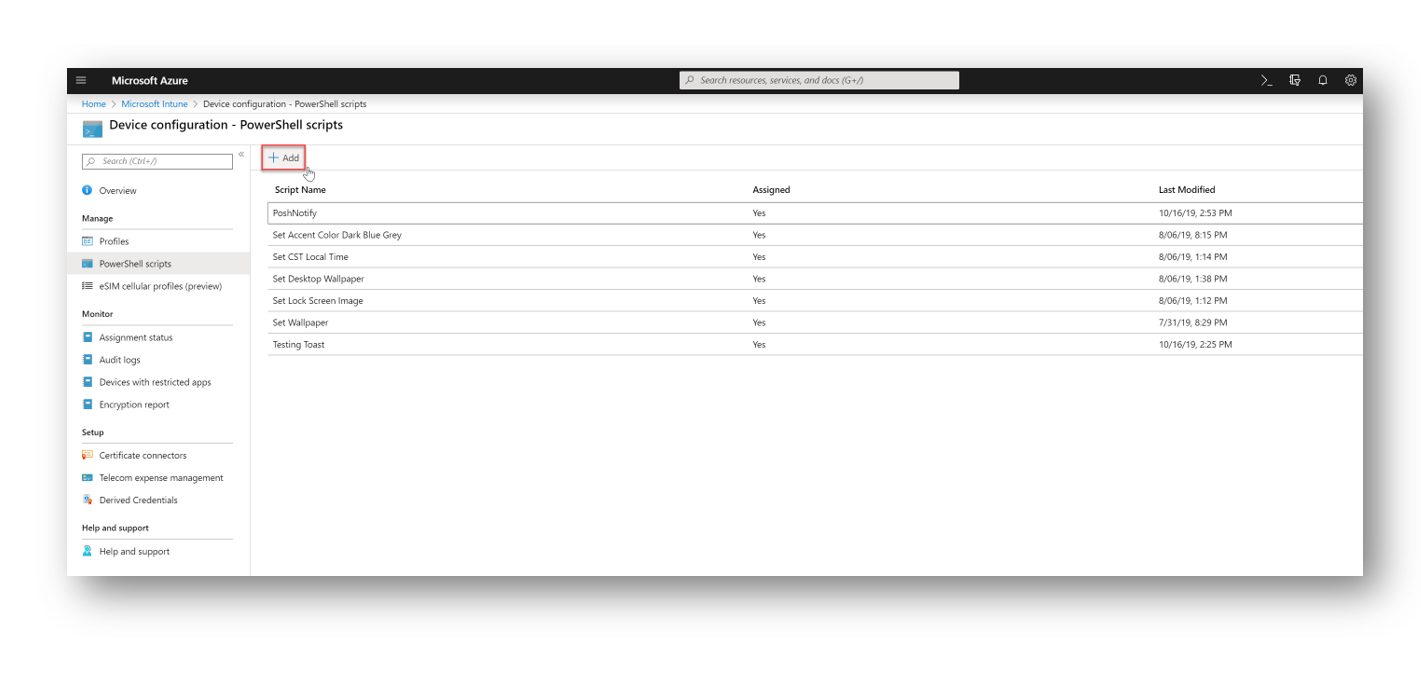
In the Device Configuration blade select PowerShell Scripts
In the next pane select Add to add a new PowerShell configuration script
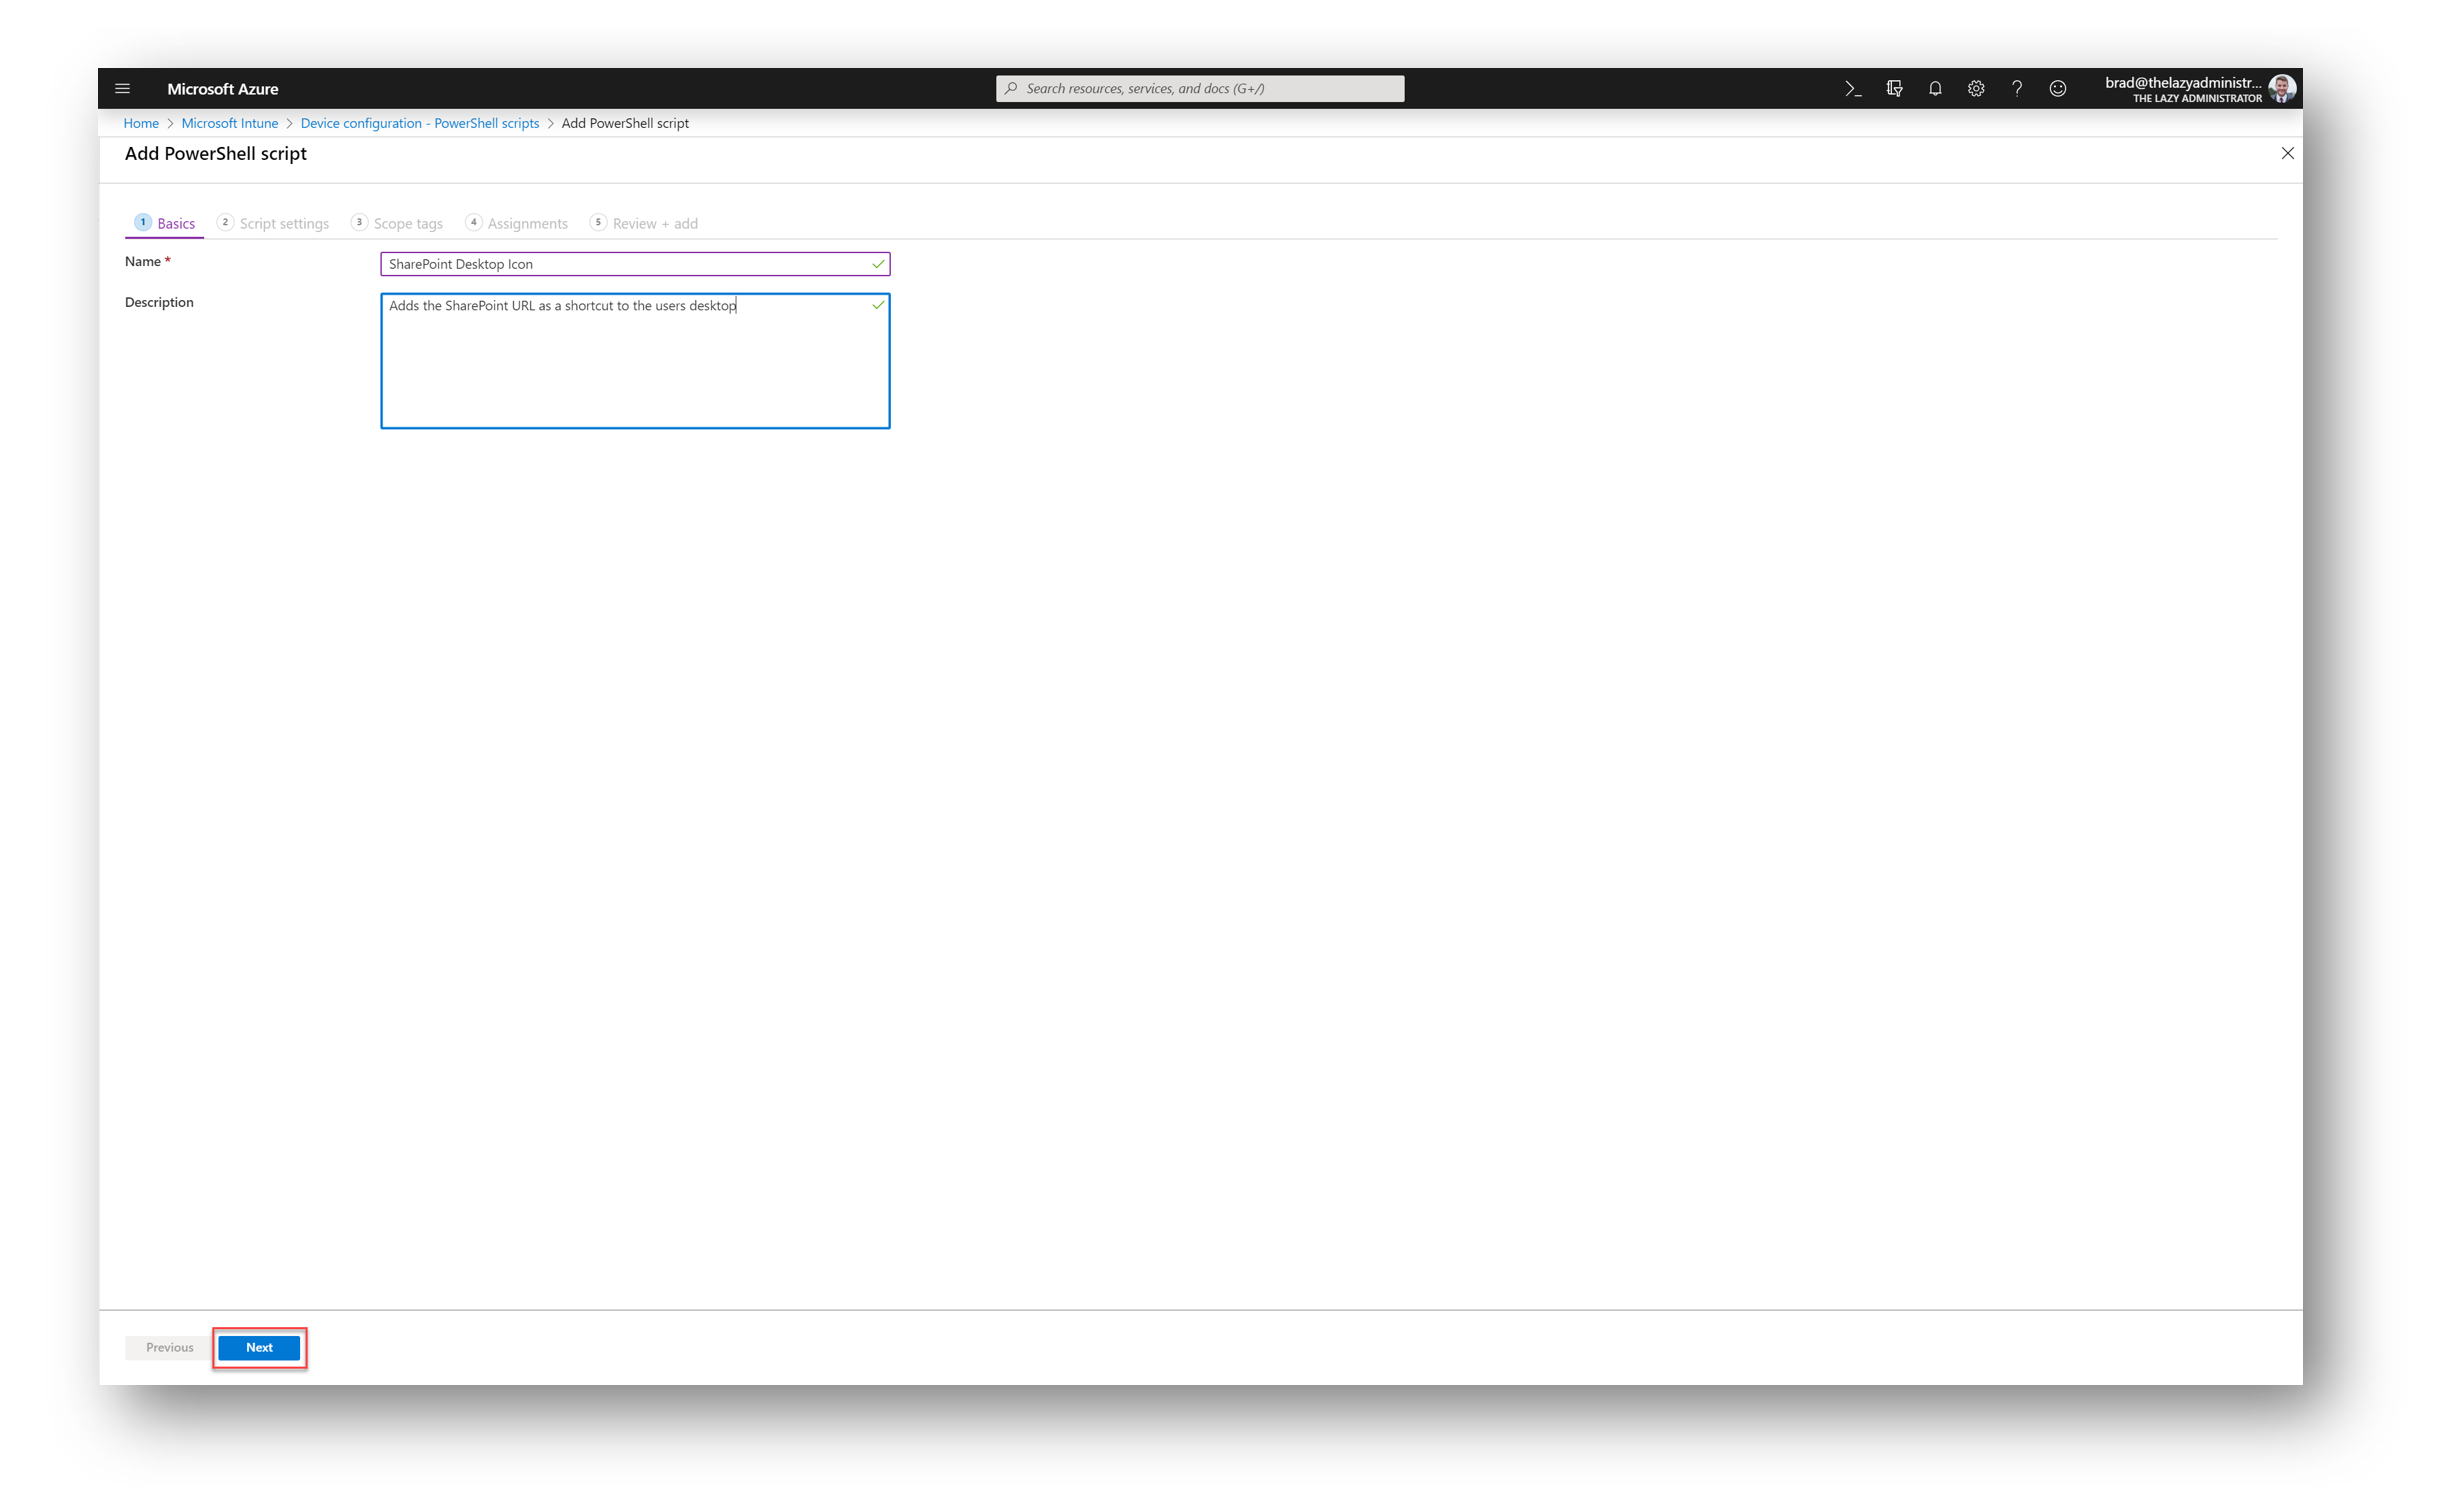
Give your policy a name and description and then click Next
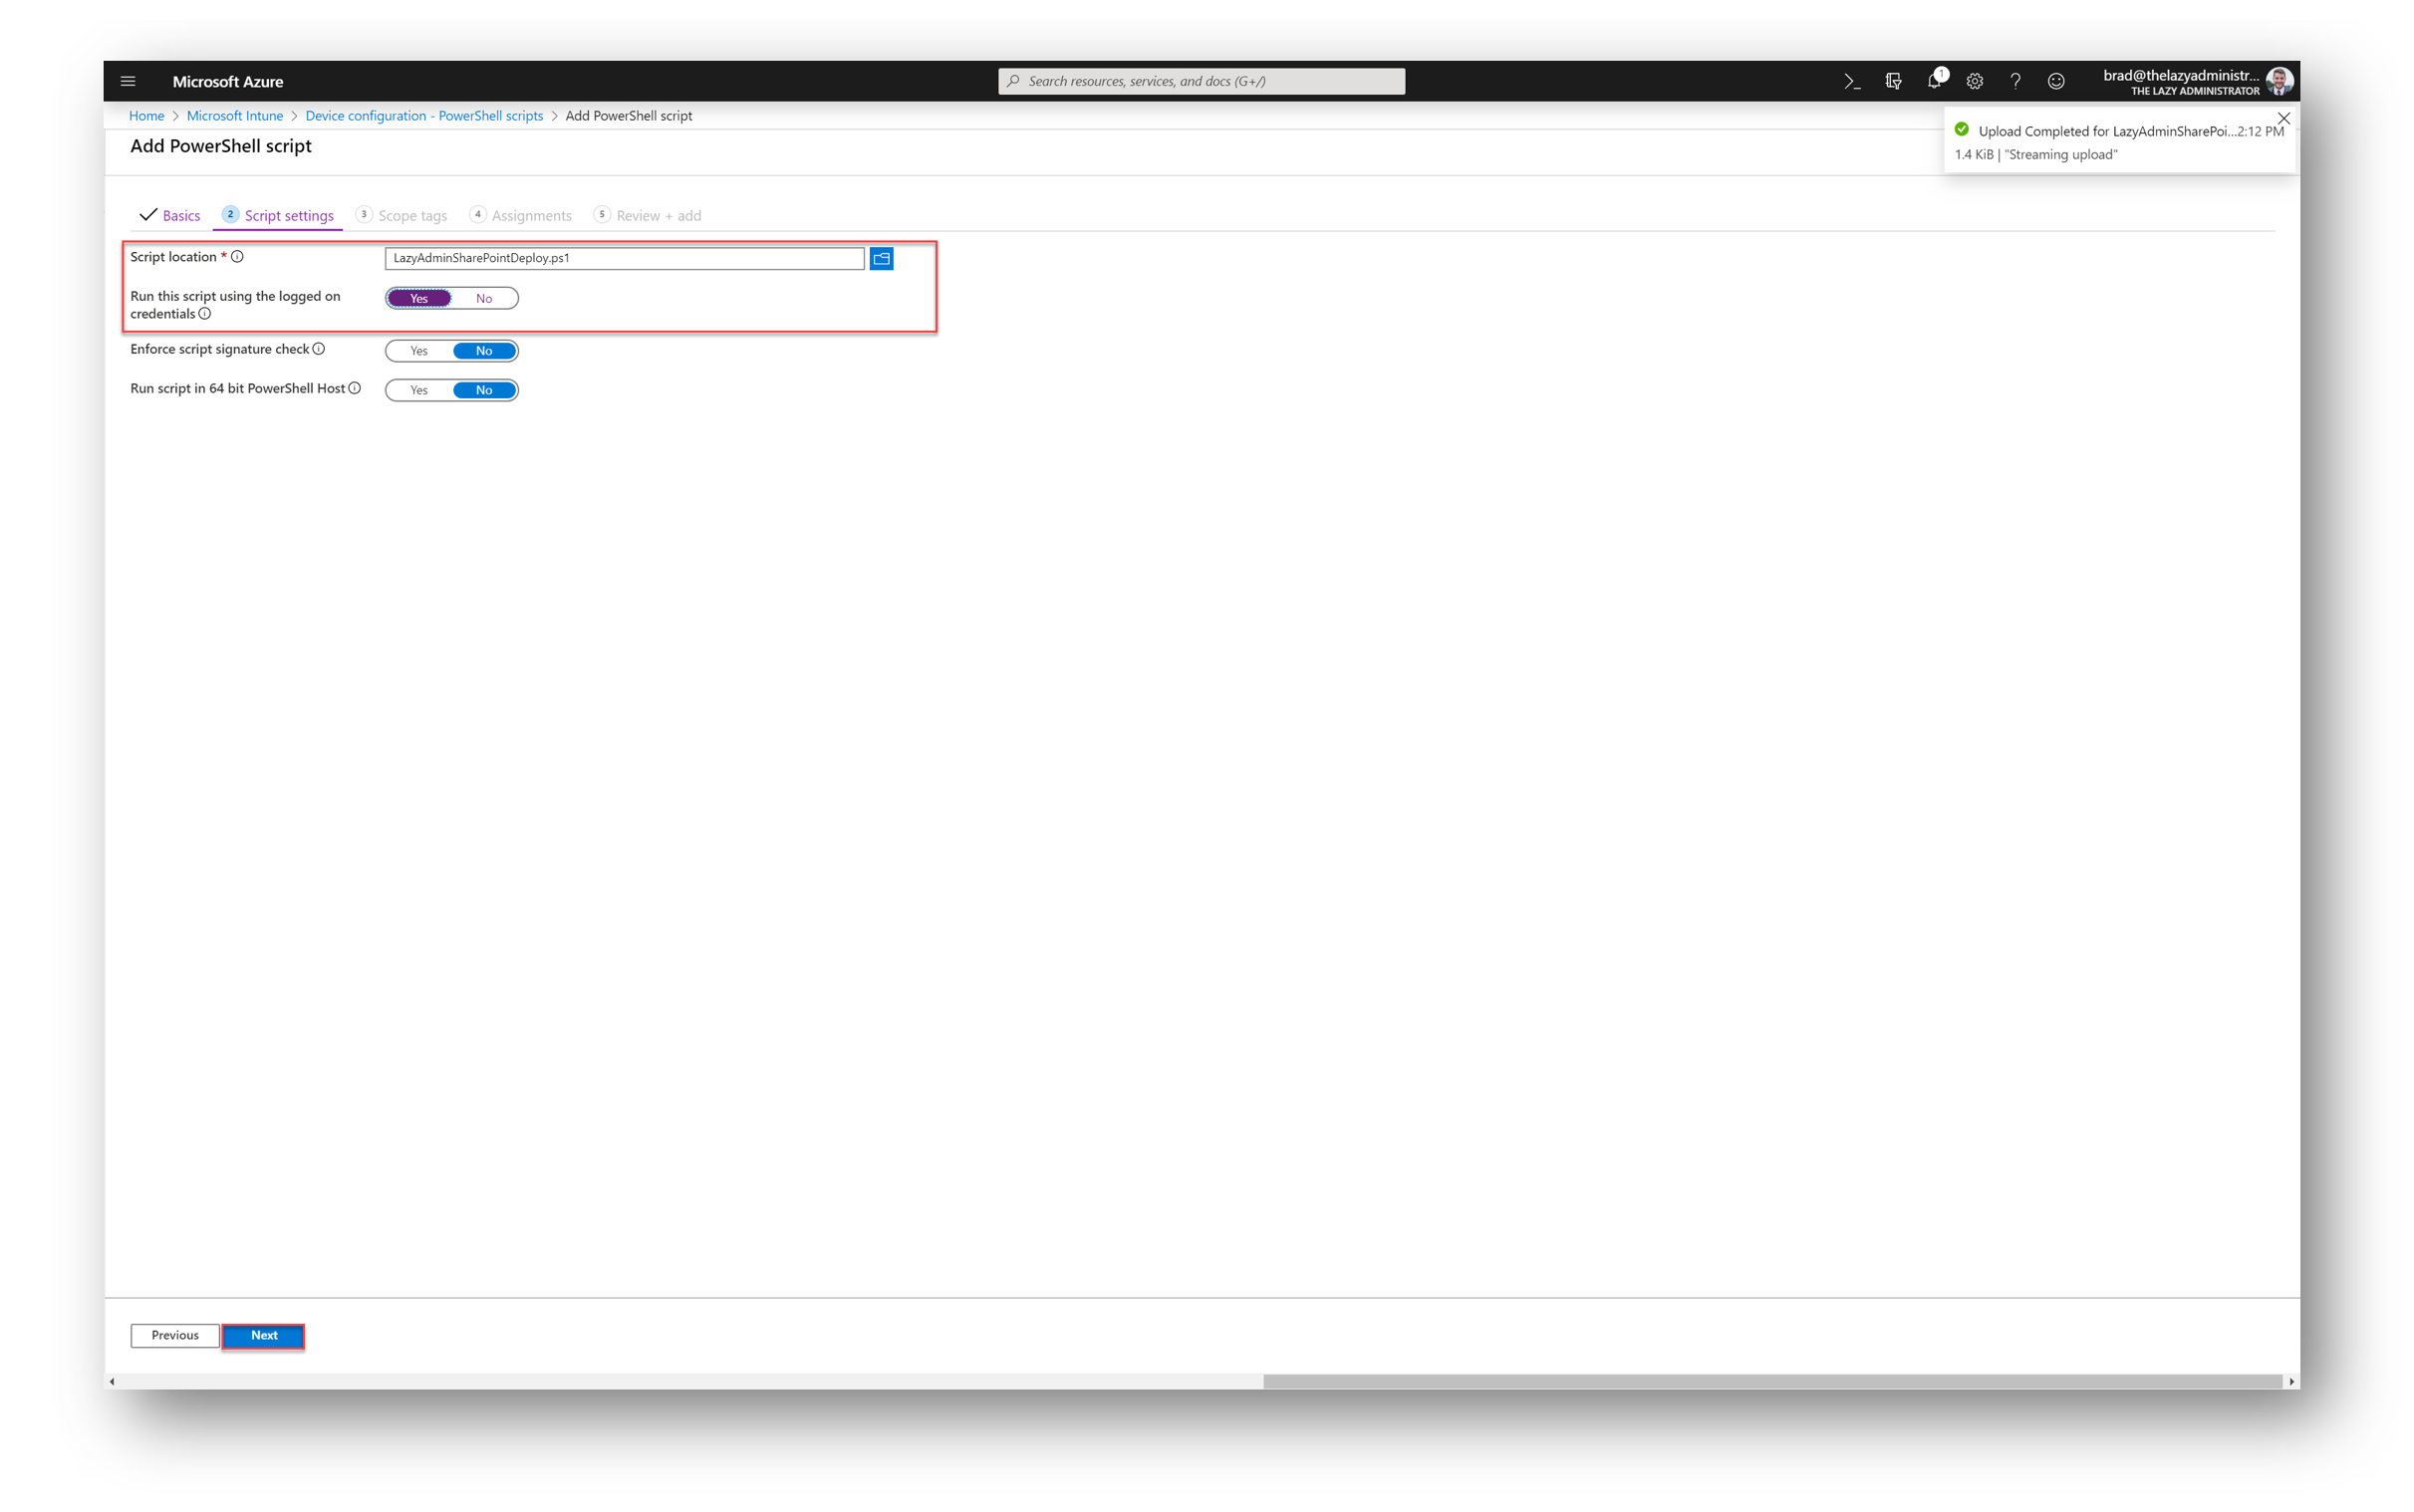
In the next step upload your script and make sure to select YES for Run this script using the logged on credentials. This is mandatory because we are looking for the users Desktop and the users %APPDATA%. Press Next when completed.
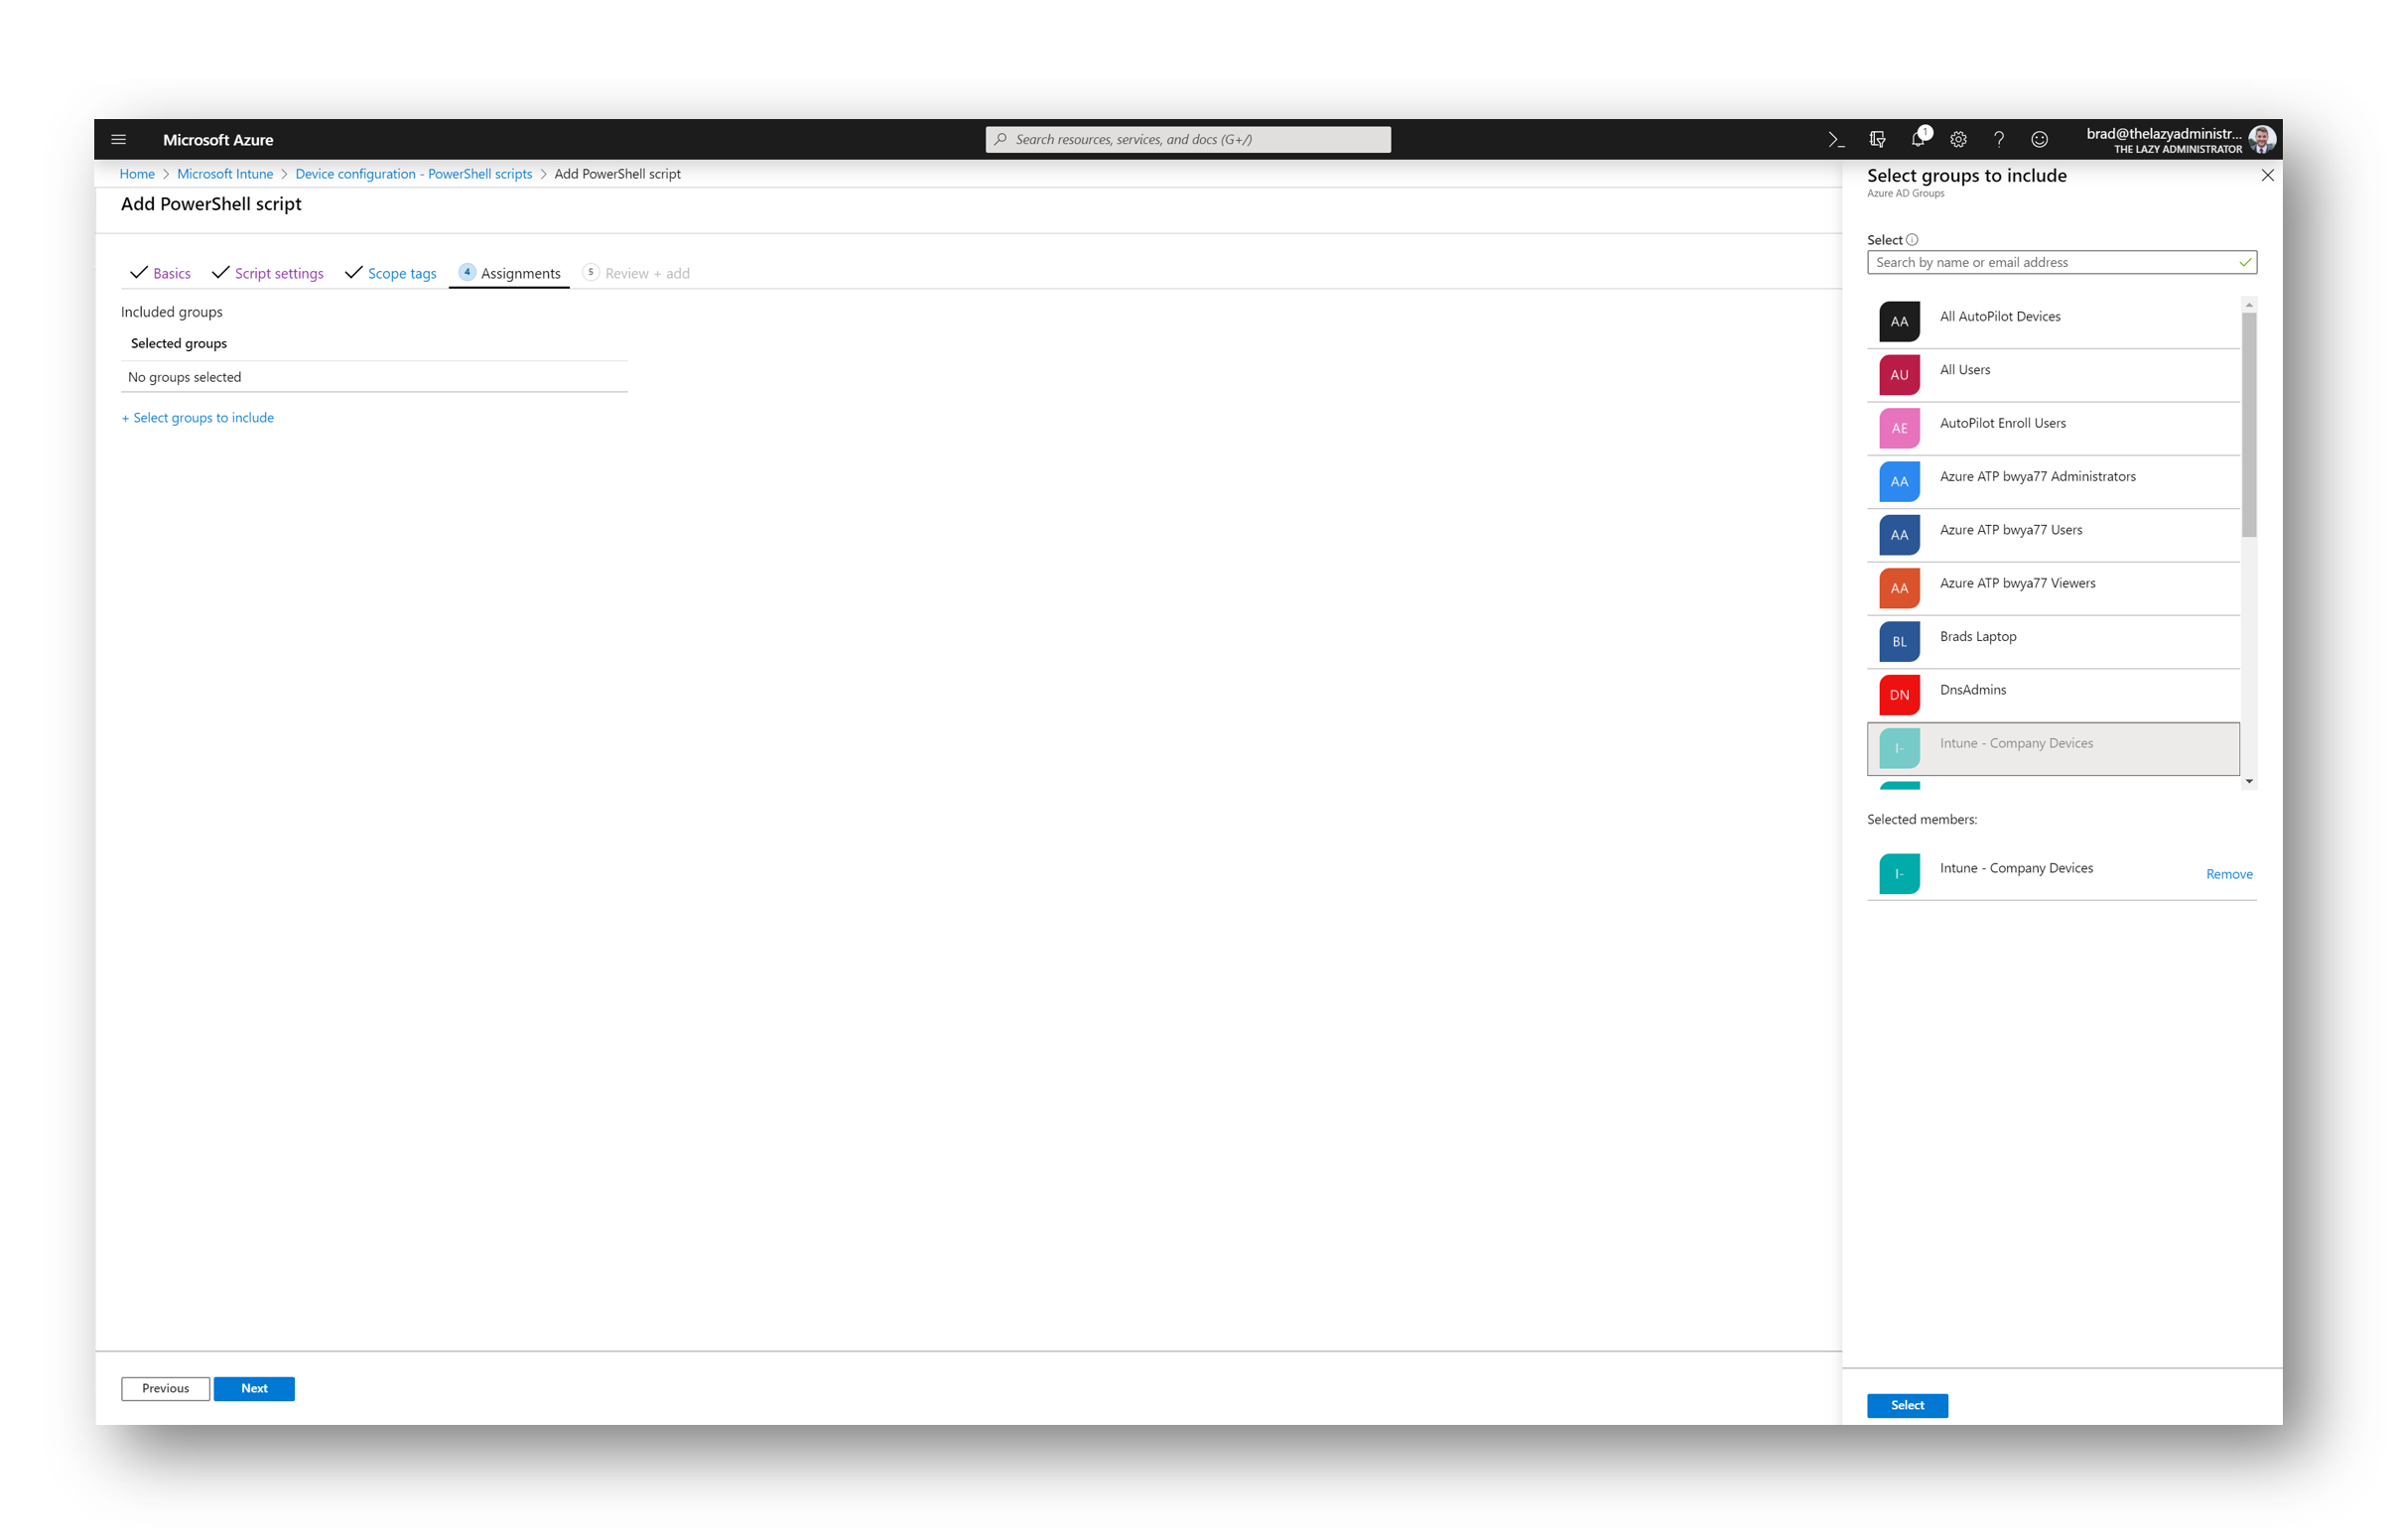
In the Assignments tab I selected my Intune – Company Devices security group. This group contains all my Company Devices enrolled into Intune. This policy can be applied to users or devices.
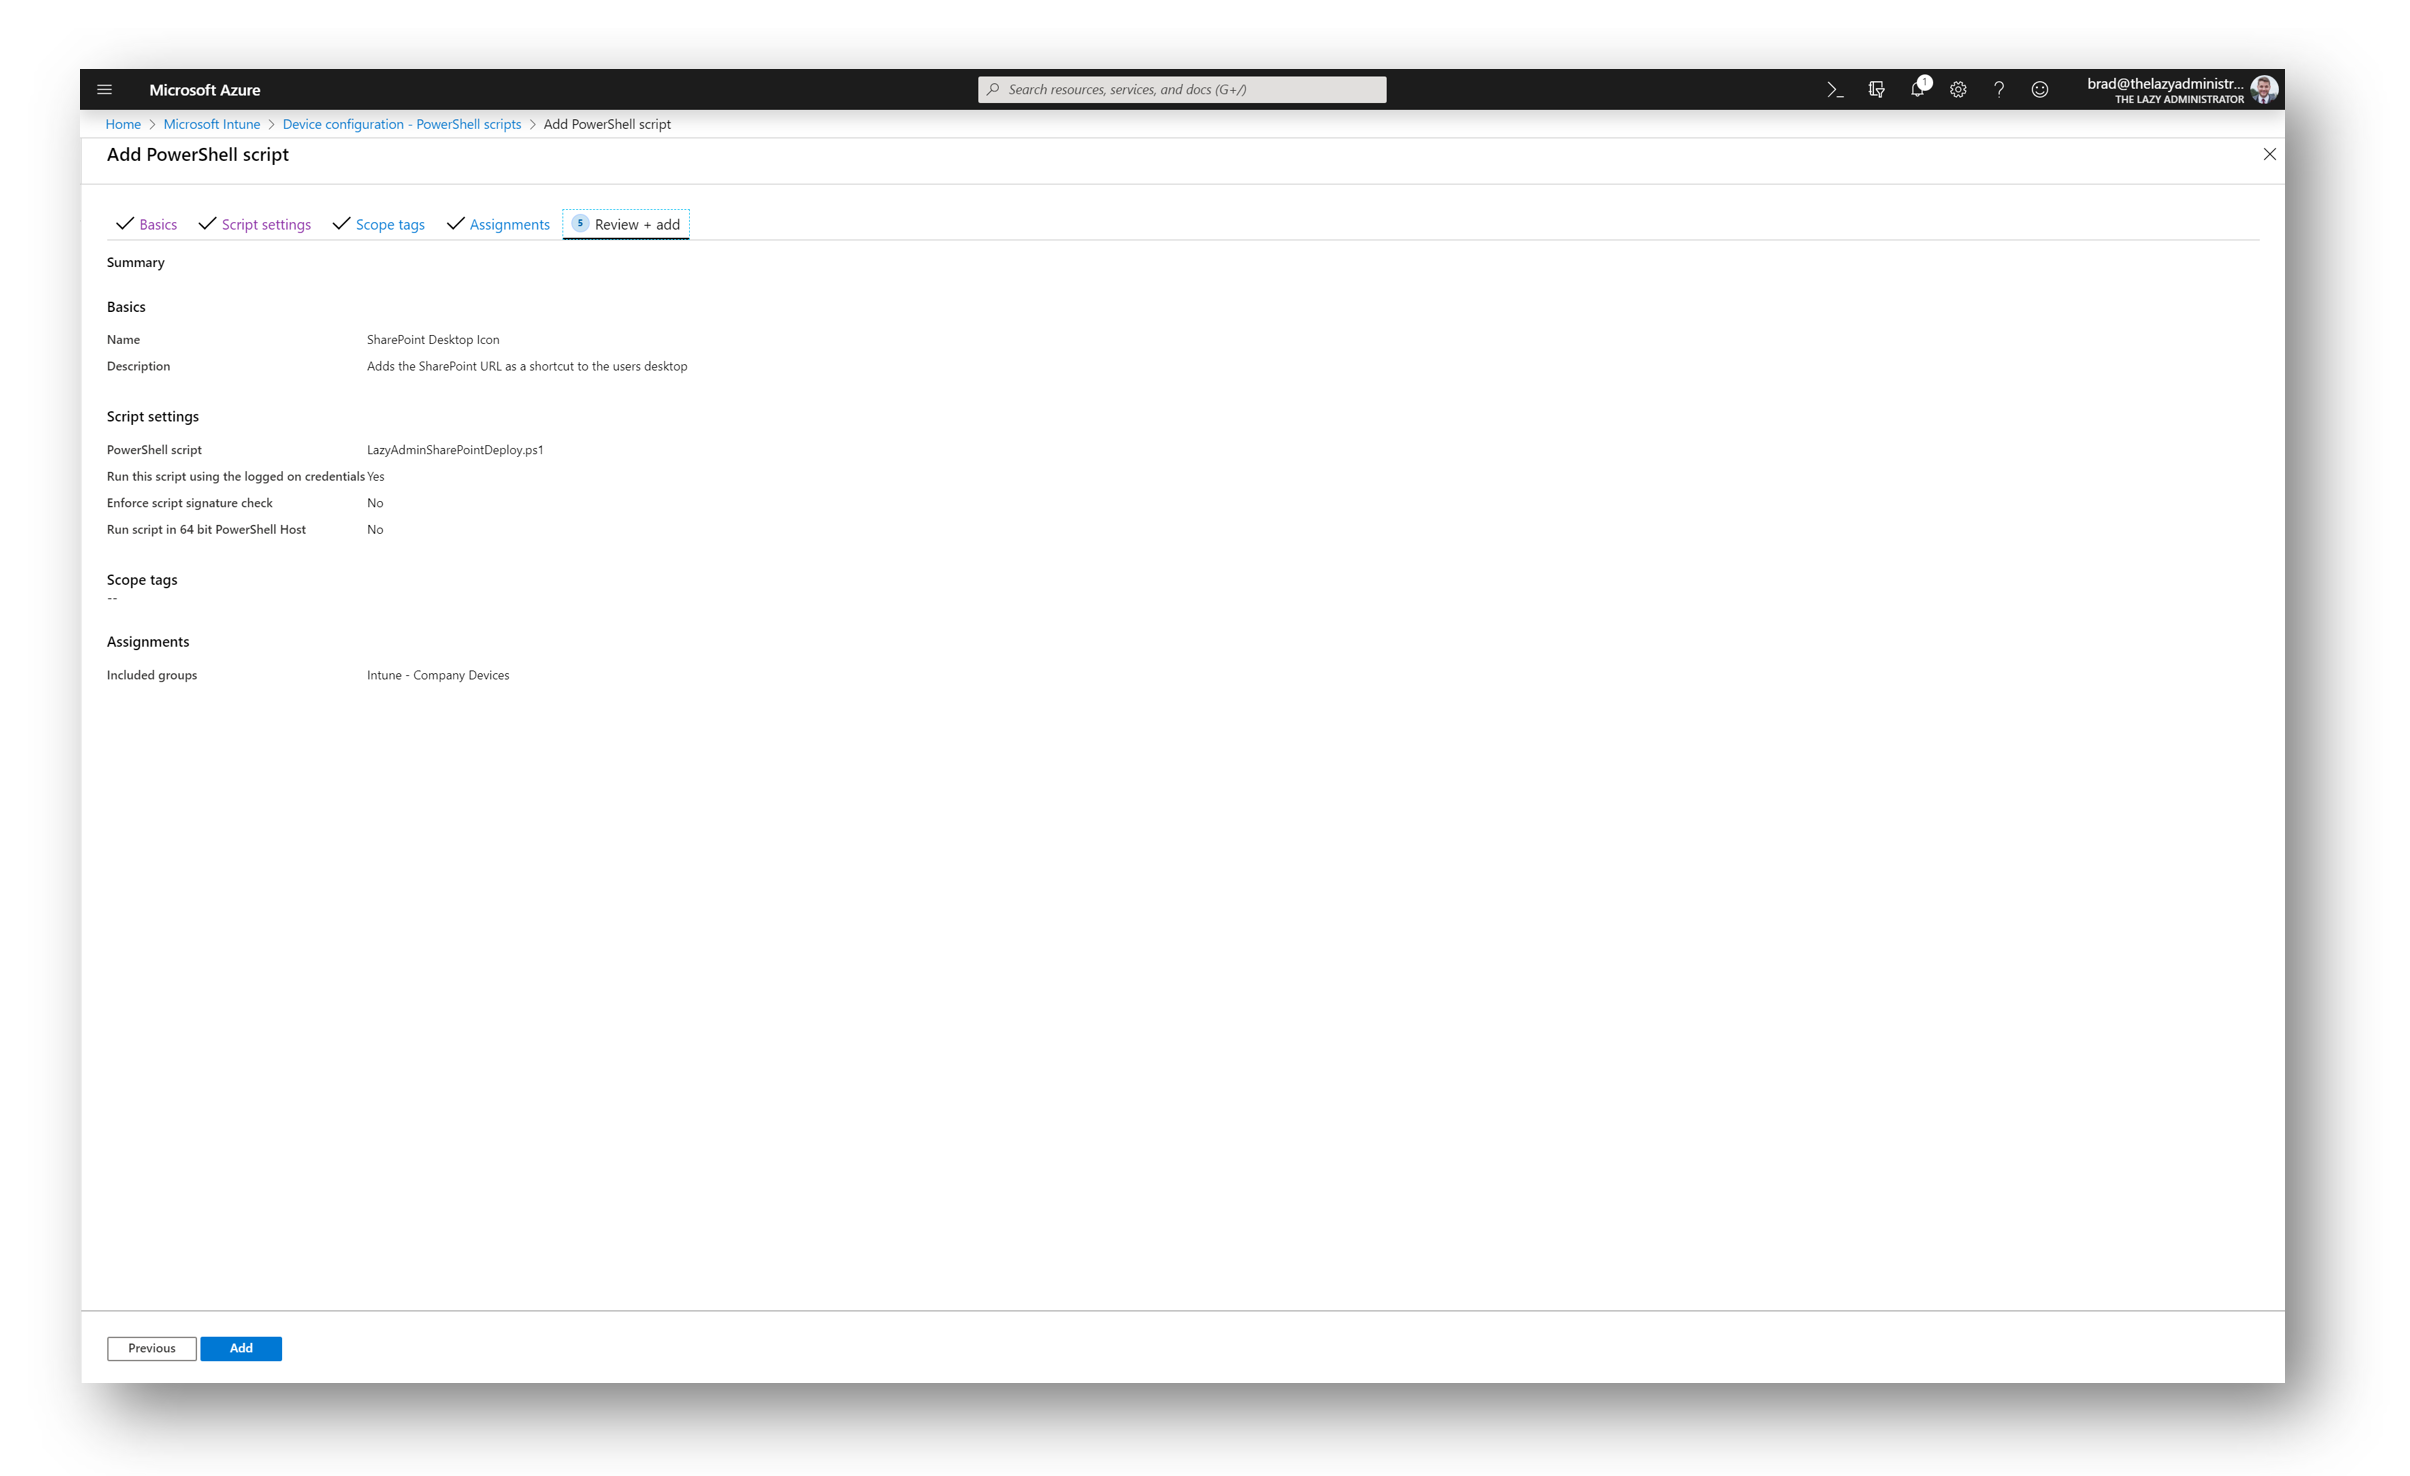
In the Review + Add tab look over your policy and make sure its correct to you and your organization. When complete click Add.
Deployment
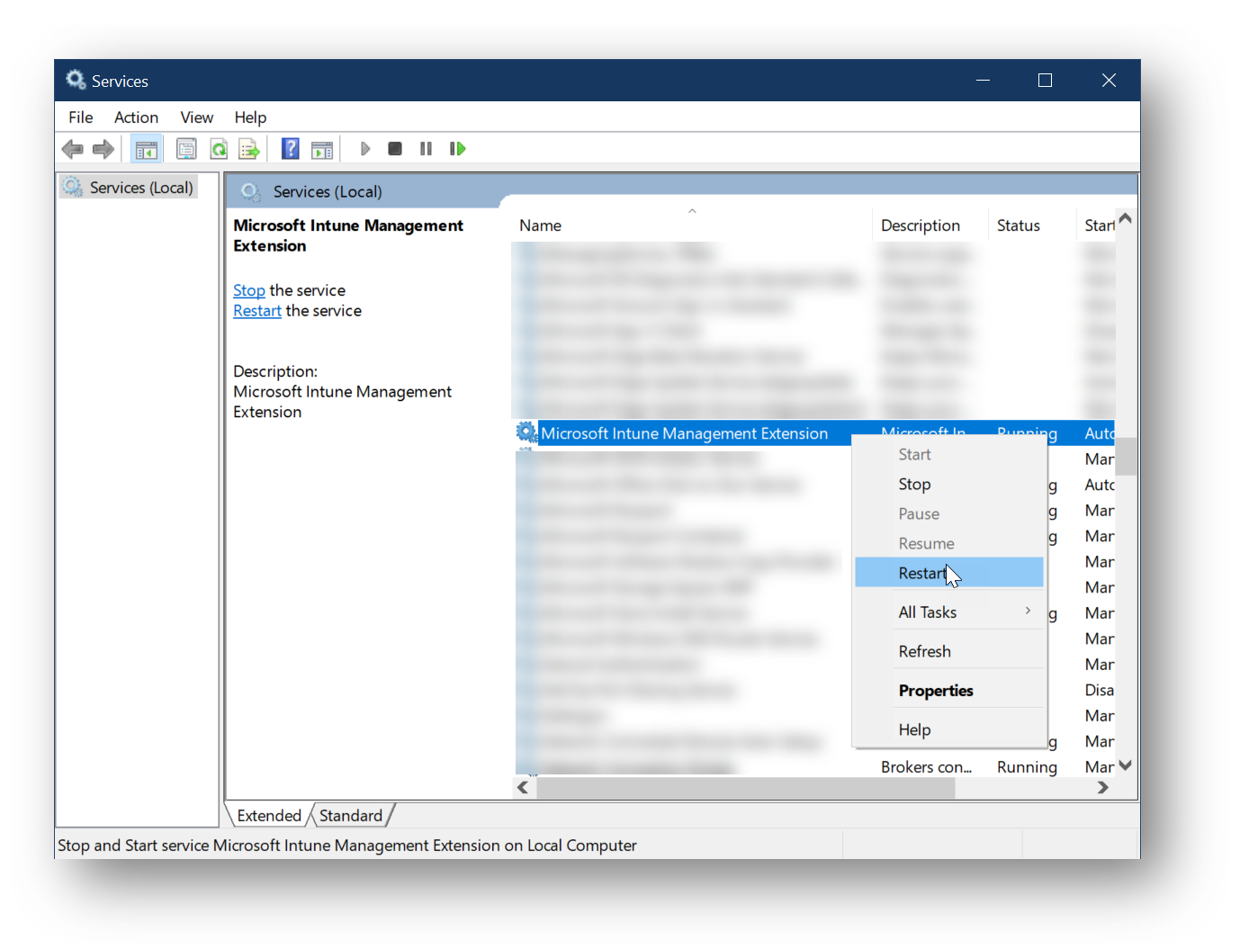
To quickly test your policy on a end user machine you could restart the Microsoft Intune Management Extension service
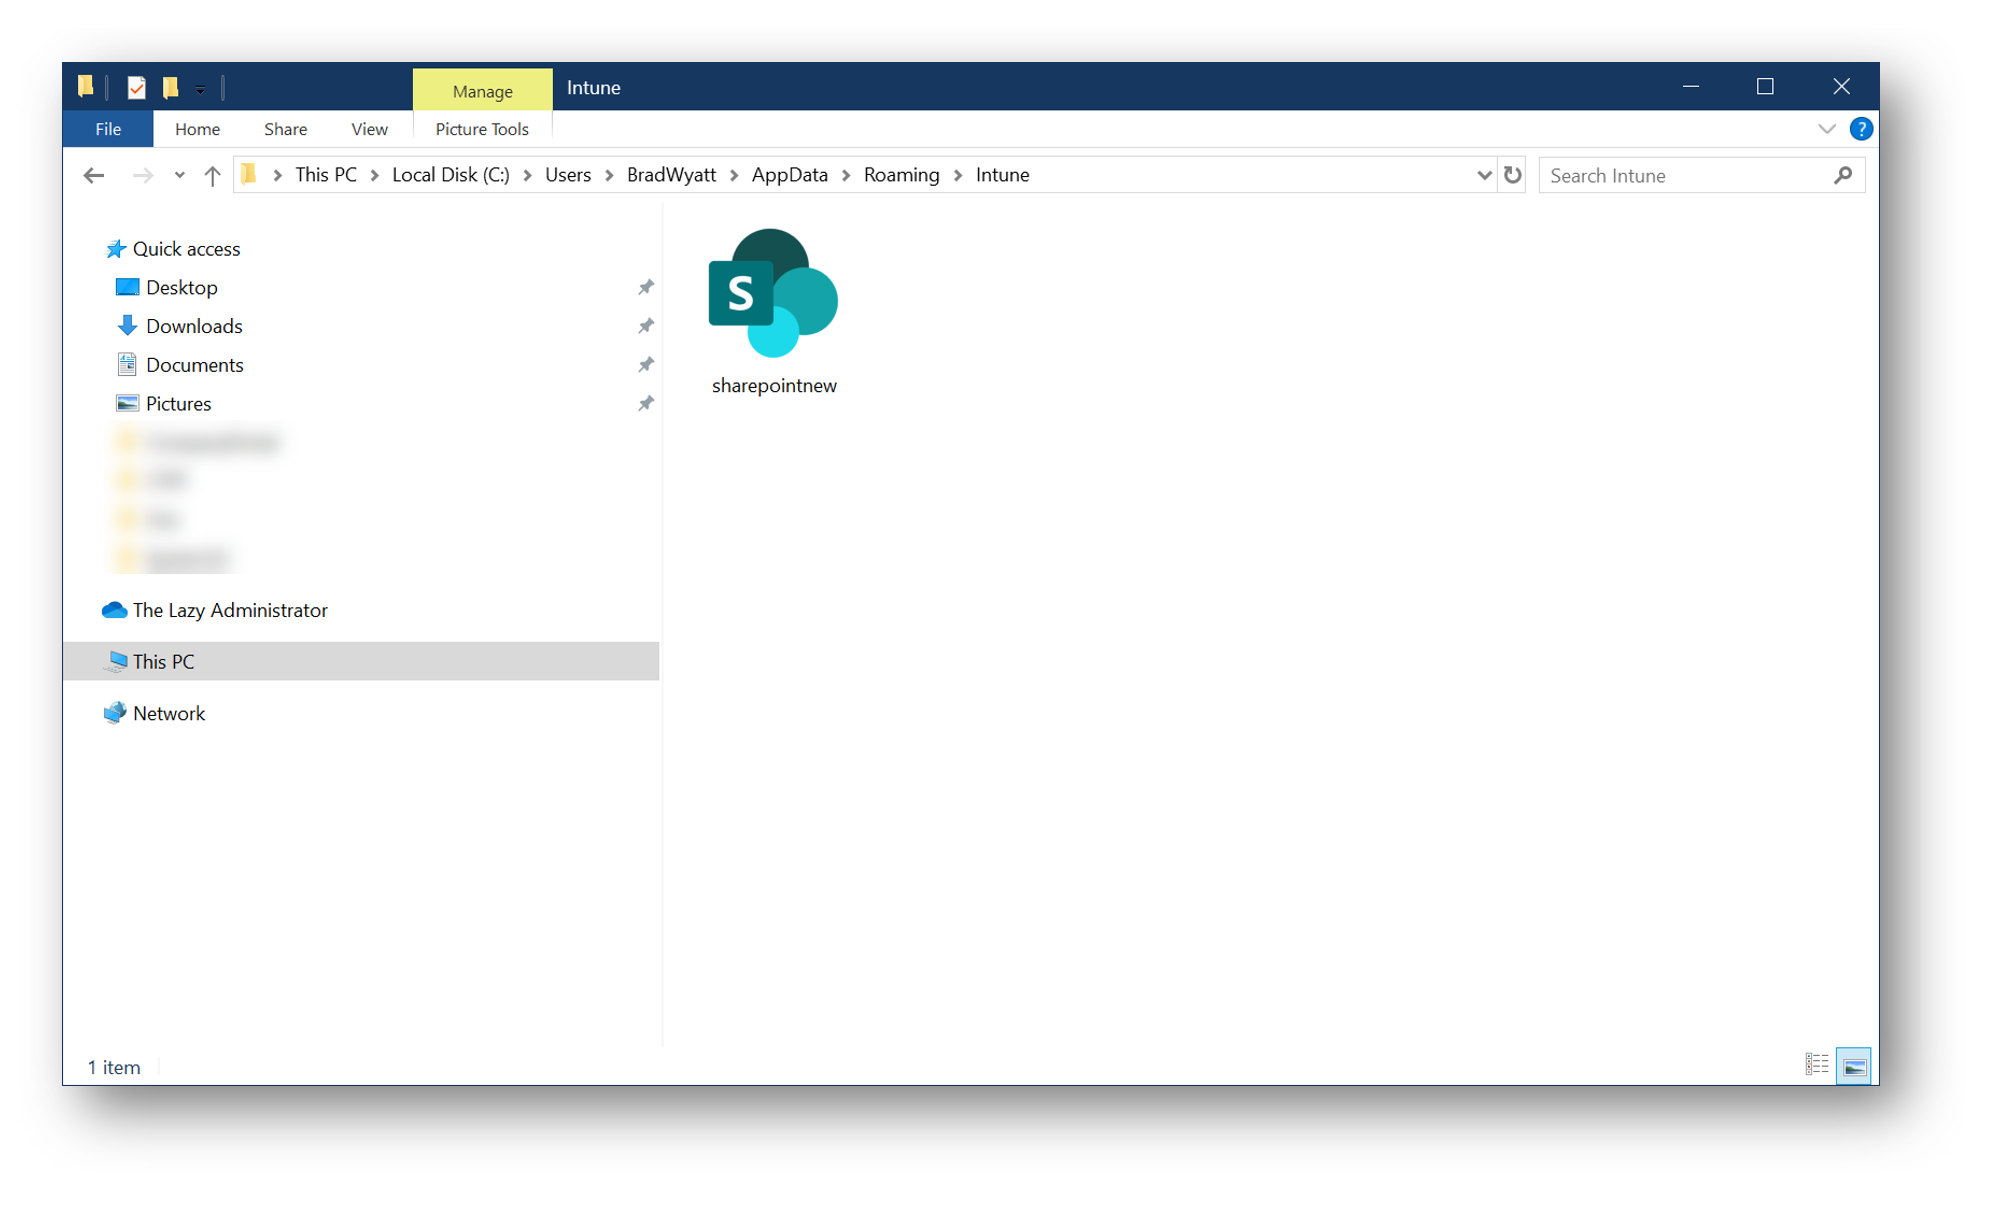
In my %APPDATA% folder I now see the icon
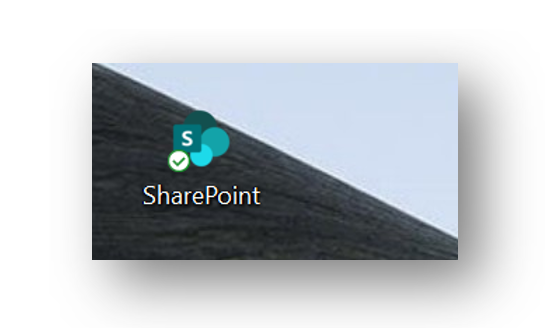
And finally on the Desktop and start menu I see my newly created shortcut

My name is Bradley Wyatt; I am a 6x Dual-Microsoft Most Valuable Professional (MVP) in Microsoft Azure and Microsoft 365. I have given talks at many different conferences, user groups, and companies throughout the United States, ranging from PowerShell to DevOps Security best practices, and I am the 2022 North American Outstanding Contribution to the Microsoft Community winner.
9 thoughts on “Deploy Web Link Shortcuts to the Desktop and Start Menu Using Intune”
Hi Brad, thank you for this tutorial! Are you using this with OneDrive Known Folder Move? We are having problems with PowerShell scripts creating several duplicates when a user logs in on another PC.
I am – PS Scripts will re-run max 3 times if its fails but only once if its succeeds. If its running multiple times – it thinks its failing for some reason. check the logs which are in \ProgramData\Microsoft\IntuneManagementExtension\Logs
So, if a user deletes the shortcut, the script won’t put it back at next login?
Or just Base64 encode a ICO file into the PowerShell script, then you won’t need any storage accounts.
yep that can work too!
Can you elaborate please?
Great article. For the life of me, I can’t seem to get the icon image to display on the users desktop. I get the generic white page look for the icon. I can access the PNG icon via a URL however.
Any ideas what may be causing this?
where is it stored? local or remote? My script brings it local because it wont work remote
Hi Brad, thank you for this!
If I want to remove the icon at a later date do I just remove the assigned group and the devices within this group will have the icon removed?
Sorry if this is a simple question Im just unsure.